Saturday, August 6, 2016

First layer complete!

Well, after a couple days off from work and a little of a weekend I've finished a layer of drywall on the ceiling and walls. From here, I'll probably add a another layer to the ceiling with a application of green glue in between on the ceiling for sound deadening.
Here's a look at the finished product. Drywall complete all around....

The blue stuff is mold resistant...

Back right side done, with in-wall speakers cut out.

Really starting to look finished now.

And last.. the opening corner cubby for extra a/v gear.

Sunday, July 31, 2016

So begins the drywall

All the insulation is finally done, so drywall is now in full swing. I finished one layer on the ceiling, minus the duct framing, then moved onto part of the walls. Was hoping to get enough scrap to complete around the ductwork, but it seems I'll just have to cut into fresh sheets to complete that.

Ceiling left.
Ceiling right.
Starting the walls with mildew resistant drywall.
You can see I've cut out the spaces for the rear speakers already. I set them 5' up and the same height as the light sconces to keep them all consistent and level.

Monday, July 25, 2016

Car distraction

Guess I got bored with my current setup, so I installed a new fancy touchscreen stereo in the car. It's a Chinese made Eonon GA5163F specifically made for my Mazda 3. Cheap, but looks stock, and is quite impressive with Android built in giving me the opportunity to install all kinds of apps like Youtube, Amazon Music; whatever in my car. With it tethered to my phone I can access anything via the web on the go too. Pretty cool.

All installed.

Didn't have a before, but here's the original that was in there.

Insulation Overdrive

Been ridiculous how much time insulating the ceiling with safe n' sound and wrapping all the ductwork has taken. But, it's close. Very close. Here's some photos of the work done, all while wrapped up in long sleeves, gloves, breathing and eye protection.

Before - main duct wrapped in foam.

In process - added fiberglass to main and finished all 6" ducts.
Quite surprising, as I wasn't really expecting it, but wrapping the main ducts in fiberglass made a huge difference to the sound coming from the ducts with the air blowing through them.

Monday, June 27, 2016

Hey, I did something!

Well, kinda. With spring, a vacation in there, and I don't know what - I haven't worked on anything too significant. Mostly from uncertainty how to proceed next and how extreme to get.
So, I started on something I've been trying to avoid as it's definitely not fun, and even my body revolts at it - insulation. What kicked it off is I got a duct muffler to see if that would make a difference in the loud sound in my master bedroom from the forced air. Surprisingly it made quite a difference, so I bought two more and installed them too. Here's a look at a before and after.
Had to chop out about 21" of space
Looks more like a catalytic converter...
Then with that done, I started on the itchy work of wrapping the remaining ducts and stuffing safe and sound into the ceiling cavities. Done a little over half so far. Got enough done that I wanted to throw up a sheet of 4' x 10' drywall...
Little transition shot. 
All wrapped and stuffed.
That's a big sheet of drywall...
Off to a start.

Monday, December 14, 2015

Stairwell and New Hallway

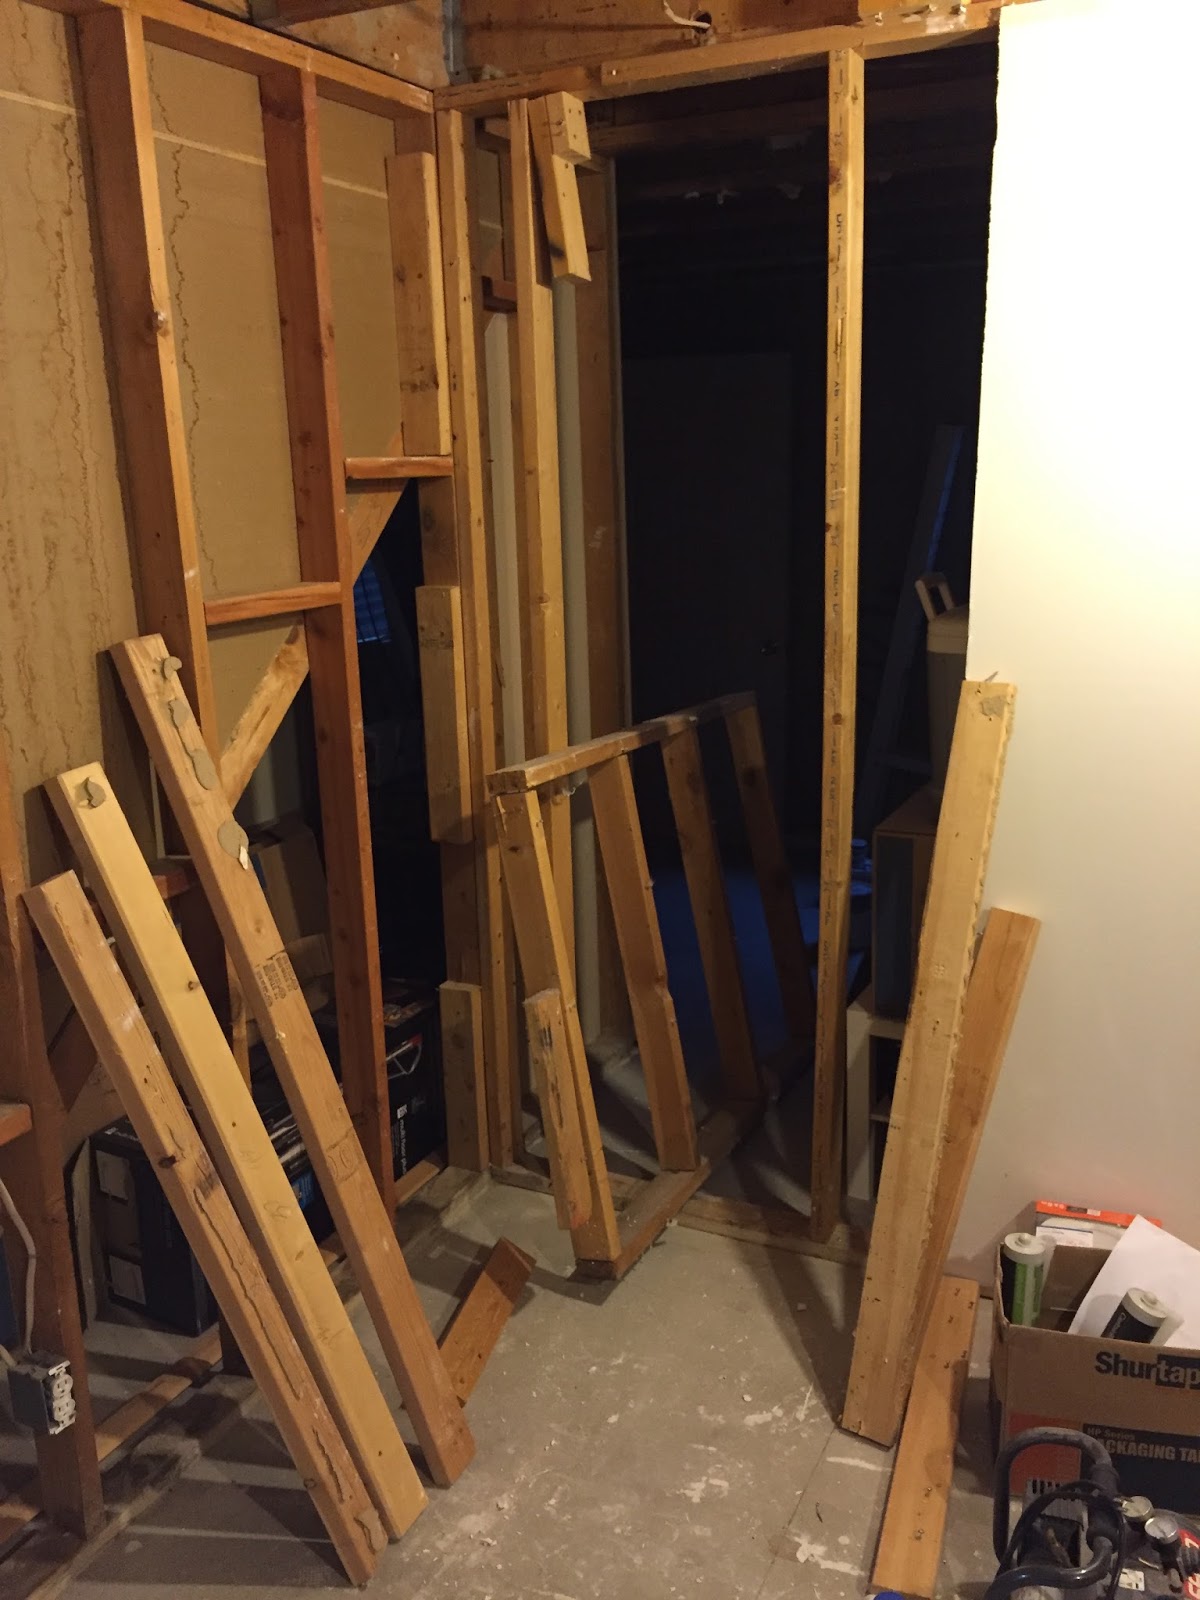
I went more framing crazy and decided to attack the stairway down to the basement and create a hallway. Before I'd have to wander through the laundry room in order to get to the storage room and utility room.
So, here's what it looked like before.
Doorway to the left goes to the laundry room.
More of a look down to the hallway created.
With finished wall and insulation.

So why would I do such a thing? Well, the wall to the left wasn't load bearing, so that got me thinking. By opening up the stairwell to the basement it'll make it lighter, and more inviting. The laundry room was huge too, so I had room to spare by cutting into it to make the hallway. Here are the rest of the shots showing the transition to the new hallway and wall demolition.

Where the door used to be.
After tearing out the drywall and insulation.
Making a space for the new door to the storage room.
Then the creation of the hallway and ripping out the wall began. Spent a full day moving the electrical, rewiring the lights and plugs for the laundry room and storage room, and adding a ceiling light for the hallway controlled by 3-way switches on either side of the hallway.

Look from the storage room into the hall.
Hallway wiring.
Look into the storage room and laundry room door.
Wall all gone.
Looks a lot more open.

A look from the laundry room.
And another.

Thursday, November 26, 2015

A/V Room Done!

Well, I've been religiously layering coats of plaster on the walls to smooth them out, and after a coat of primer and two coats of paint, the walls are all done. I still need to work out the table and shelving for all the a/v gear and install the door, but that's another story. At this point I can at least start to move the wiring from under the stairs to the a/v room, and also finalize all the wiring connections for the room.
So, here's the view through all the steps: drywall, then mudding, then primer, then paint.


Ceiling has a texture too, which you can't really see.

As you can see I went bold with the paint. Thought I made a terrible decision when I was first painting in the edges, but after it was all done, I really dug it. As you can see, was finally able to install my wall sconce as well. Fancies up the room a bit.
And here's a look from the other side looking back at the entrance of the room.

The green stuff is mold resistant... just in case.


And here's a close up of the corning. I used paper backed corner bead which consisted of mudding the edges then pushing in the bead, using the mud to adhere it to each side of the walls. Took some finesse, but overall turned out well. I'm glad I tried it instead of the metal corner bead.

This is before several coats of mud went over the corner bead.