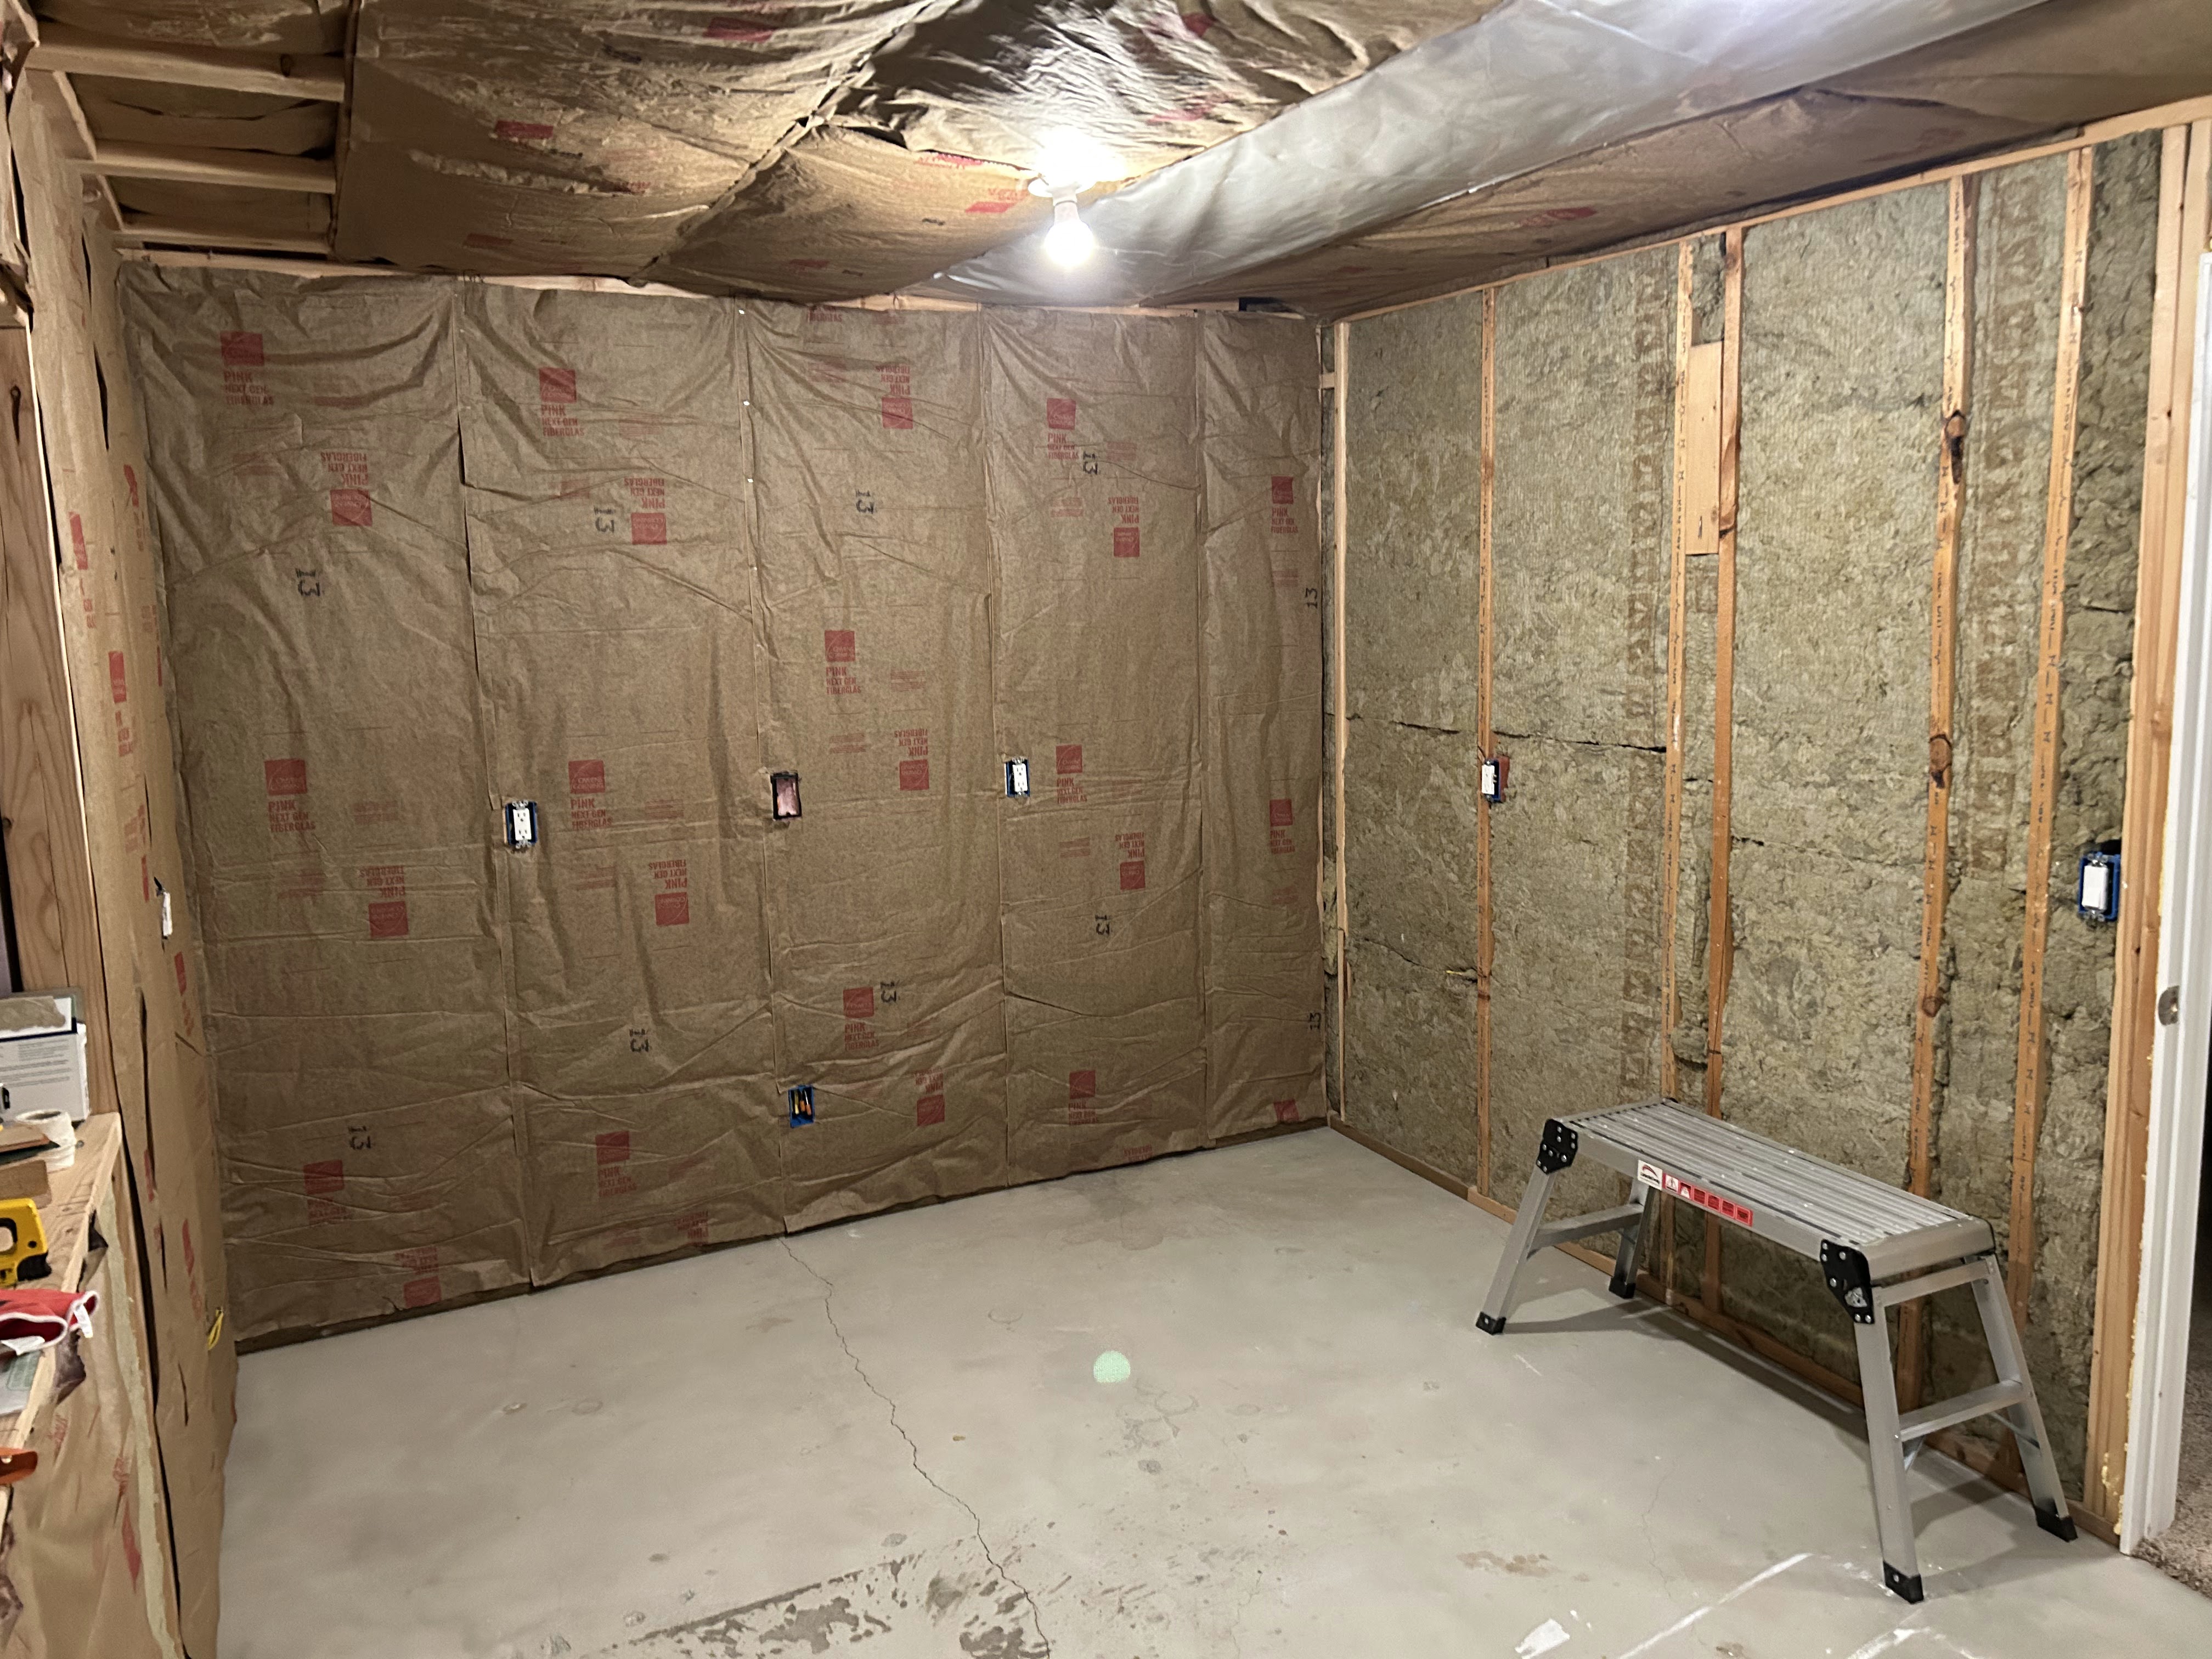
The last unfinished rooms of the house are: the kitchen and then the storage room and laundry room below that. They have always been kinda tied together, as plumbing fed through the storage room ceiling to feed the kitchen and laundry room. The storage room ceiling rafter space was also recently used to feed piping for the Radon mitigation system that ran to the adjacent garage and then out the roof. It fed plenty of Cat6 cabling for various gear, too. With all that work out of the way though, the storage room was ready to be completed. But what to do with it; how to finish it?
First off, I don't think I ever took a before picture of the space. I did, however, make an attempt at a video. I was planning to try to post all the work on youtube, but after filming one, I decided I just didn't have the time to do that and compete the space in under a month like I was planning to. So, enjoy my first and only youtube video to see the before:
First off, as the video shows, I was to frame out the closet under the stairs. As I moved to framing the walls, I had to install rigid foam board against the concrete first, and then work on how to get some airflow into the room for heating/cooling.
Framing added to the slope of the stairs (to attach drywall to)
Gluing foamboard to the concrete walls.
Closet with door added, and drywall installed.
Patchwork of drywall.
My ductwork creation.
Took some work to get this to fit / figure out how to make it functional.
I had to add a fair bit of extra 2x4 blocking so the ceiling panels had sometime to attach to properly. As you can see, I had to add blocking, as otherwise, there was nothing to attach the panel to where the ceiling met the wall where the ductwork was.
Drywall mudded.
Wall assembly on the floor.
Wall framed out.
And other side.
Insulation time.
First look at the dual lights I added too.
Walls and ceiling all done.
Added some plastic vapor barrier just to hold in the loose insulation.
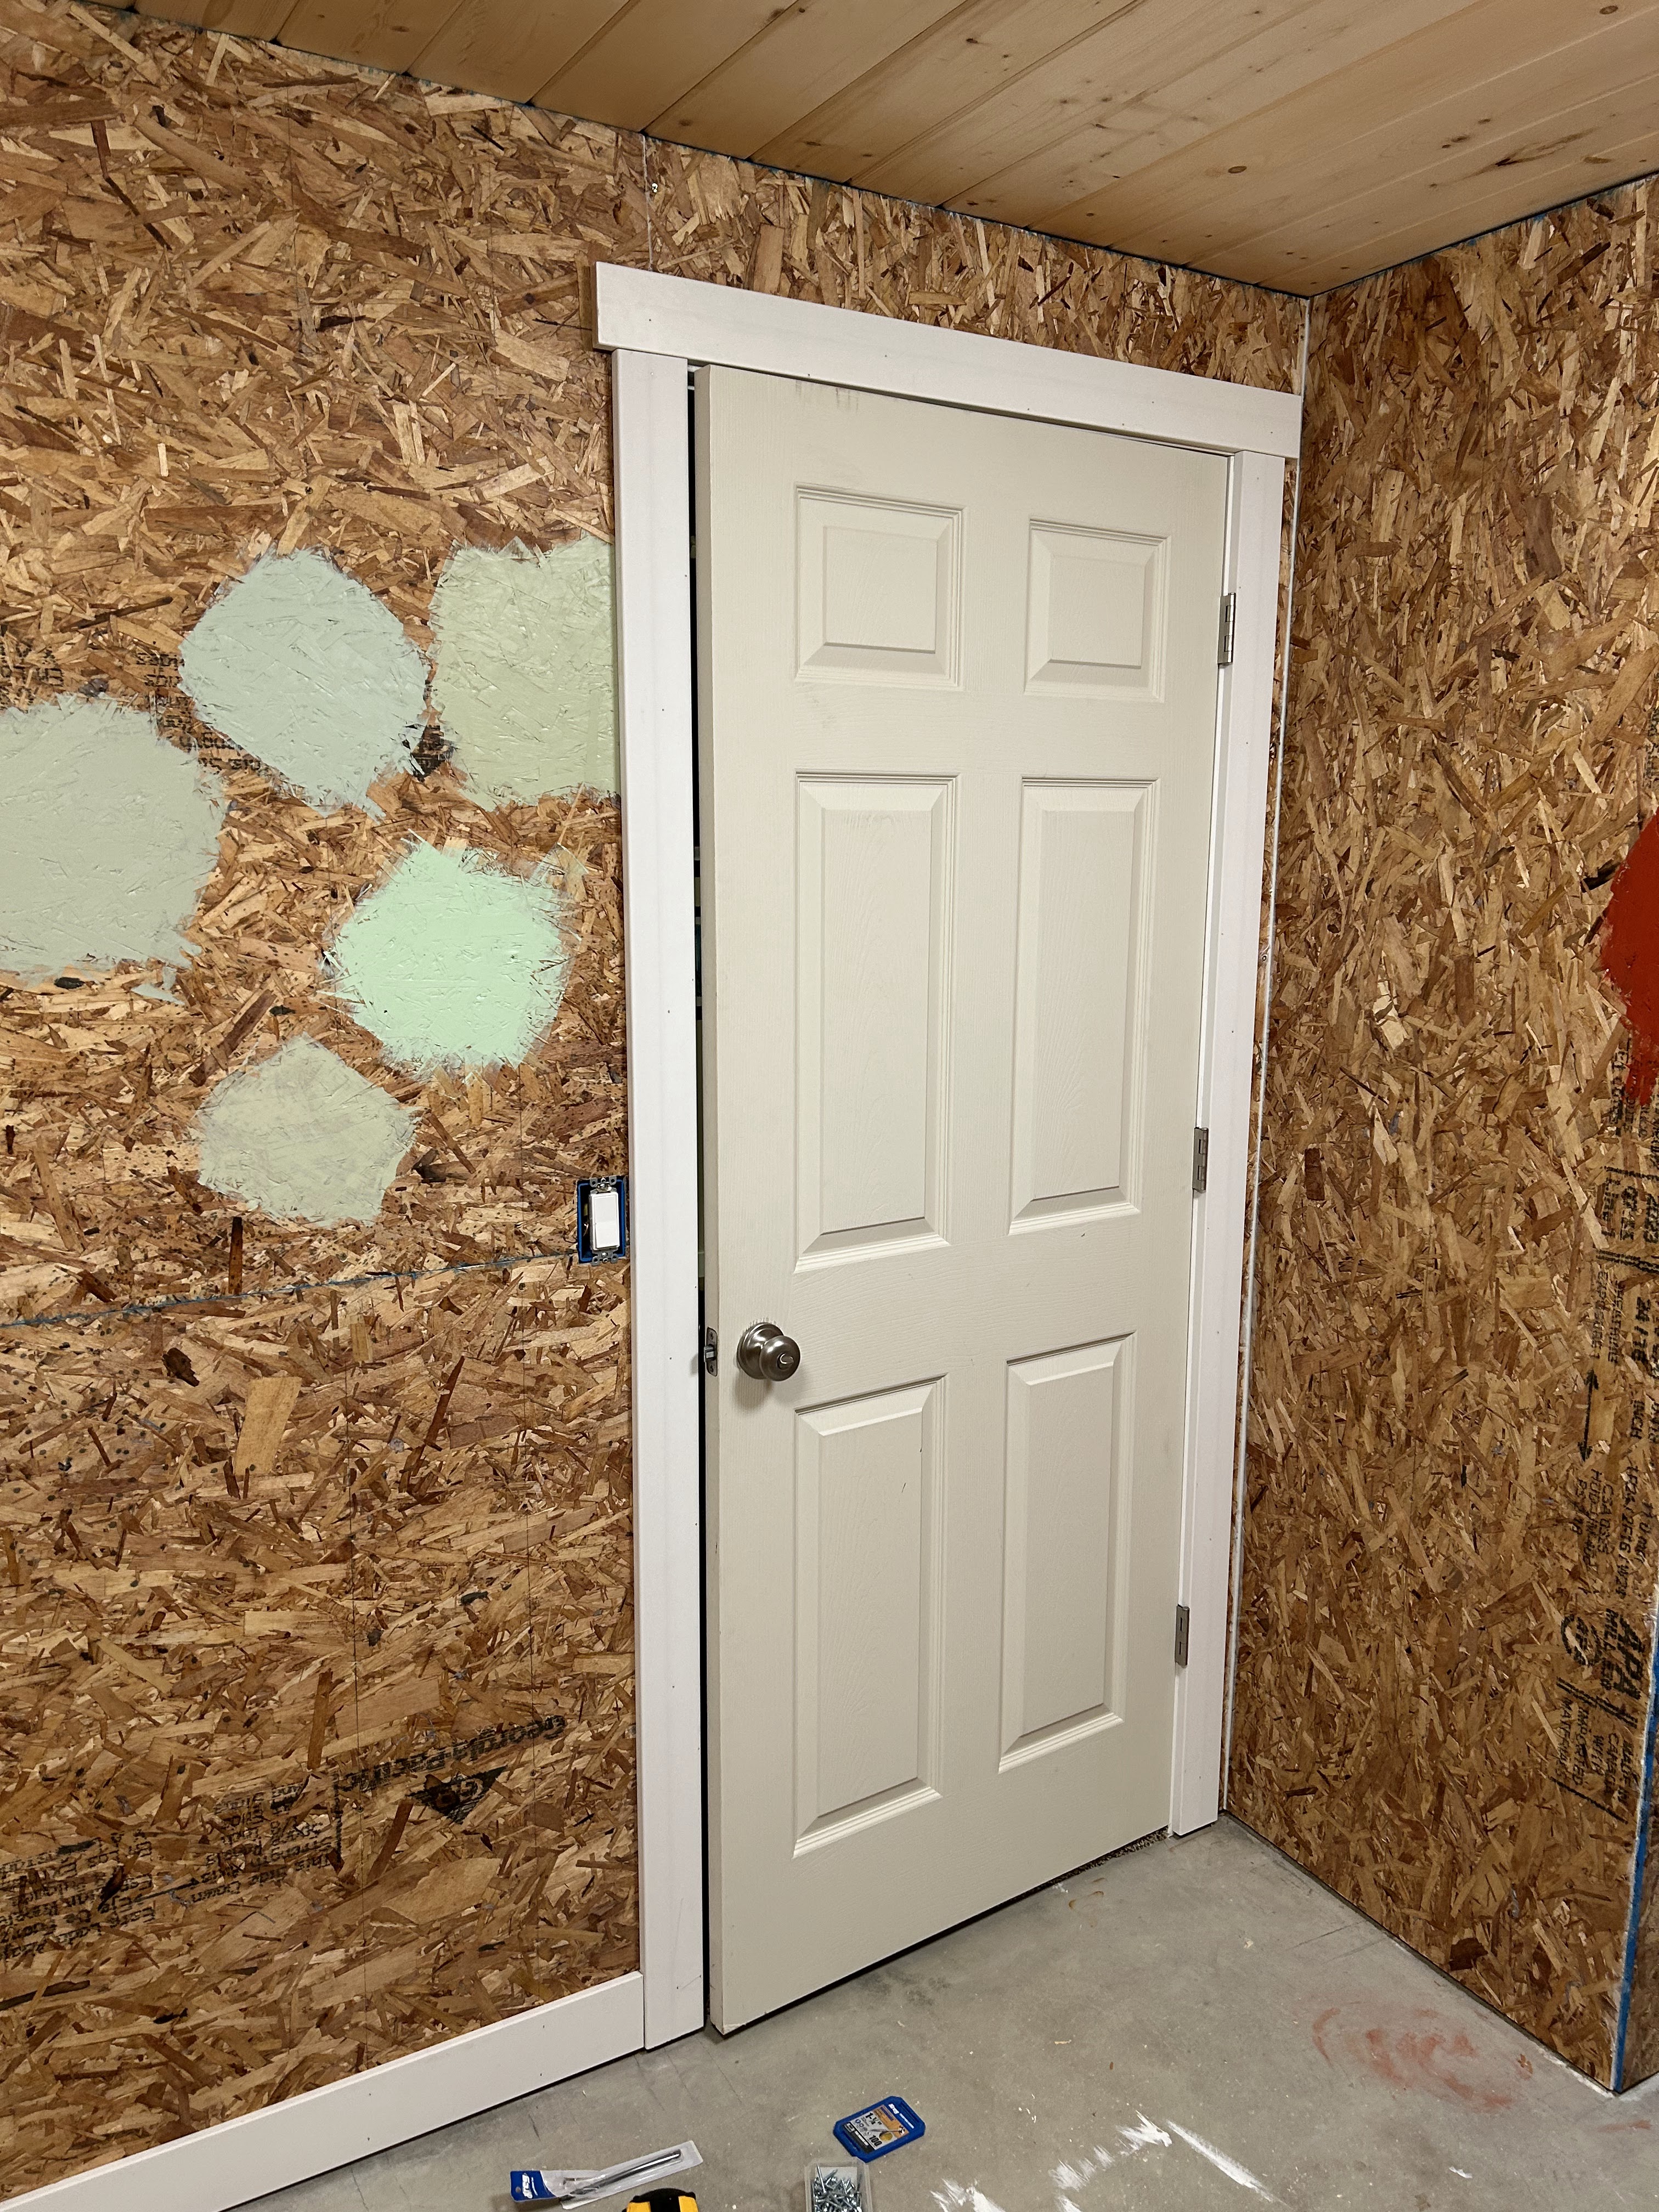
With all the prep work done (I completely skipped over the electrical work I did too), it was time to move onto the finish work. For that, I chose to copy the stylings of the "she shed" studio that I created as I really like the aesthetics of it. So, OSB for the walls, and pine tongue and groove for the ceiling. I discovered a different kind of pine t&g too, which worked out a lot better as it was thick and sturdy, and I could nail it directly to the rafters without any prior backing like I had to do in the studio.
Just starting and going well.
Cut around one light done.
Cut around lights and vent.
Ceiling done!
The start of the OSB'ing.
Tops all done.
You can see what I created to hold the top boards in place while I attach them.
All done.
Next was trimming up the window and doors and laying down the baseboard.
Creating the frame for inside the window.
Shimming the window in place so it's centered.
Spray foam adding in the cracks to keep the cold out.
Trim added.
Door trimmed (with the final paint decided on in there)
Drywall mudding sanded. Brutal work.
And.. the final pics, all work completed and waiting on the carpet to be installed.
Everything I post on here is my own handy-work, so this post is a little different as I didn't have a hnad in this at all. Gardening is really out of my wheelhouse and skill. The front porch area, fashioned by my counterpart, was definitely a step up from what it was (here's the initial work to pretty it up). After a few years it was looking a little tired however and something new that worked better for the space was in order. In only a day, a new Zen garden was whipped up and completed. I think it looks pretty awesome, and with a new bench that was created from a 6x12 beam scrap that we found on the side of the road - the seating is more appropriate and isn't so cramped.
I started back on the nightmare that is the back of my house. Paint baked by the sun over decades, falling off the wood; looking terrible. Extensive scraping and sanding was needed to remove as much of the decaying paint as possible to prepare the surface for new paint. Over the last months, here's the before and after photos, and as it stands, it's not all completely done.
Windowed section all ready for paint.
Just starting on the west section.
You can see the "sanding line"
All done east section (although only one coat so far).
Everything put the hardest the reach sections.
And next, for the toughest, hardest to reach sections. I had to fashion something so that I didn't slide off the roof to my death/limb damage. I call it the roof hook and step. Patent pending...
To complete the last post of mass outdoor activities - here's a look at the finished shed. I painted it the same color as the studio, or at least it's supposed to be, but they don't match. First time I've ever had paint color codes not match, but oh well.
Added trim all around and roof has proper drip edge.
Can see the door catch on the inside of the door.
Large shelf added that's 2 foot deep. Will add another little one up top.