Tuesday, September 30, 2014

Just needs some paint

Well, just need to touch up some paint, but the trim is now all done. Oddly, now that's it's almost done I've slowed down significantly. Might be the time of year and the weather. Who knows. Here's the photos.

Door glass all cleaned and nice.
Added the first of the decorations.

Monday, September 8, 2014

So... Close...

Well, the giant roll of flooring finally arrived, and I taped it all down in place with double-sided carpet tape. First I had to scrub the concrete floor to clean it, which took up most of a day and was quite an exhausting experience. Here's a few photos of the process. I had to cut it into sections before I lugged it downstairs, as even when cut up the rolls of 4' x 13 1/2" weighed about 100 pounds. I got the flooring from Rubber Flooring Inc, and apart from the enormous shipping costs I think it was worth it. They even sent me 3 free samples so I could make sure I got what I wanted.

The 400+ pound roll of "plyorobic" 3/8" rubber flooring
Cutting to size... 
Dry fitting in place to make sure it all lines up.
After that, it was a waiting game for the door I had ordered to arrive. That finally showed up last weekend though, after more than a month's wait. Took all day to fiddle around with the fit as the wall around the door opening is completely wonky. I fit the casing to the opening first, but it wasn't plum from one side to the other, so the door would stick out at the bottom and not close flush. After repositioning the door about 4 times, I finally got it to close properly. I'll have to shave a bunch of drywall off the room's exterior walls to attach that moulding though.

Door is finally in! 
And zee trim.
Painted and some of the glass exposed.
Little hint at the almost finished product.

Monday, August 18, 2014

Just waiting on the floor

Finished up the window in the room, so now I'm just waiting on the flooring to install. Followed the same standard I did for the other windows, apart from using flat moulding instead of the more ornate stuff as the other stuff wouldn't really go in an exercise room. I ended up economizing and used the wood from the closet shelves I had ripped out of the existing room. More out of necessity as I discovered the wood I'd bought for the window wasn't deep enough to fit. Here's the progression on the window.


Thursday, August 7, 2014

...and Painted

Ceiling and walls are now all painted. All that's left is the flooring, which I'm waiting to get delivered, and the trim/moulding to install. I lifted the tv into place and installed a little media shelf - after I stood back and looked at the tv the room started to look complete.

before.

...and after.
It's my old 42 inch plasma tv, which weighs a ton, and on the shelf is a roku and a mini amp I picked up which I'm really impressed with. Turned it up and the sound is crystal clear. The reflections off the wall and concrete are intense, but after I install the flooring, that should be remedied.

Wednesday, July 30, 2014

Sanded and Primed

Got all the mudding of the ceiling and walls done and sanded everything down. Primed the ceiling and walls too, so I'm ready to move onto the finishing paint, and trim. Feels kinda odd at this point that there's only a few finishing touches to do after so much time.

Look of the final sanding.

Halfway through applying the ceiling texture.

Walls all primed.

Monday, July 7, 2014

Mudding Madness

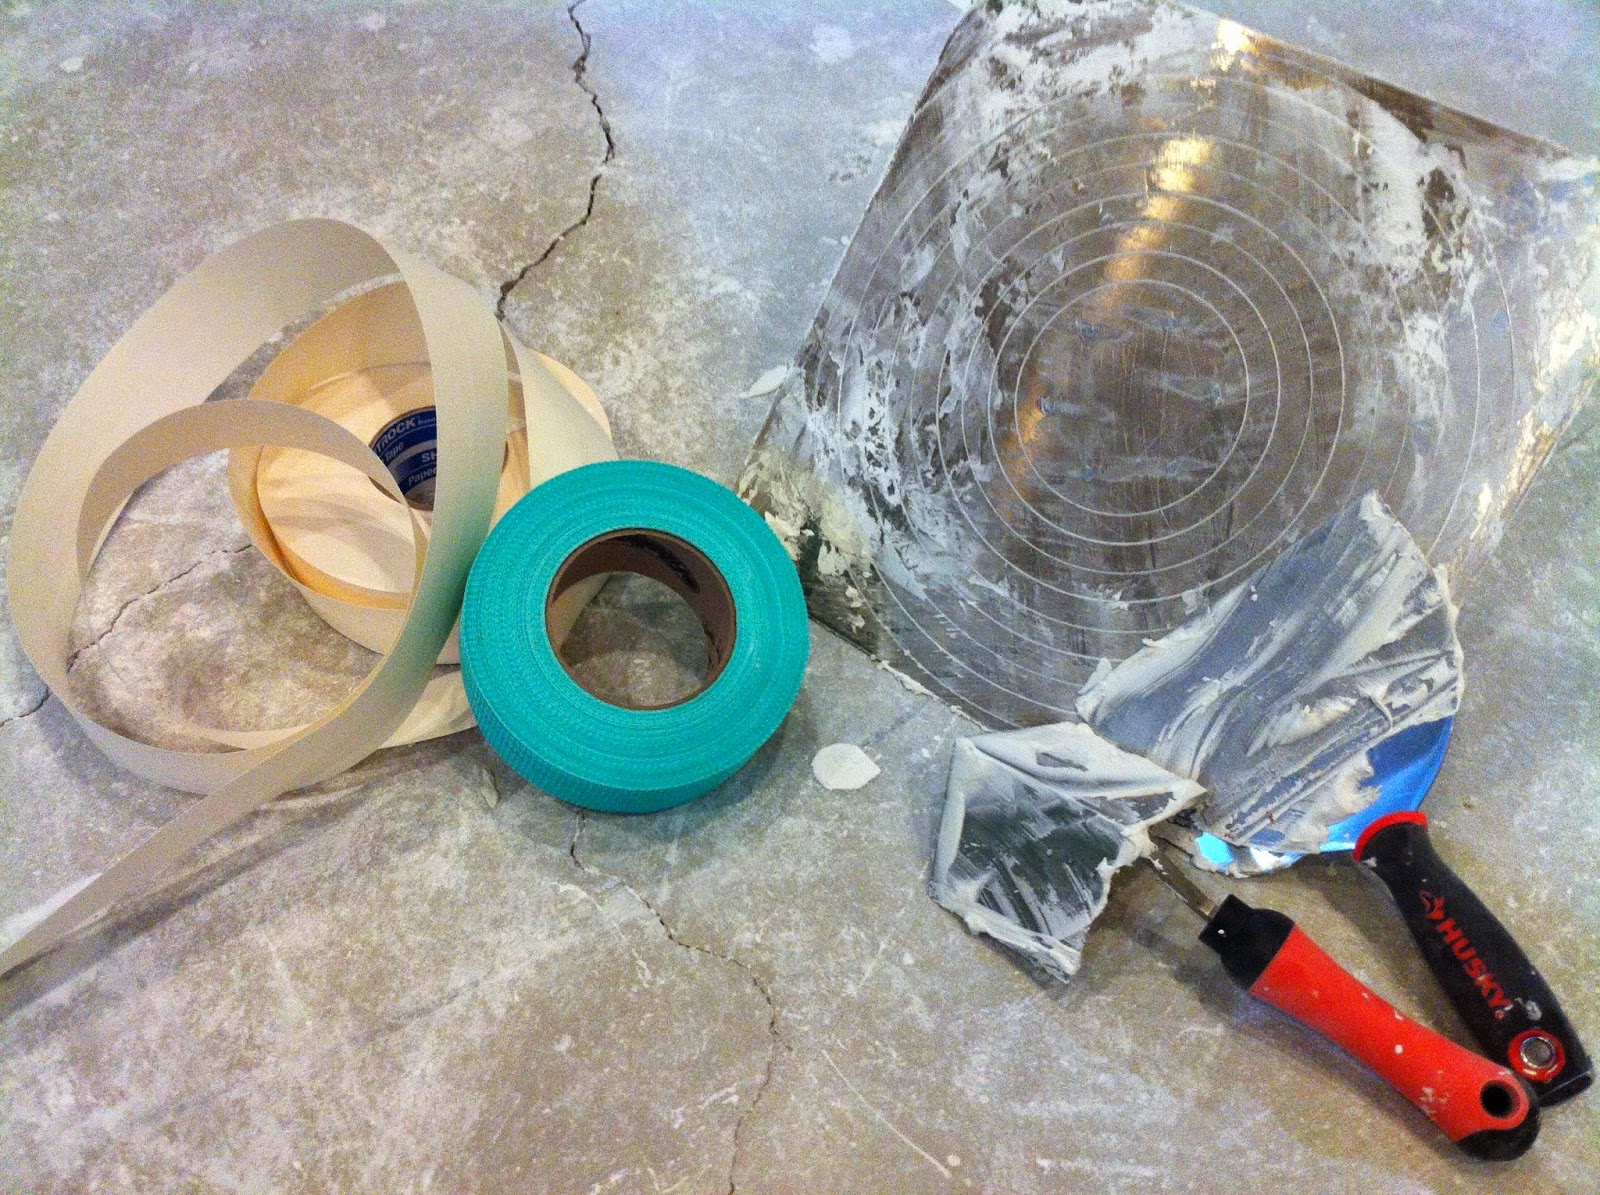
Started to mud and tape the drywall over the 4th weekend. Wasn't quite as bad as I was anticipating, as I thought the ceiling would be terrible to cope with, but it went quicker than expected. I didn't spend much on the tools. All I needed for the first coat was a 6" drywall knife, a corner trowel and mudding hawk. Plus of course a 5 gallon bucket of pre-mixed joint compound. For the larger joints I actually stuck fiberglass tape to the joints, applied mud, then used paper tape on the joint as well.

Tools of the trade...
As seen, I over used the screws and didn't need to use as many as I did, but at least the walls will be solid. They definitely aren't going anywhere. So - I've completed the first coat. I applied two coats over the screw holes and applied a 6-8" bead of mud for the tape seams. Applying a uniform amount of mud to the seam first, then applying the paper tape and using a good amount of pressure to secure the tape ensured that it was bubble-free. I'd then apply a bead of mud over the tape. The biggest issue was not applying the tape straight which would cause issues with crinkling, etc.

before...

after

before...

after

A look at the ceiling work.

Monday, June 30, 2014

Bowed Ceilings

Nothing too informative to mention about the drywall install. I discovered bowed ceilings can make drywalling the walls difficult when one doesn't realize that's the issue. Eventually I clued in and created a "level line" that was 4 foot down from the highest point then used the level line to measure how much to cut off the top of the drywall - then they'd at least be level and line up with the studs. I attached all the top sheets of drywall first, then would cut the lower ones to fit after that. I was planning on using the green board on all exterior walls, but have enough that I'll probably just do all the lower halves in green board for extra protection. To hold the sheets in place while I screwed them in, I fashioned a brace that I could push into place to keep the sheet tight against the ceiling.

Just used some 2x4 scraps. Took 2 minutes to make and worked great.

Brace in action.
Here's all the pics. Little bit of a panoramic - started at the window and turning to the right each time. You can kinda see that I finished up all the ceiling too. I even used some old scraps of drywall on the ceiling so I didn't have to cut up bigger sheets of the new stuff.


Was finicky, but you can see the wall tv boxes turned out well.