Friday, March 7, 2025

Sink Support and Flooring

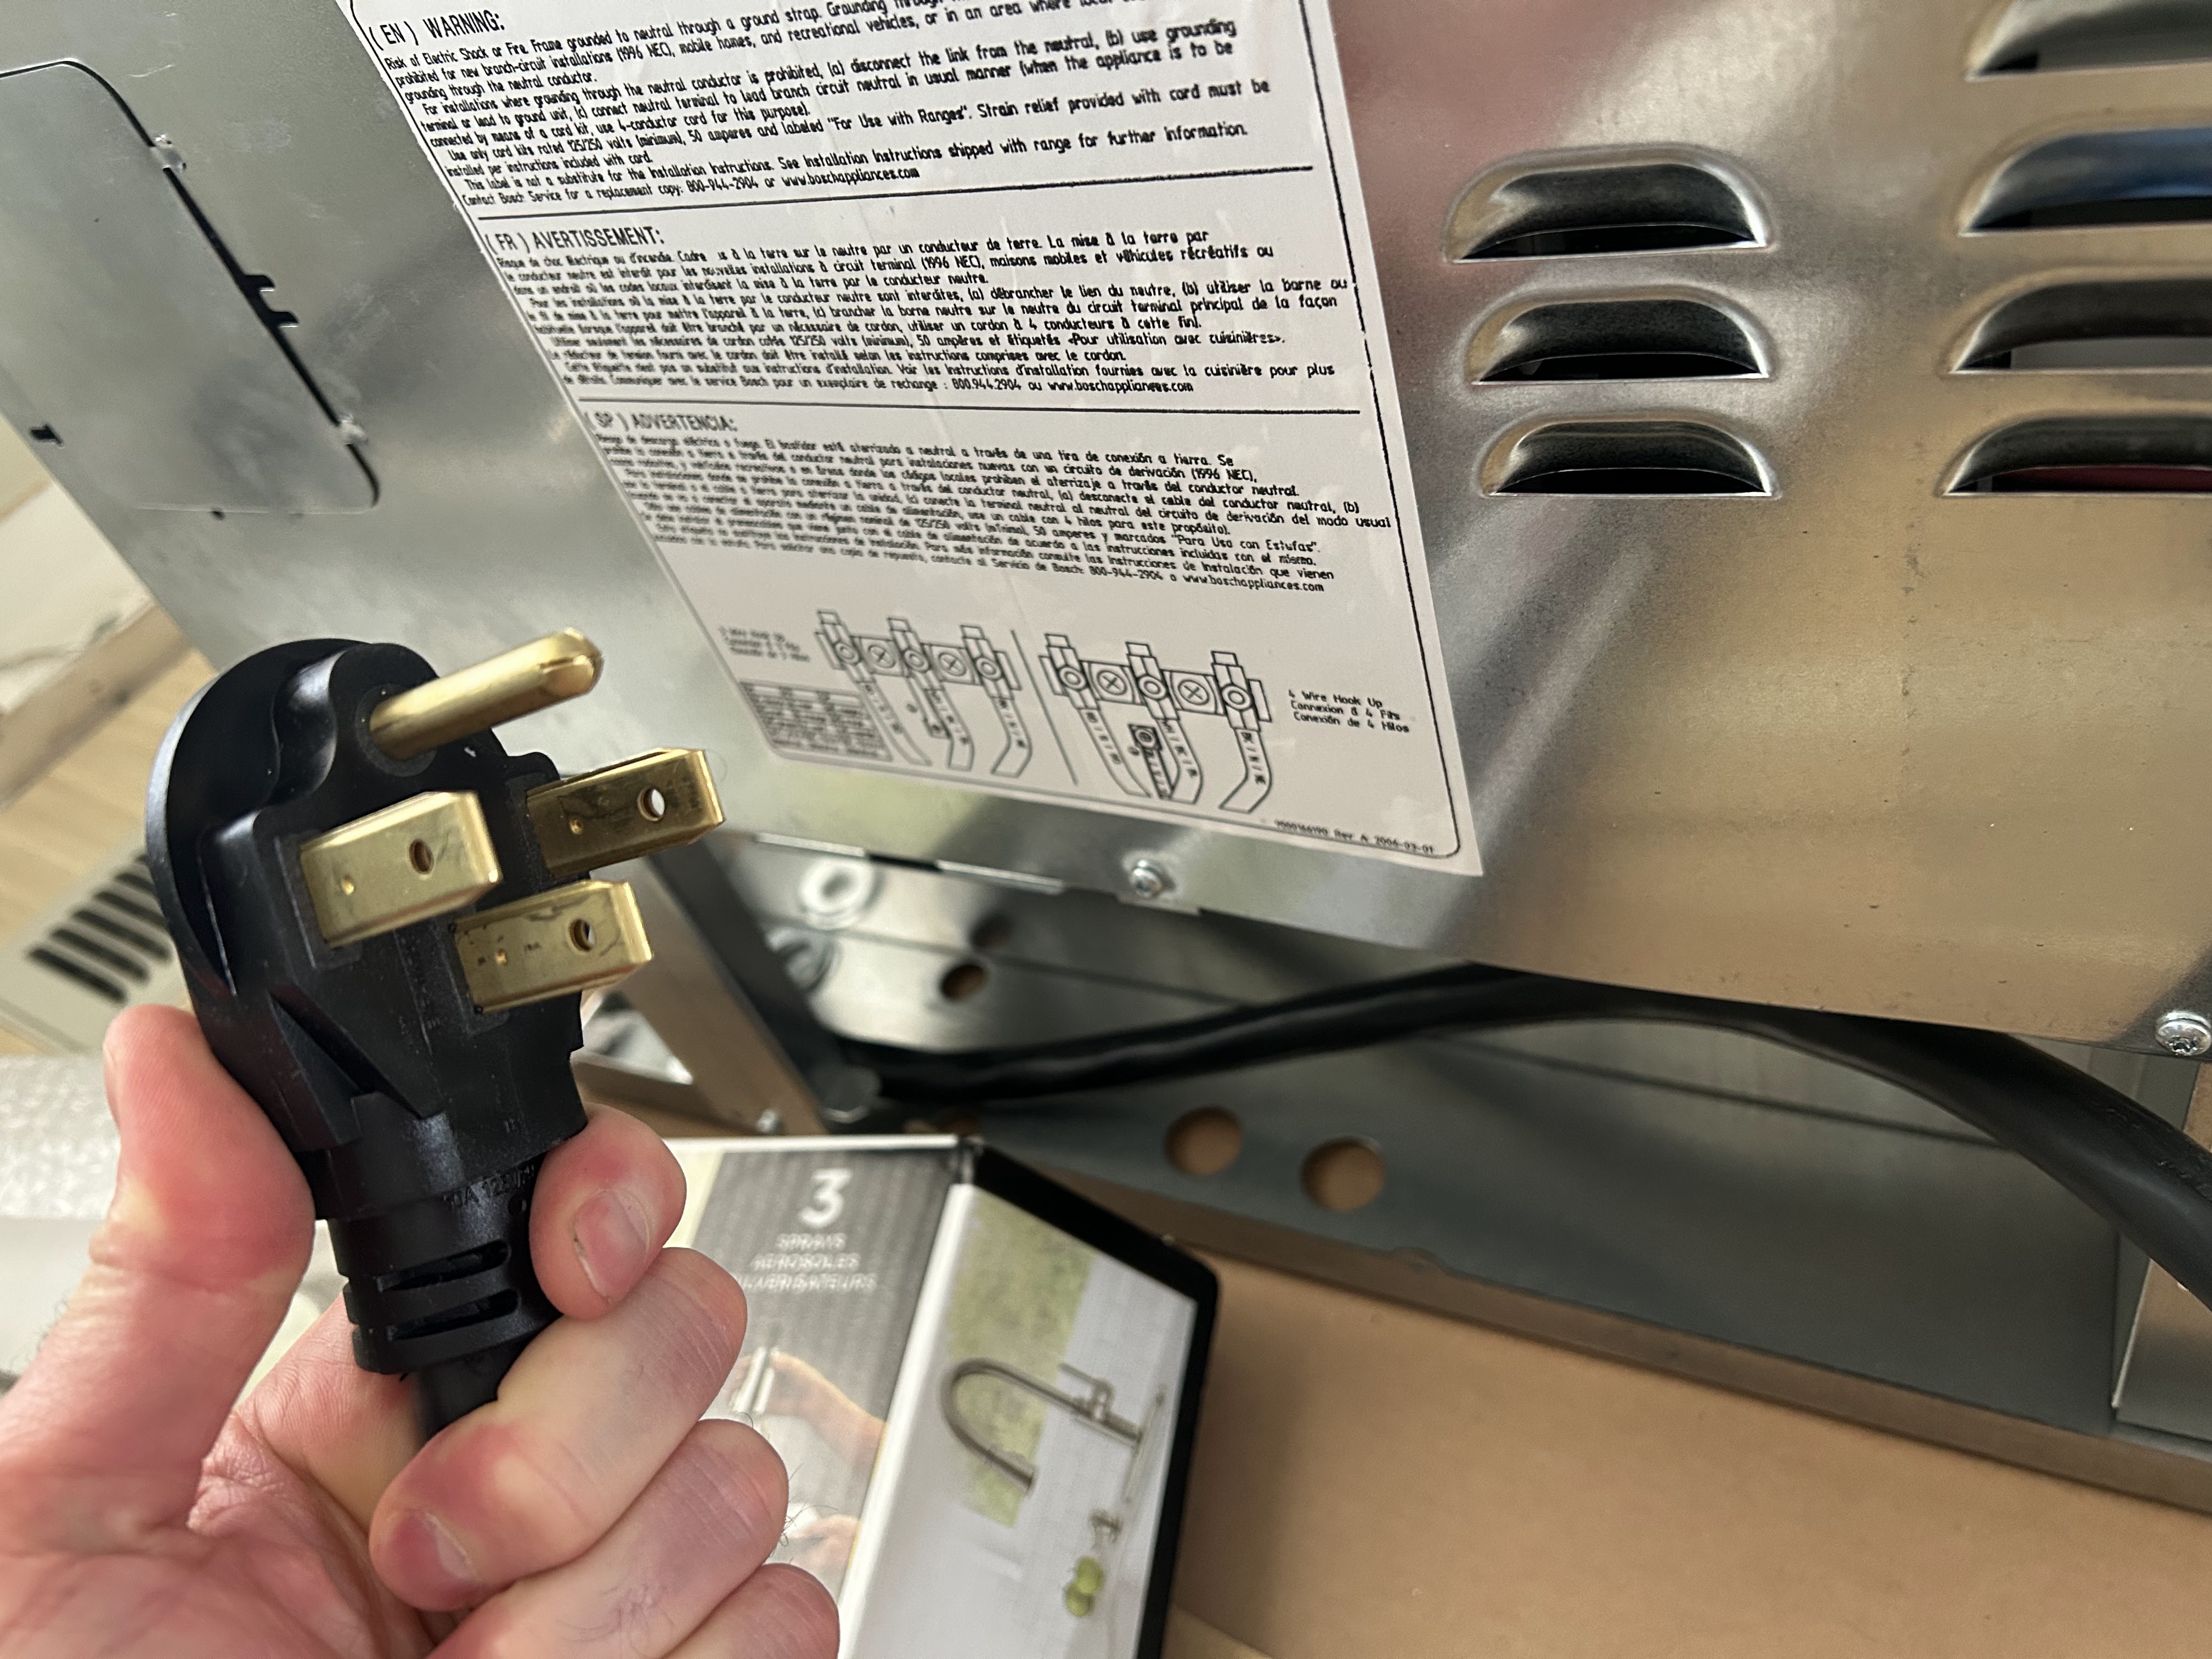
Appliances are due soon - and once those are here, nothing is holding back the countertop install. The sink is the last piece of the cabinet puzzle and then the flooring needs to be finished to make the appliance installs easy.

One thing I discovered when calling the countertop company is that my countertops have to be no more than 1/8" off level (in the span of 10 feet). I hadn't checked with a laser after the install - I'd only used a large level. I fired up the laser and I was off on the peninsula from the oven side by about 1/4". Ugh.

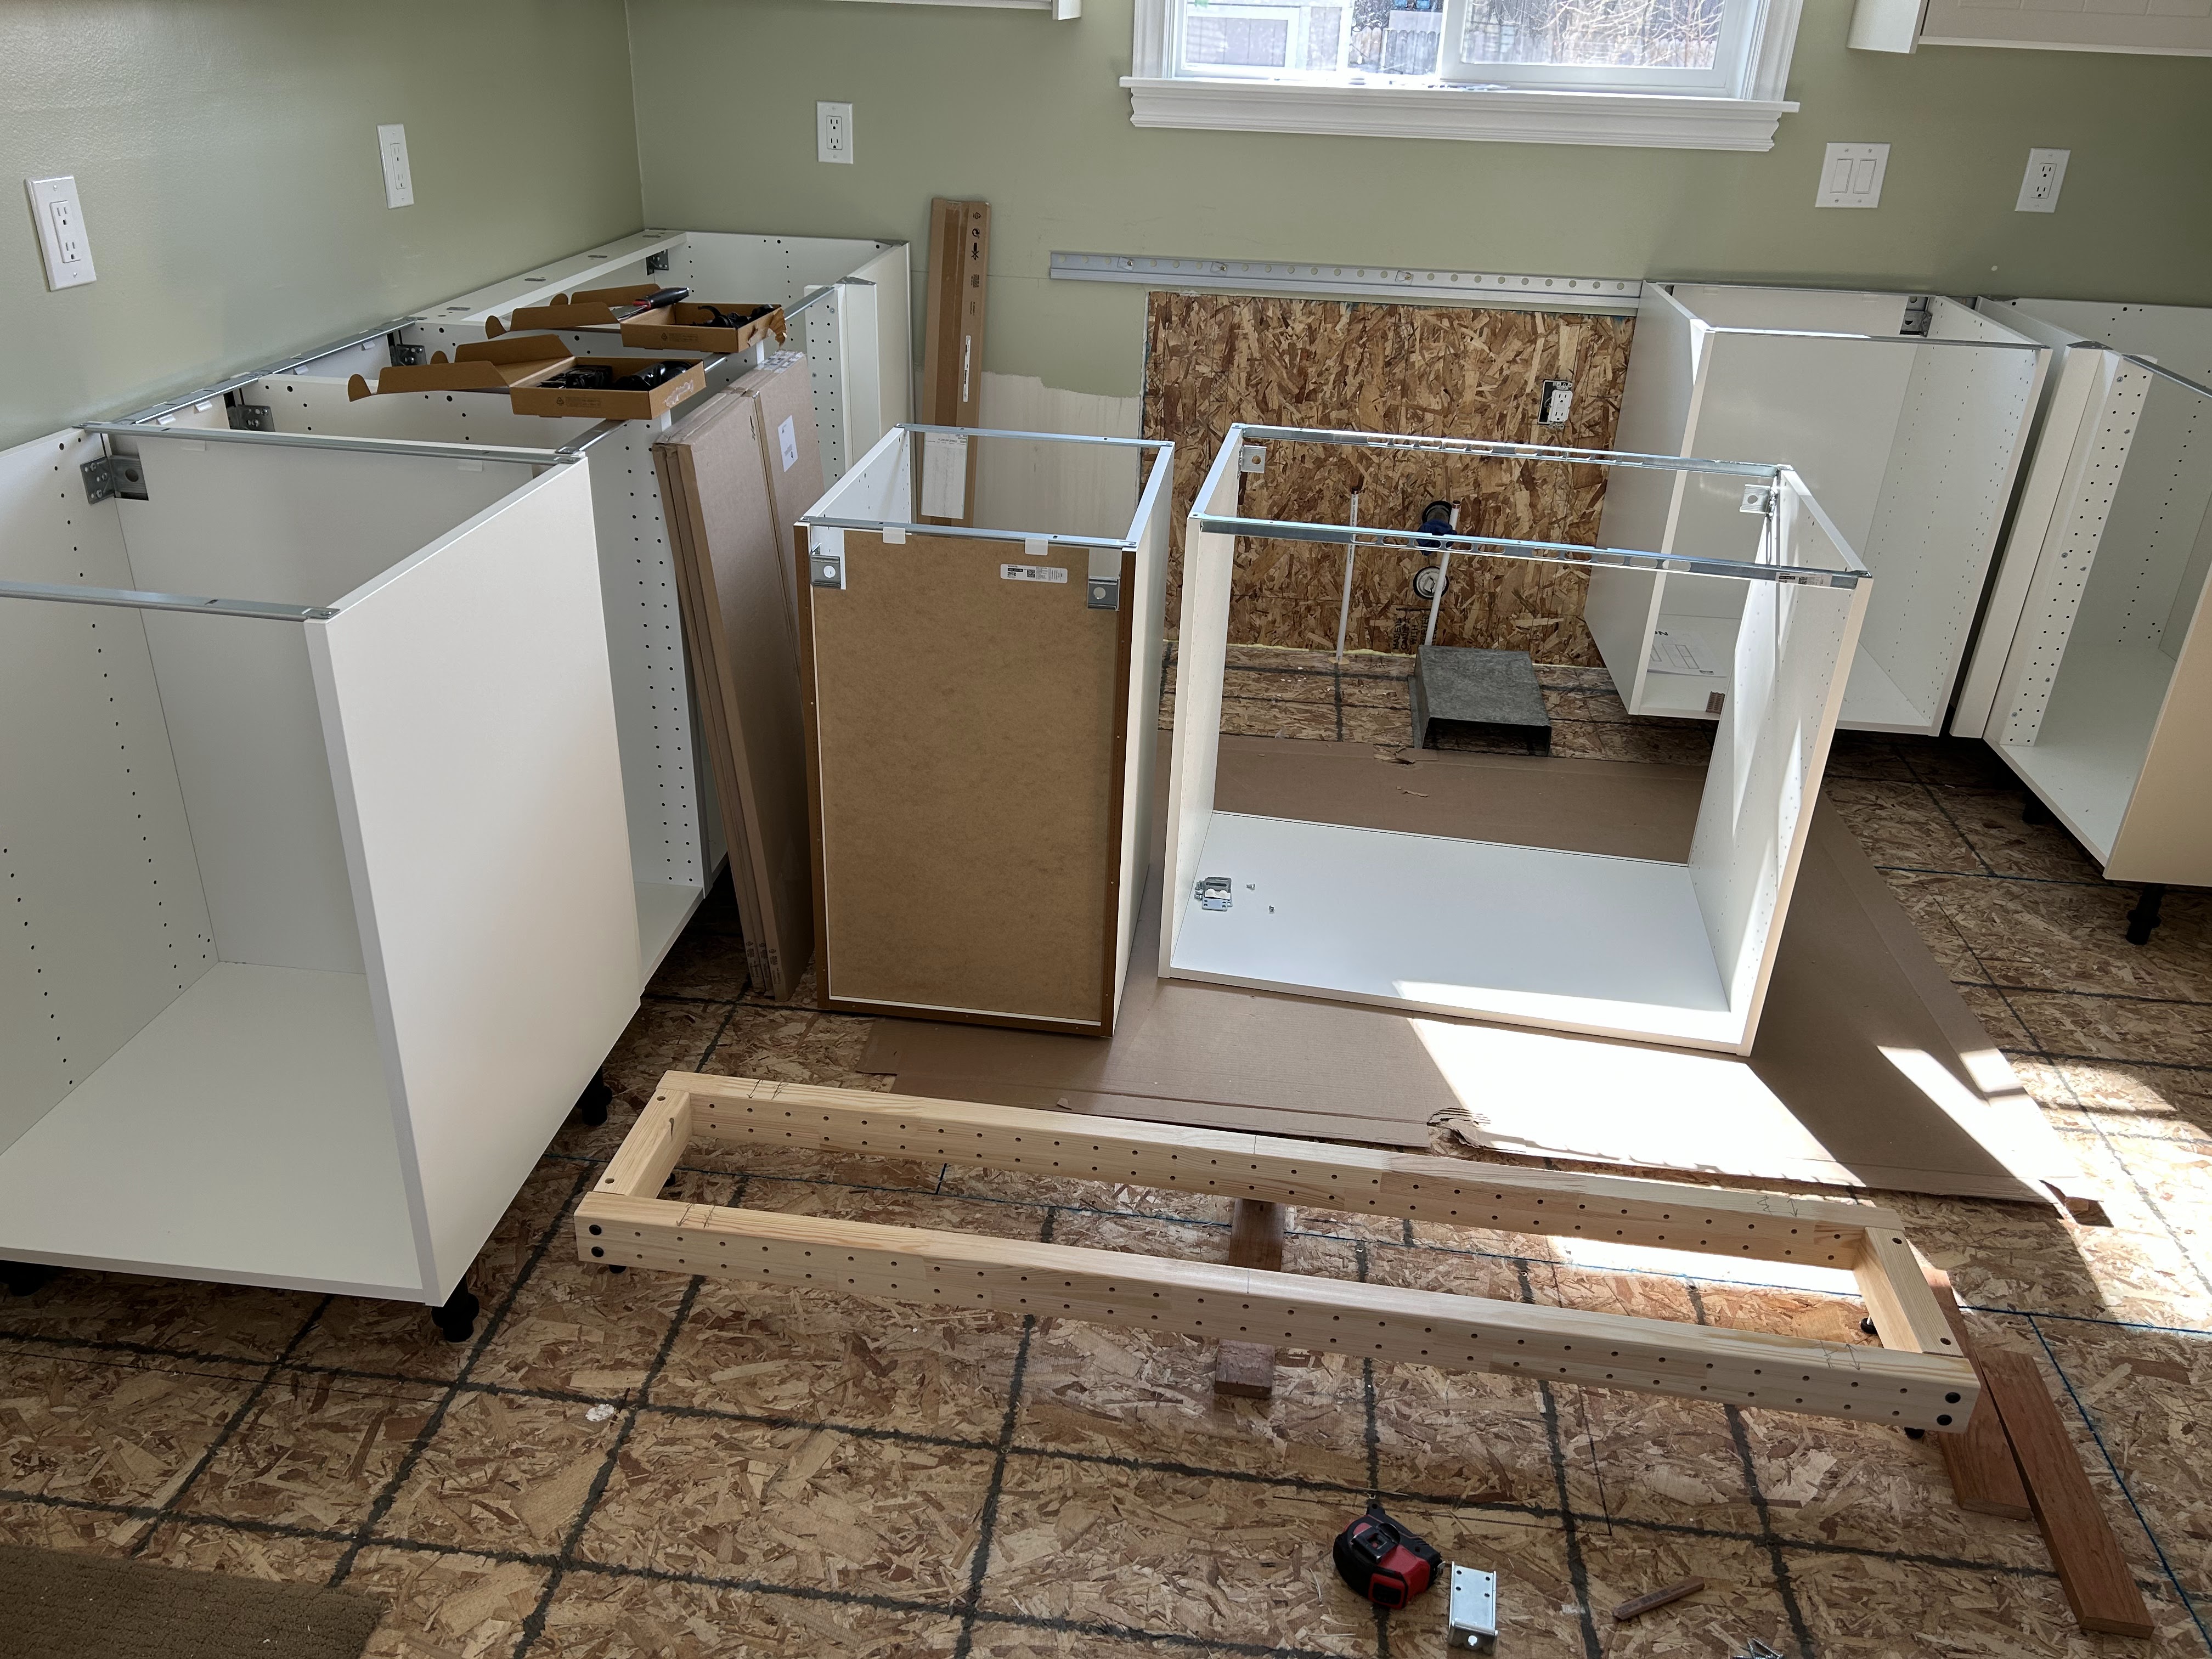
So, I removed all but the 2 cabinets around the oven and re-screwed the sektion rails back to the walls, while keeping the 360 degree laser level on. I'd hang each cabinet in place as I'd go and check them too. Took a bit of time, but I was able to fix some alignment issues too which was a bonus (the dishwasher space was a bit out of wack). Also had to unscrew the peninsula mounting and re-do it completely too.

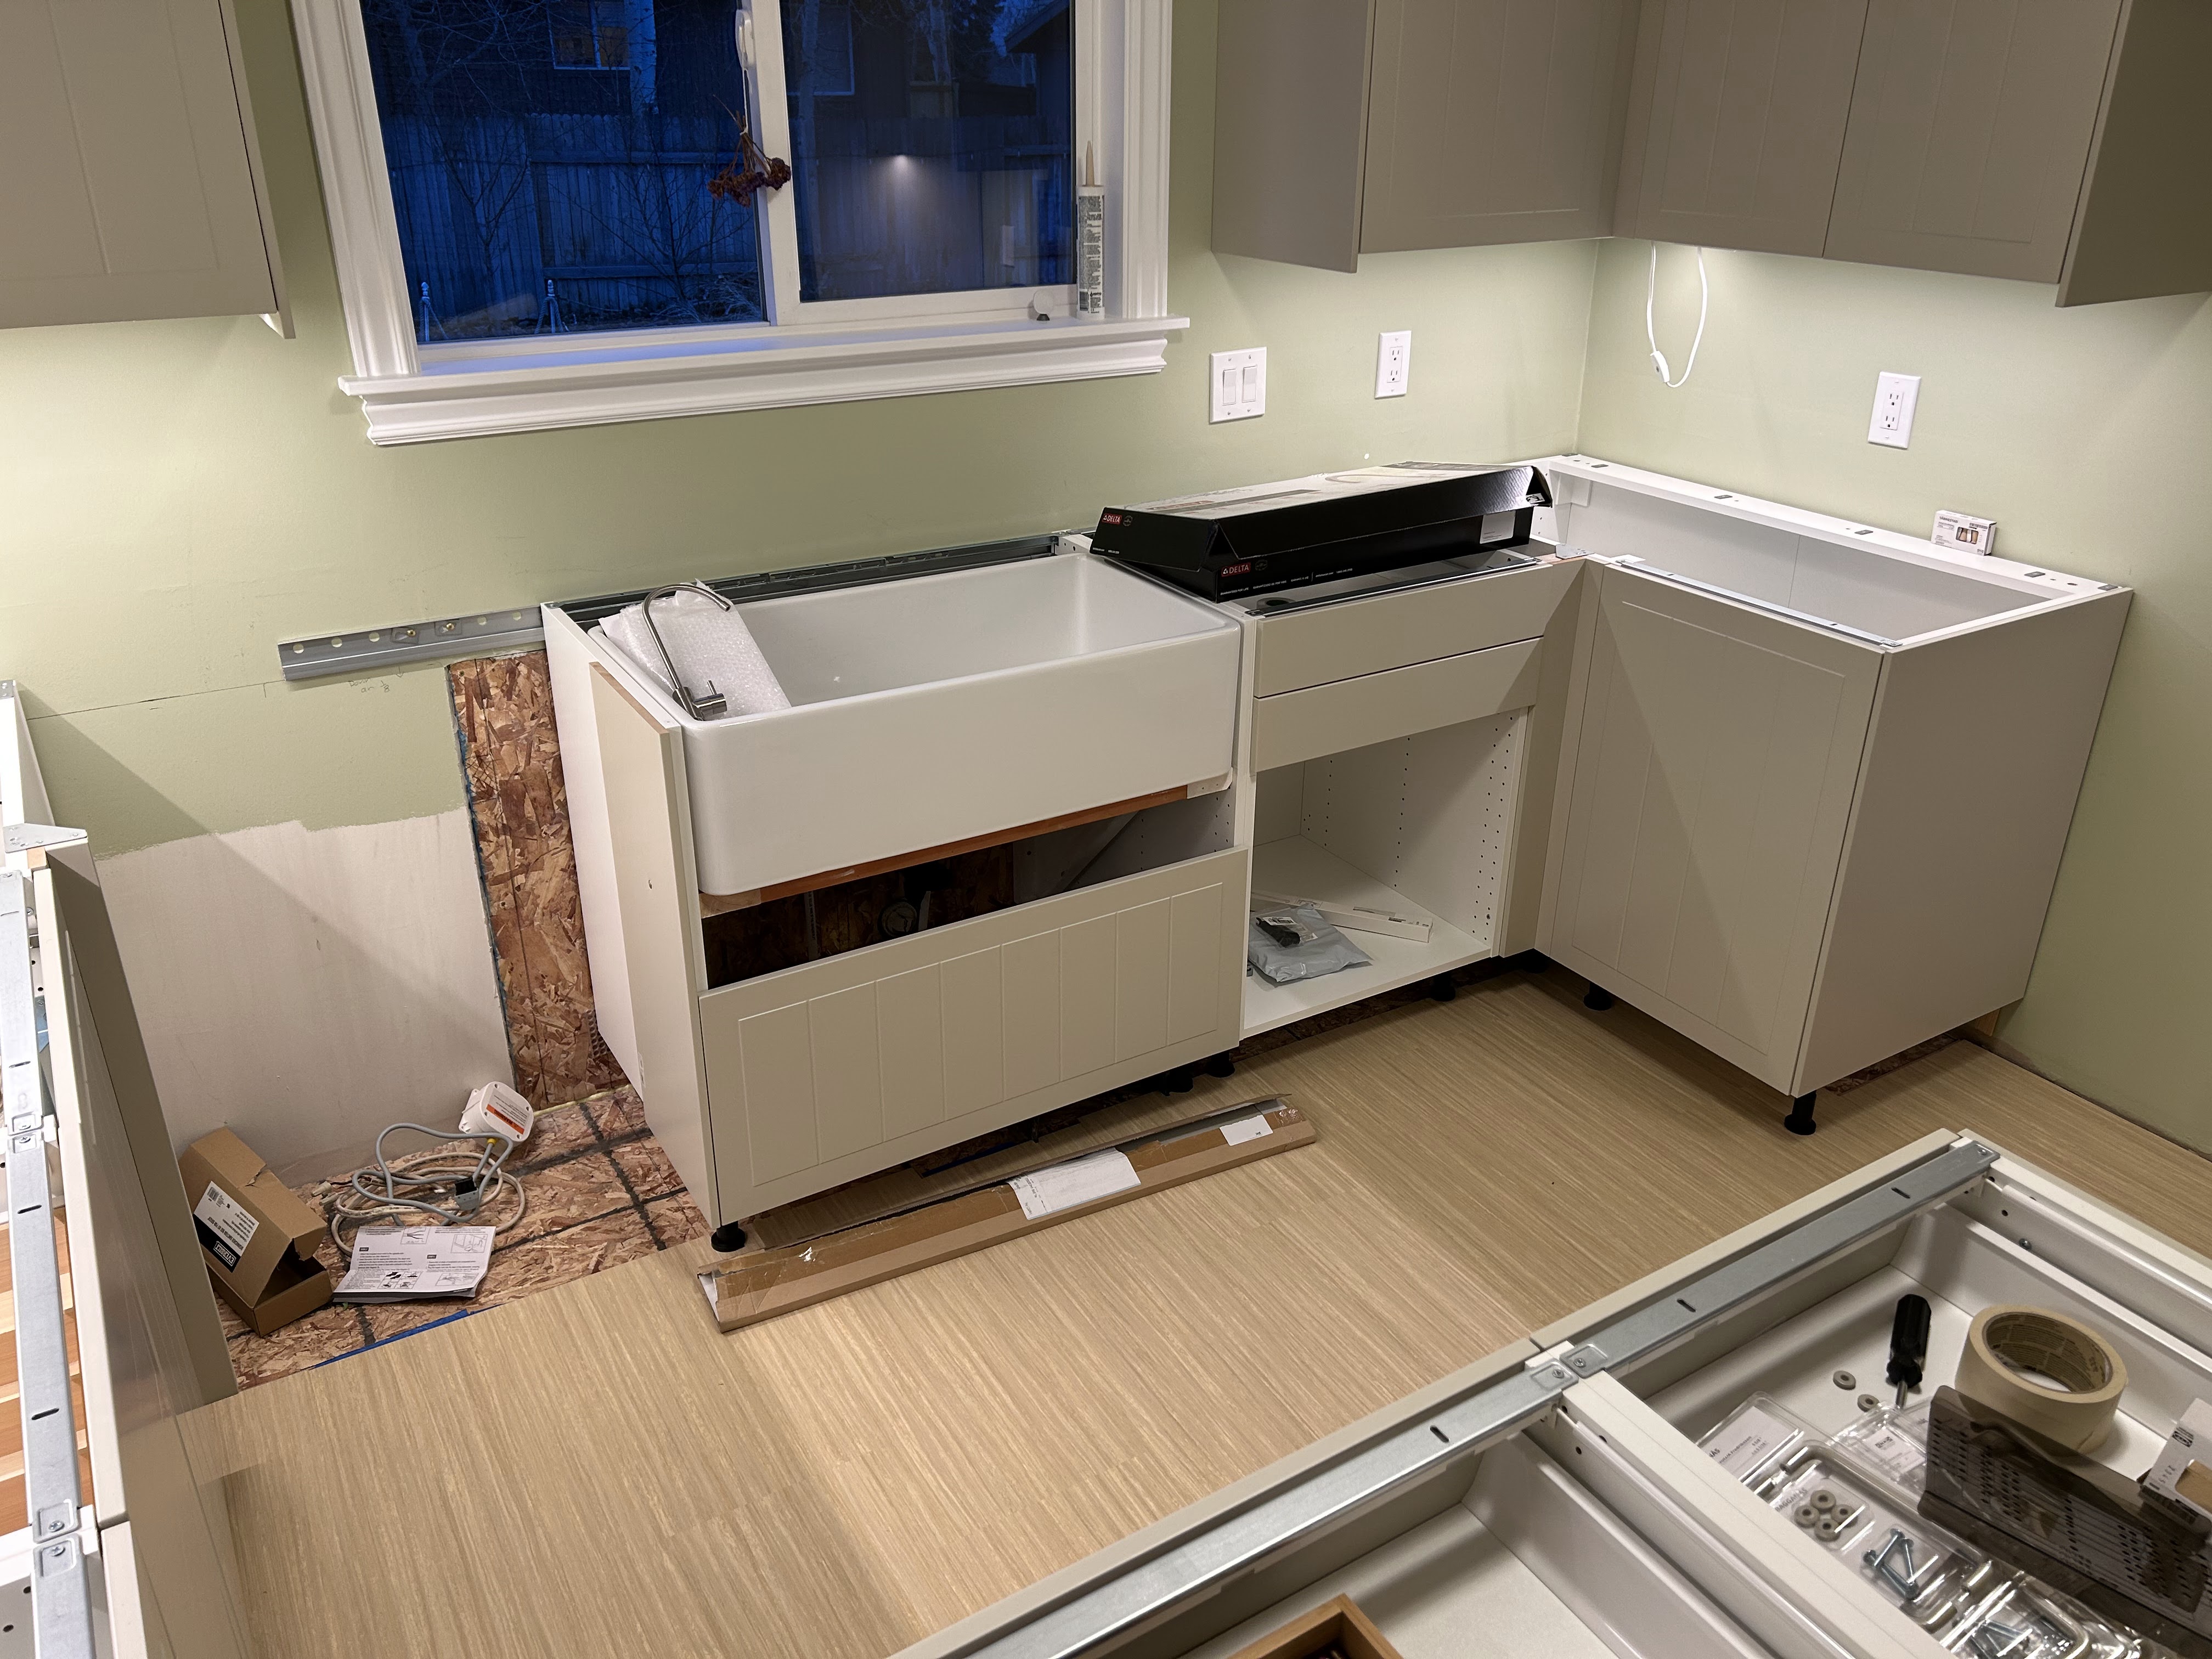
After I knew the cabinets were 100% level all around, I focused back on the sink install, got the mounts level and definitely solid, and called it all good.

level side to side

I added some extra supports around the perimeter.

Supports a human, so should work well.

Sink in place. Some minor shimming will be needed.

So then, now onto flooring. I'd bought the flooring years ago, back when I got the flooring for the living room as well. Same stuff as before, marmoleum. 

Placing underlayment down.

First rows.

Time for the fun cutting around the cabinets

Don't want the cabinets sitting on floating floor.


All done

With lighting on.


Fridge all installed. Barely fit.


Sunday, February 23, 2025

Bottom Cabinets

Spent three full days getting the bottom cabinets in. Ikea has a special system for attaching island cabinets, or in my case a peninsula, so that took a lot of fine tuning and tweaking to get it all level and sitting right. The bottom cabinets in general where a lot more challenging to get sitting right as the walls were surprisingly unlevel and probably best described as "wavy."

First one in.


Assembling the peninsula support.


Added some spacers to raise up support, and ensure solid connection to beams below.


More filler piece brackets

Semi-complete.

Last cabinet to put in place was the sink. As I've got a farm-style under counter mounted sink, I want to ensure it's going to be solid and properly supported, so I fashioned some 2x4 and 2x6 supports, with heavy duty bolts keeping them together. That's also the reason I installed OSB on the wall, for a solid backing to attach to - otherwise it would just crush drywall when tightened down.


One side of support.


Tuesday, February 18, 2025

Backtracking

Well, this was not a good day and was fairly discouraging. As I had to use good sized screws to attach the cabinet railing (#10 2 1/2" cabinet screws), there was a danger of possibly hitting electrical depending on where it was run. I'd placed metal panels where I could when I pulled the drywall off under the window, and had a general idea where the romex was run, but I hit some bad luck.


The breaker tripped and after pulling back the drywall to see how (and if) I could re-run the romex, I discovered there was a real mess of wires, as that wall cavity was where the main breaker to the house was located. 

Just the main feed to the house... no biggie.

Offending cable cut back to be re-run

Smelt like... burning.


Re-run, along with tons of metal protection now.

Back to normal, now with new junction box where cable joins.


Sunday, February 16, 2025

Top Cabinets

First step in hanging Ikea cabinets is to create a level line and screw in their sektion rails to the wall to hang the cabinets off of. This took some time to properly find the studs in the walls as using a stud finder in walls that have foil backed insulation doesn't work. I was worried too, that one screw every 16 inches wasn't enough to hold up massive cabinets (and their eventual contents) but was given a good tip on youtube to just add an additional screw directly under the rail as well. This would ensure two screws every 16 inches would keep everything solid.

Had to cut out a notch of the crown moulding for the cabinets to fit.

Railing in place, with extra screws below as well.

First cabinet in place. Had to start with corners first.

Dry fit of most of the top cabinets.

Got some flat plugs so I could get things plugged in for the lights.

Finished panel and door in place.

Drilled a small hole to run the cables for the inside cabinet lights.

Bracket for the filler piece needed.

We have light!


Sunday, February 9, 2025

Final Patching and Paint

With the electrical and mudding of the walls done, I can finally move onto putting the actual cabinets up and making the space look like a kitchen. Here's a few photos of what it looked like before and after the final paint.

Mudding all complete. Need to paint ceiling and walls.

A look at the wall and ceiling texture I needed to match.

Hopefully after paint, I matched the ceiling texture...

Can you tell?


All done.

Also completed the window in the kitchen, which was left unfinished because when the new window was installed the soffit was still there. As I was planning to eventually take out the soffit, it sat unfinished forever. Was nice to finally complete the trim around it.


Monday, February 3, 2025

Kitchen Electrical and Drywall

I'm almost regretting doing it, but the cabinets I ordered and will be installing and complete with lighting effects all around. Under counter lights, drawers that light up - the works. In order to supply the power for those, however, I need to add a bunch of outlets in the ceiling and hidden behind the cabinets so I can power them in without all the wiring showing.

Showing two future outlets in the bottom corners.

Fishing electrical though the wall from existing outlet.

Pulling the romex down and through the outlet to connect.

Other side. Had to cut out drywall that I'd already finished.

New box installed.

After the electrical was all done, which of course, took longer than expected. The drywall patching and mudding began.

New drywall added where pantry used to be.

Added chipboard backing for future sink support.

Mudding begins.