Thursday, March 27, 2025

Details

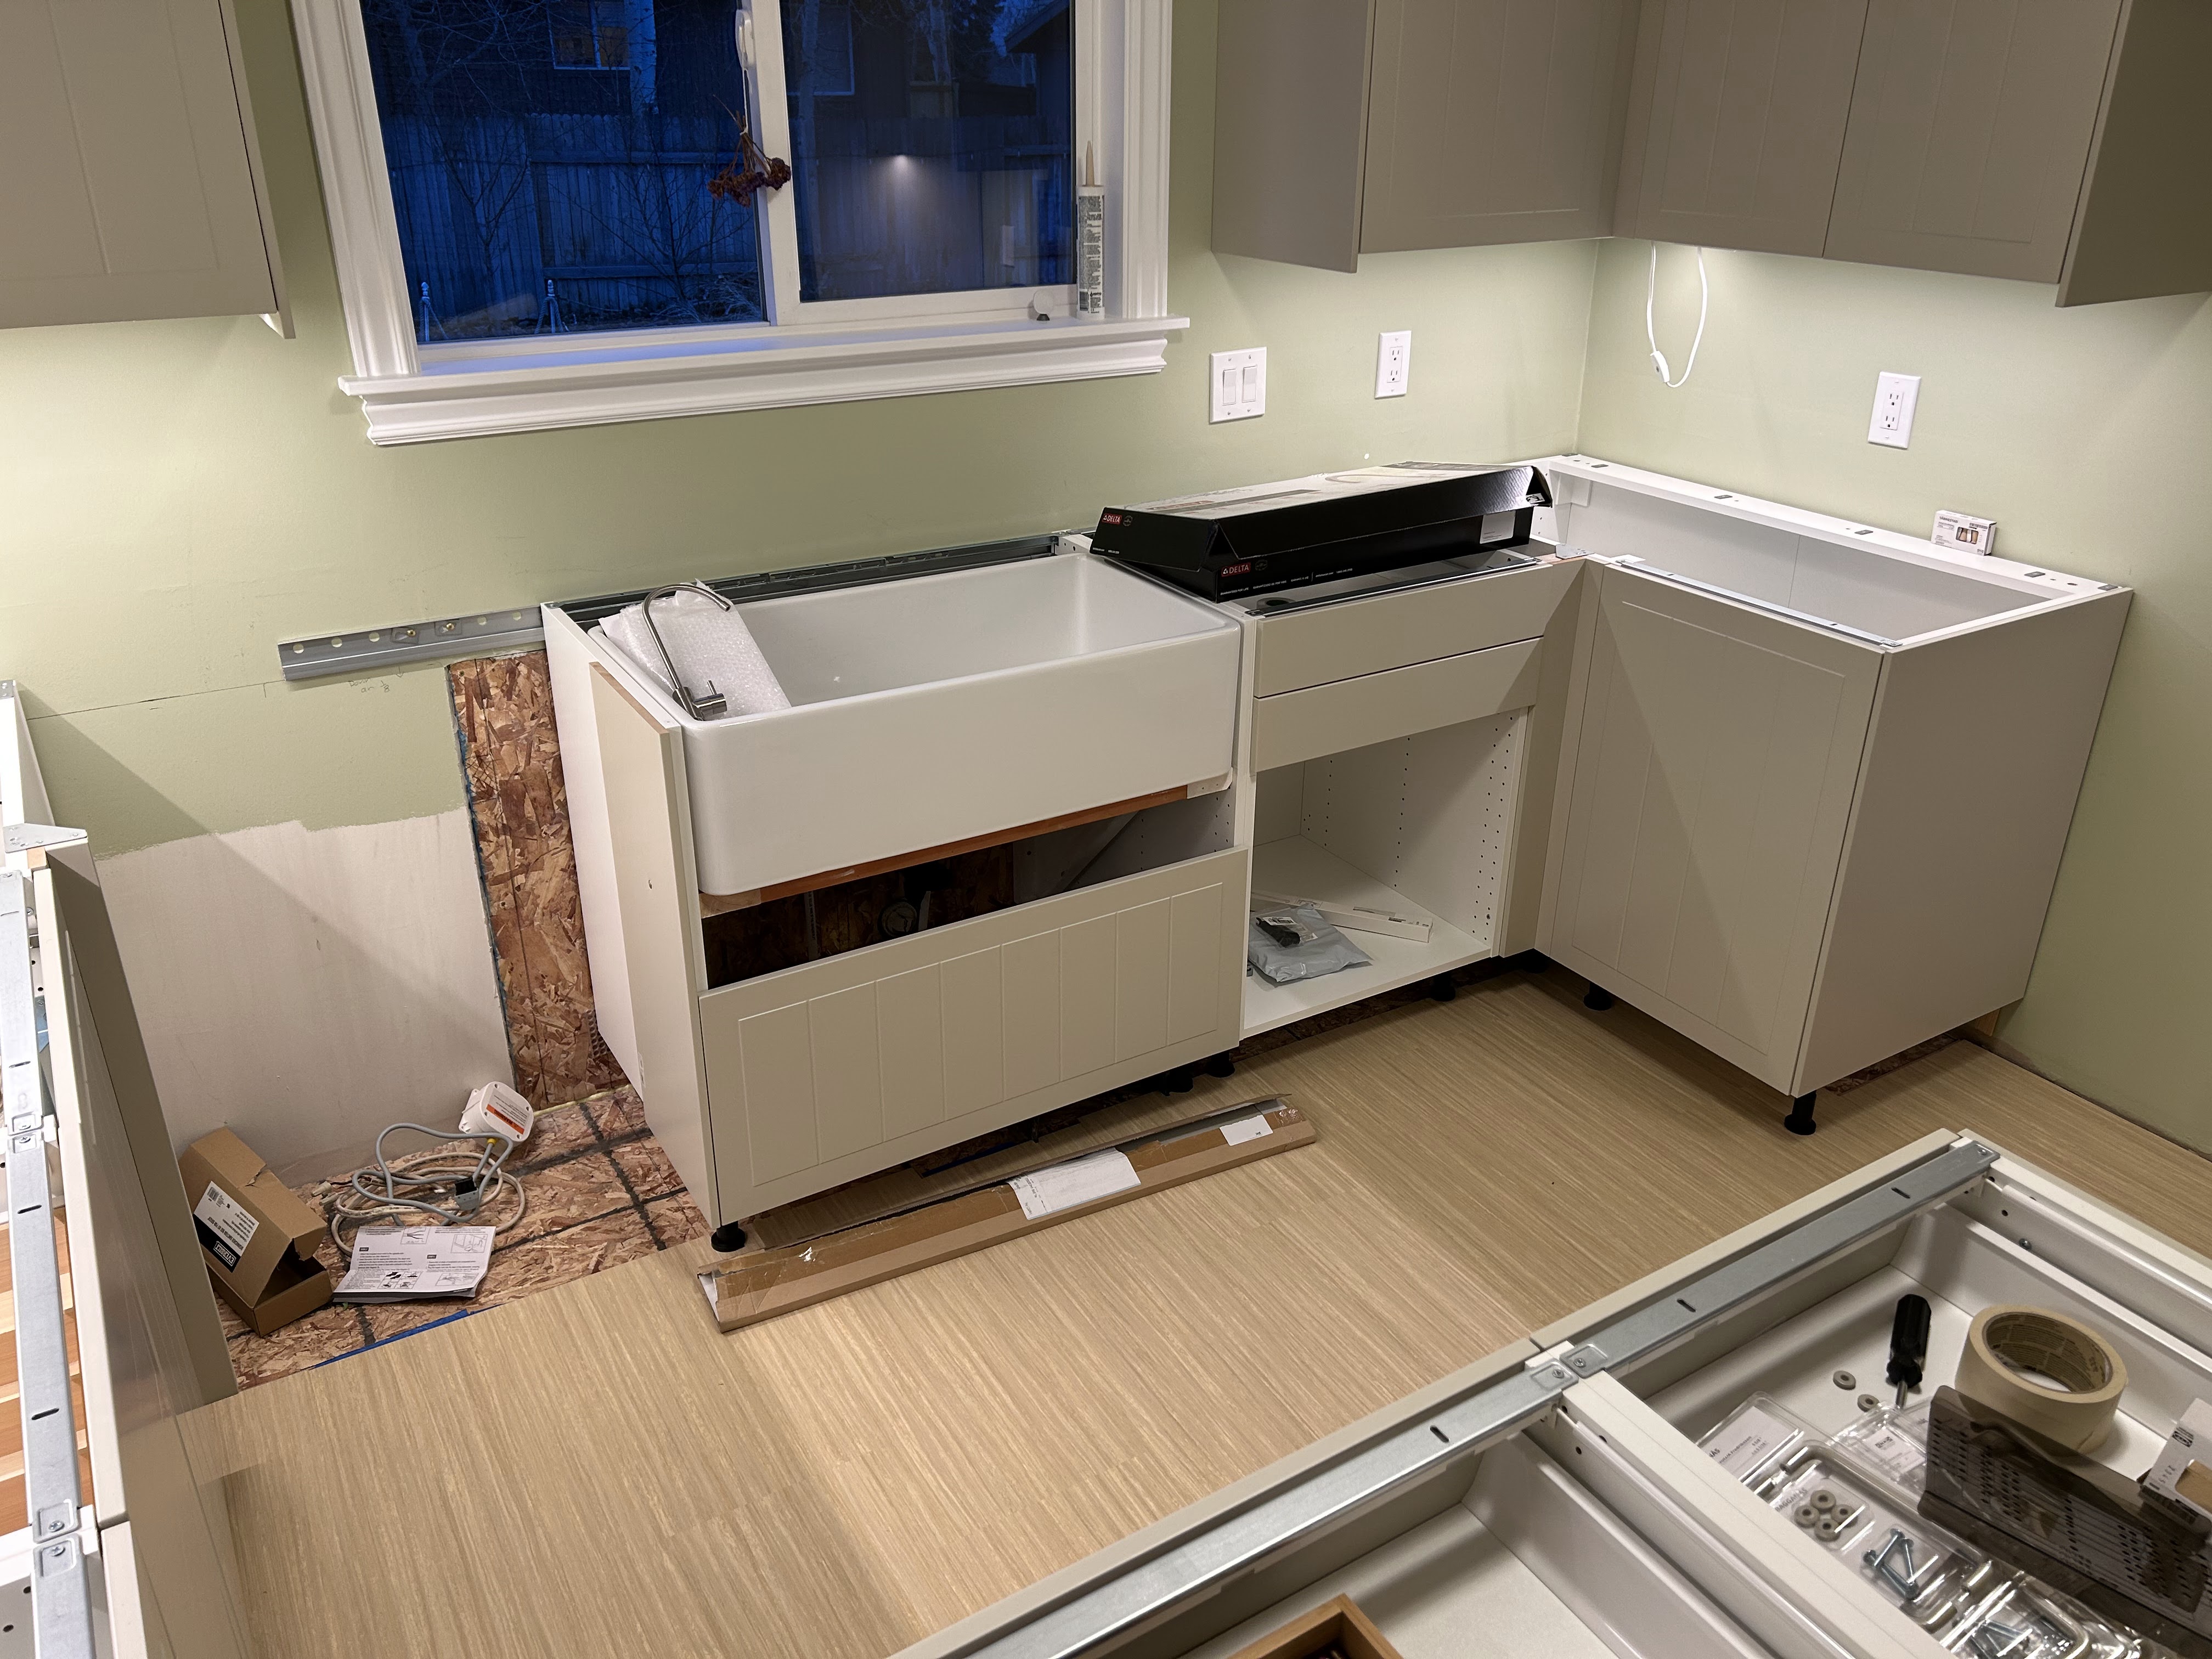
Little details to get things ready to complete... I was waiting on the plumber to return to finish up the shutoff valves under the sink.

Gotta do the drain myself. You can see me test fitting the water filters behind.

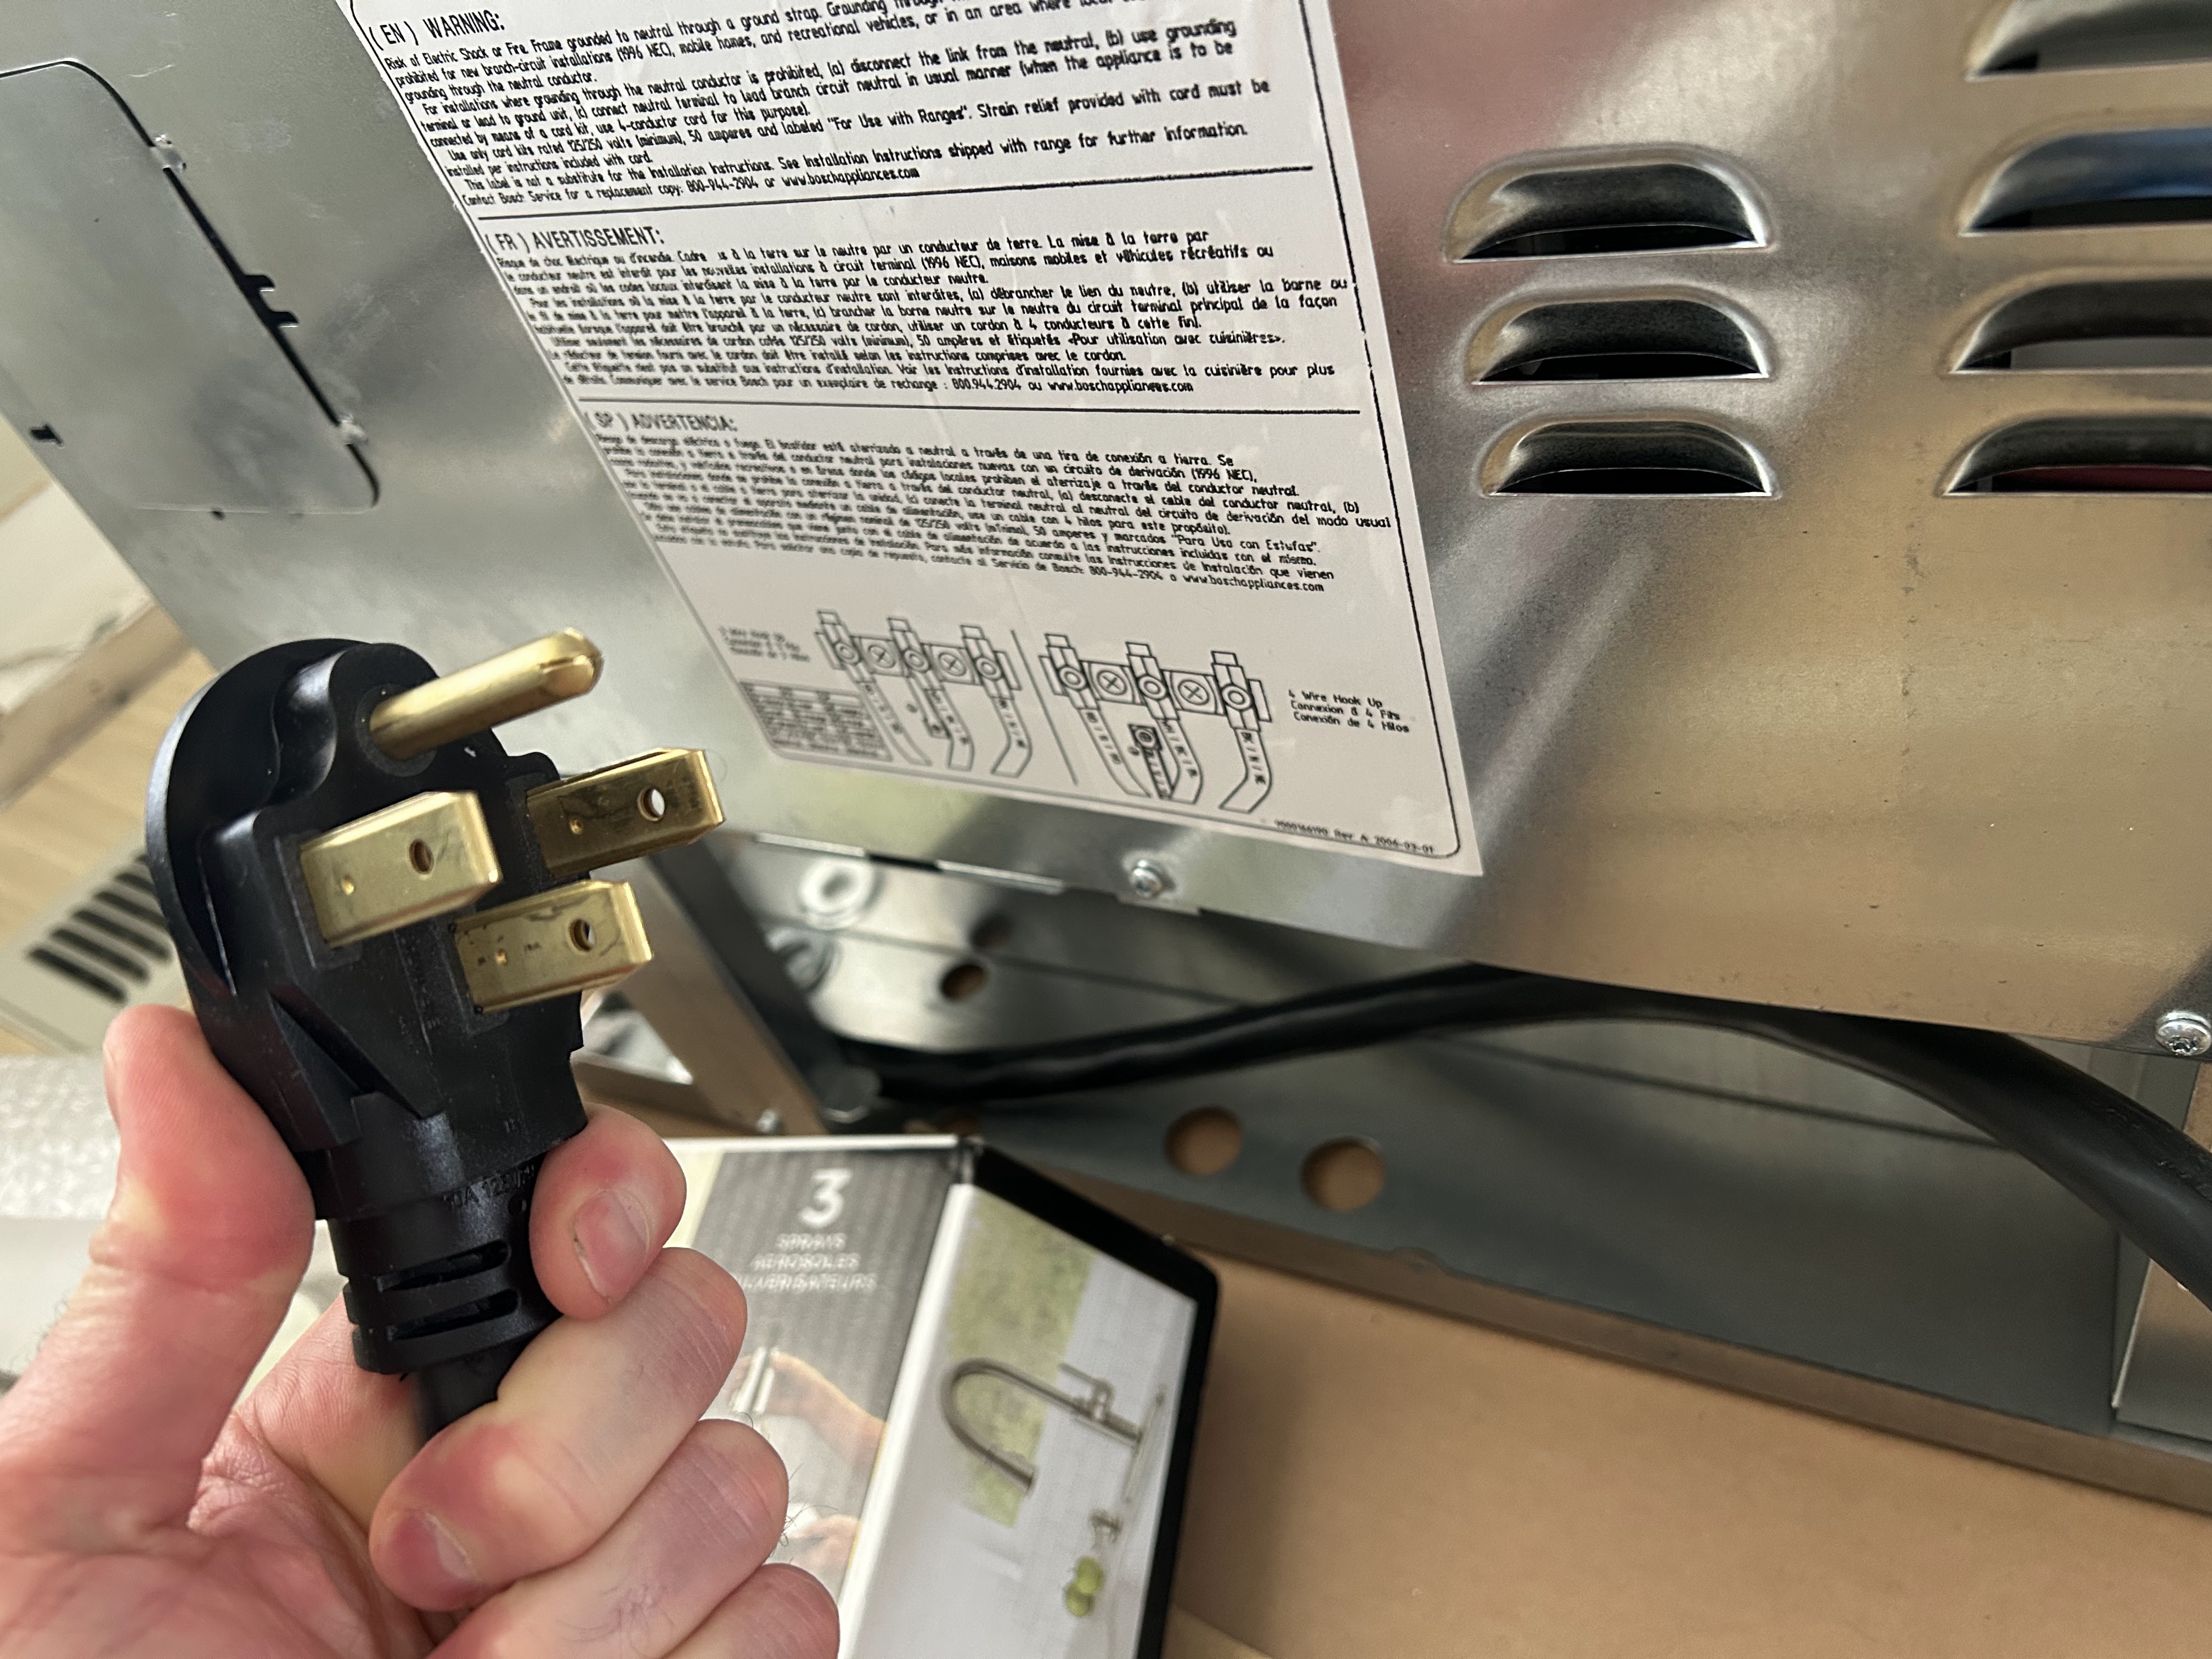
And then the oven was a question. I had an old 3 prong outlet and plug for my previous oven, but current ones use a 4 prong outlet/plug. I had my electrician over and luckily, I had the ground wire for that 4th connection needed for the 4 prong outlet, so a new wire run wasn't needed. He sorted that and the oven connection (they never have the cord installed on new ranges).


I ended up buying more lights as well for the drawers in the pantry, as it felt weird with every other drawer being lit except for the pantry ones.


And then, another little detail is that I got some almond caulk to fill in gaps where the cabinets met the walls. On most cover panels, they weren't deep enough to keep a uniform reveal at the front of the cabinet while keep it uniform against the wall too. Caulk was my solution and so far, I makes things blend well.

Example of caulk to fill in a gap.


Third time is a charm

 Initially, I bought a fancy Bosch microwave/fan to install over the range, but didn't do my research. The microwave was super beefy, 1500 Watt and required a dedicated 20 AMP breaker. I definitely didn't have it on a dedicated outlet and didn't really want to chance it. I didn't really want or need an uber microwave with all the bells and whistles anyway. So, I returned it and got a fancy range hood instead. After working on cutting the cabinet and getting everything set, I lifted the range into place awkwardly (over 50 pounds) and discovered it was too short. IKEA cabinets are about 15" deep and standard upper cabinets are 12".

Pulled out top cabinet.

Outlet moved up, all holes cut.

My "duct rocket" fashioned to push through insulation.

All set.

That template definitely isn't going to work.

So, after struggling with the range hood all day (you'll notice the template was just worthless), I ended up returning it the next day and venturing to the source (IKEA) to see what my options were.

Turns out the best solution was getting a cheap over range microwave/fan from IKEA. I already had the mounting hardware I needed, so I bought another upper cabinet (I just needed the lower piece as I'd cut the previous one for the previous range hood).

Just need to add ducting from microwave.

Kinda done.

I still need to connect the duct in the attic to a roof vent (which is always fun). But I finally have something in place.

Monday, March 10, 2025

Light work

Now that I'm just waiting for the countertops to be measured and installed, I've just got random finish work to do. As I've dismantled the temporary kitchen shelving and been able to move everything into the new cabinets, first thing to get sorted was all the handles on the drawers and doors to make it easier to get to all the goods inside.

I did buy a cheap set of jigs, one for doors and one for drawers. Was definitely the way to go. I'd mark the proper holes, use an automatic center punch to make sure the drill bit didn't wander, then drill the holes.

Jig to make all the handles uniform on the doors.

Clamp a wood piece on, so the drilling doesn't blow out the back.

Handles in place.

Oak handles for top cabinets.


Friday, March 7, 2025

Sink Support and Flooring

Appliances are due soon - and once those are here, nothing is holding back the countertop install. The sink is the last piece of the cabinet puzzle and then the flooring needs to be finished to make the appliance installs easy.

One thing I discovered when calling the countertop company is that my countertops have to be no more than 1/8" off level (in the span of 10 feet). I hadn't checked with a laser after the install - I'd only used a large level. I fired up the laser and I was off on the peninsula from the oven side by about 1/4". Ugh.

So, I removed all but the 2 cabinets around the oven and re-screwed the sektion rails back to the walls, while keeping the 360 degree laser level on. I'd hang each cabinet in place as I'd go and check them too. Took a bit of time, but I was able to fix some alignment issues too which was a bonus (the dishwasher space was a bit out of wack). Also had to unscrew the peninsula mounting and re-do it completely too.

After I knew the cabinets were 100% level all around, I focused back on the sink install, got the mounts level and definitely solid, and called it all good.

level side to side

I added some extra supports around the perimeter.

Supports a human, so should work well.

Sink in place. Some minor shimming will be needed.

So then, now onto flooring. I'd bought the flooring years ago, back when I got the flooring for the living room as well. Same stuff as before, marmoleum. 

Placing underlayment down.

First rows.

Time for the fun cutting around the cabinets

Don't want the cabinets sitting on floating floor.


All done

With lighting on.


Fridge all installed. Barely fit.