Tuesday, May 29, 2018

Death by drywall

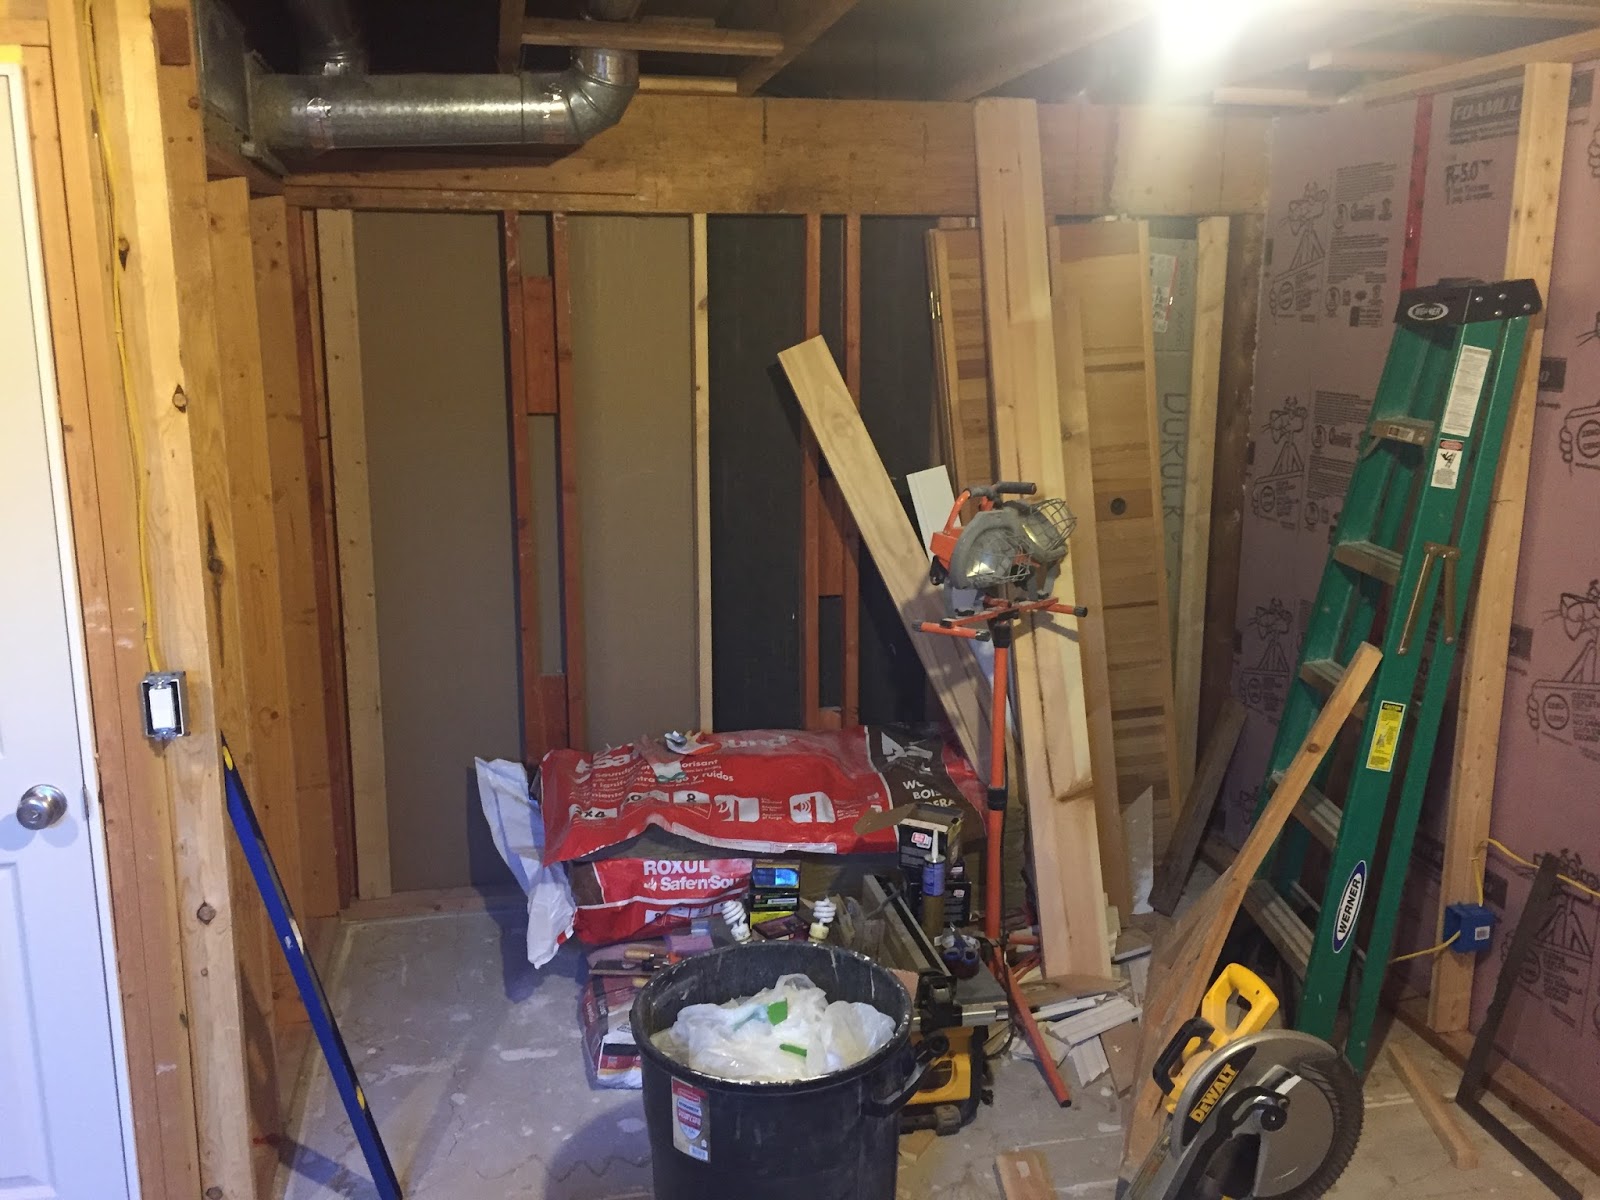
Well I took some time off so I could complete all the drywall. Had time in the afternoon to at least relax, but drywall is so time consuming and exhausting, I feel like it took way more time than it should have. But, it's now all done (mostly). I still have to put up a second layer and some green glue on the adjoining wall to the bathroom.
Also realized the outlet for the mounted tv was going to be too low, and that there wasn't proper framing for mounting a solid tv, so I had the rewire the outlet and also nail in some additional support.

Plenty of support now.

A look at the mount mocked up.

Finally I can finish drywalling now...


Monday, May 14, 2018

Journey to drywall

Well, I finally got there. Actually, finally isn't the proper term as I've seemed to complete this room rather quickly. Finished up all the ceiling and wall insulation, along with insulating the ductwork. Also finished up the last of some framing to ensure the drywall had plenty of points to anchor into. It's definitely starting to look like a room now.


Can still see into the adjoining utility room.

Just a little missing. Too many tools in the way.
Insulation closes off the room from the utility space.

10 sheets of drywall carried down so far.

First sheet up!

Monday, May 7, 2018

Crazy for insulation

Since I was getting more insulation and all the drywall for the downstairs room delivered, I decided to add on enough R30 insulation to finally insulate the garage attic. I insulated the walls in the garage years ago which helped keep out the cold in the winter, but was always meaning to also insulate the attic as in the summer, the garage will get scorching hot. So... insulation procured...

6 bags of R30 24" batted insulation.
Woke up early and started one day and only got through one bag. As the access to the attic was too small to fit a full bag through, I had to carry up one batt at a time which was extremely tedious. After the frustration I gave up for the day. Next day I formulated a better plan and made a ramp of spare chipboard to slide the batts into the attic. This allowed me to get more insulation into the attic to work on, so I wasn't constantly going up and down the ladder (or less so).

The chipboard slider.

As many batts as possible slid and hucked into the attic.

Getting there...

A look from the garage access to the attic.

All done! 4 bags of shiny white, 2 bags of dirty brown.

And butting up to the blown in cellulose over the living space.

Friday, April 20, 2018

Final framing and electrical

Finished up the major framing and all the electrical work. I added some recessed lights to the framing around the ductwork as it seemed like a nice touch and will add light to the bed or a desk that will be in the space. I also finished the framing for the closet. Took a little bit of time just to figure out the proper rough opening for the closet door sizing that was appropriate. Ended up going with one opening for two 30" wide closet doors.

Put the lights on a dimmer too, so they aren't too bright.

Opening for closet. Looking closely, can see the ceiling is unlevel.

Sunday, April 8, 2018

New room framing

Got the next exterior wall framed up and added all the insulation to the walls as it was taking up a lot of space in the room. As always, I'm using Roxul R15 insulation in the exterior and Safe n' Sound in the interior walls.
I also finally decided on how I'm going to use the space. I was going to frame in a standard 48 inch opening closet where the walk-in closet used to be, but instead I'm going to move the closet to the right of the door as it makes better sense for the room. So, with the closet moved to the other side of the room, a bed will go where the closet used to. I'm also thinking of making that bed a murphy bed. Figure that will be pretty cool and a good use of space. As I'm typing this though... I don't think I've got enough ceiling height to make that work. Crap...

Next exterior wall framed in.

Had to add in extra framing so wall tied into ceiling.

Insulation added.

And... I ran out of insulation.
I thought it would work nicely to add in some recessed lights above the bed space, so wanted to add in a second light switch. Only problem is that I didn't have enough space to add a two-gang box, so I had to extend the wall out. Also, in order to box out the ductwork, instead of boxing around just the duct which I think looks crappy, I extended the framing all the way across the space so it kept the look uniform.

Little bit of a before photo.

Additional 2x4 wall added to add space for light switches.

Making sure everything is level before nailing in.

All finished with added blocks so drywall has plenty of anchors.

Monday, March 19, 2018

Next room on the list

I started up again, and have begun to tackle the next biggest room opposite the exercise room, just past the a/v room. I'd already stripped everything back, apart from the walk-in closet wall that I ripped down as I'll re-frame that into something smaller. Most of the work now is dealing with the lack of space, as everything I was using to work on the basement was/is housed in that room.

Quick look at the blank concrete ready for some rigid foam.
I'll be following the same standard used on all the previous rooms - rigid 1" foam glued to the concrete, then 2x4" walls framed in front. The only tricky bit will be figuring out where to frame in a closet, and how to frame around a gas line that runs below the upstairs floor joists.
Right of the door is where the walk in closet used to live.


Foam all done.
Framing has been put in place on one wall - I built it in place this time, gluing and screwing down the bottom pressure treated plate to the concrete, then marking where the top plate would go (using a plum-bob to make sure the wall would be level), then nailing in the wall studs.


Mostly finished product

Have been meaning to post some pics of the finished product for a while now. I've been enjoying not working on the house at all for a while now, and enjoying the fruit of my labor, I guess. Here's a few pics of all the new furniture and artwork throughout the basement.

A look at the stairwell. (Stairs still not fully finished).

New couch / chaise lounge with storage ottoman.

A/V Room with artwork. (You can see the switch & patch panel below the table too).