Tuesday, January 18, 2022

The Big One

 I started to attempt to finish the stairs in the house, up to getting the "retro" wood stair treads in order to do it. As I pulled away the tile from the first riser step, I then clearly saw the levels of chaos underneath my kitchen floor. I always knew it was quite high, as the carpet in the living room had to be shimmed up to reach the height of the tile floor - but I was about to discover a whole bunch of fun news.

Layer of linoleum, then particle board, more linoleum, mortar, then tile.

So I got the bottom layer of linoleum tested for asbestos, and it came back at 5% content. Got a quote to pull it out and the guy mentioned the second layer, with its black backing was probably worse and had the usual 60% asbestos. So - the kitchen journey began with asbestos removal.


Snuck a peak at the original flooring.

Not terrible, considering all that was on top.

Still a bit of adhesive left over on the floor.

Saturday, July 3, 2021

Front Garden Work

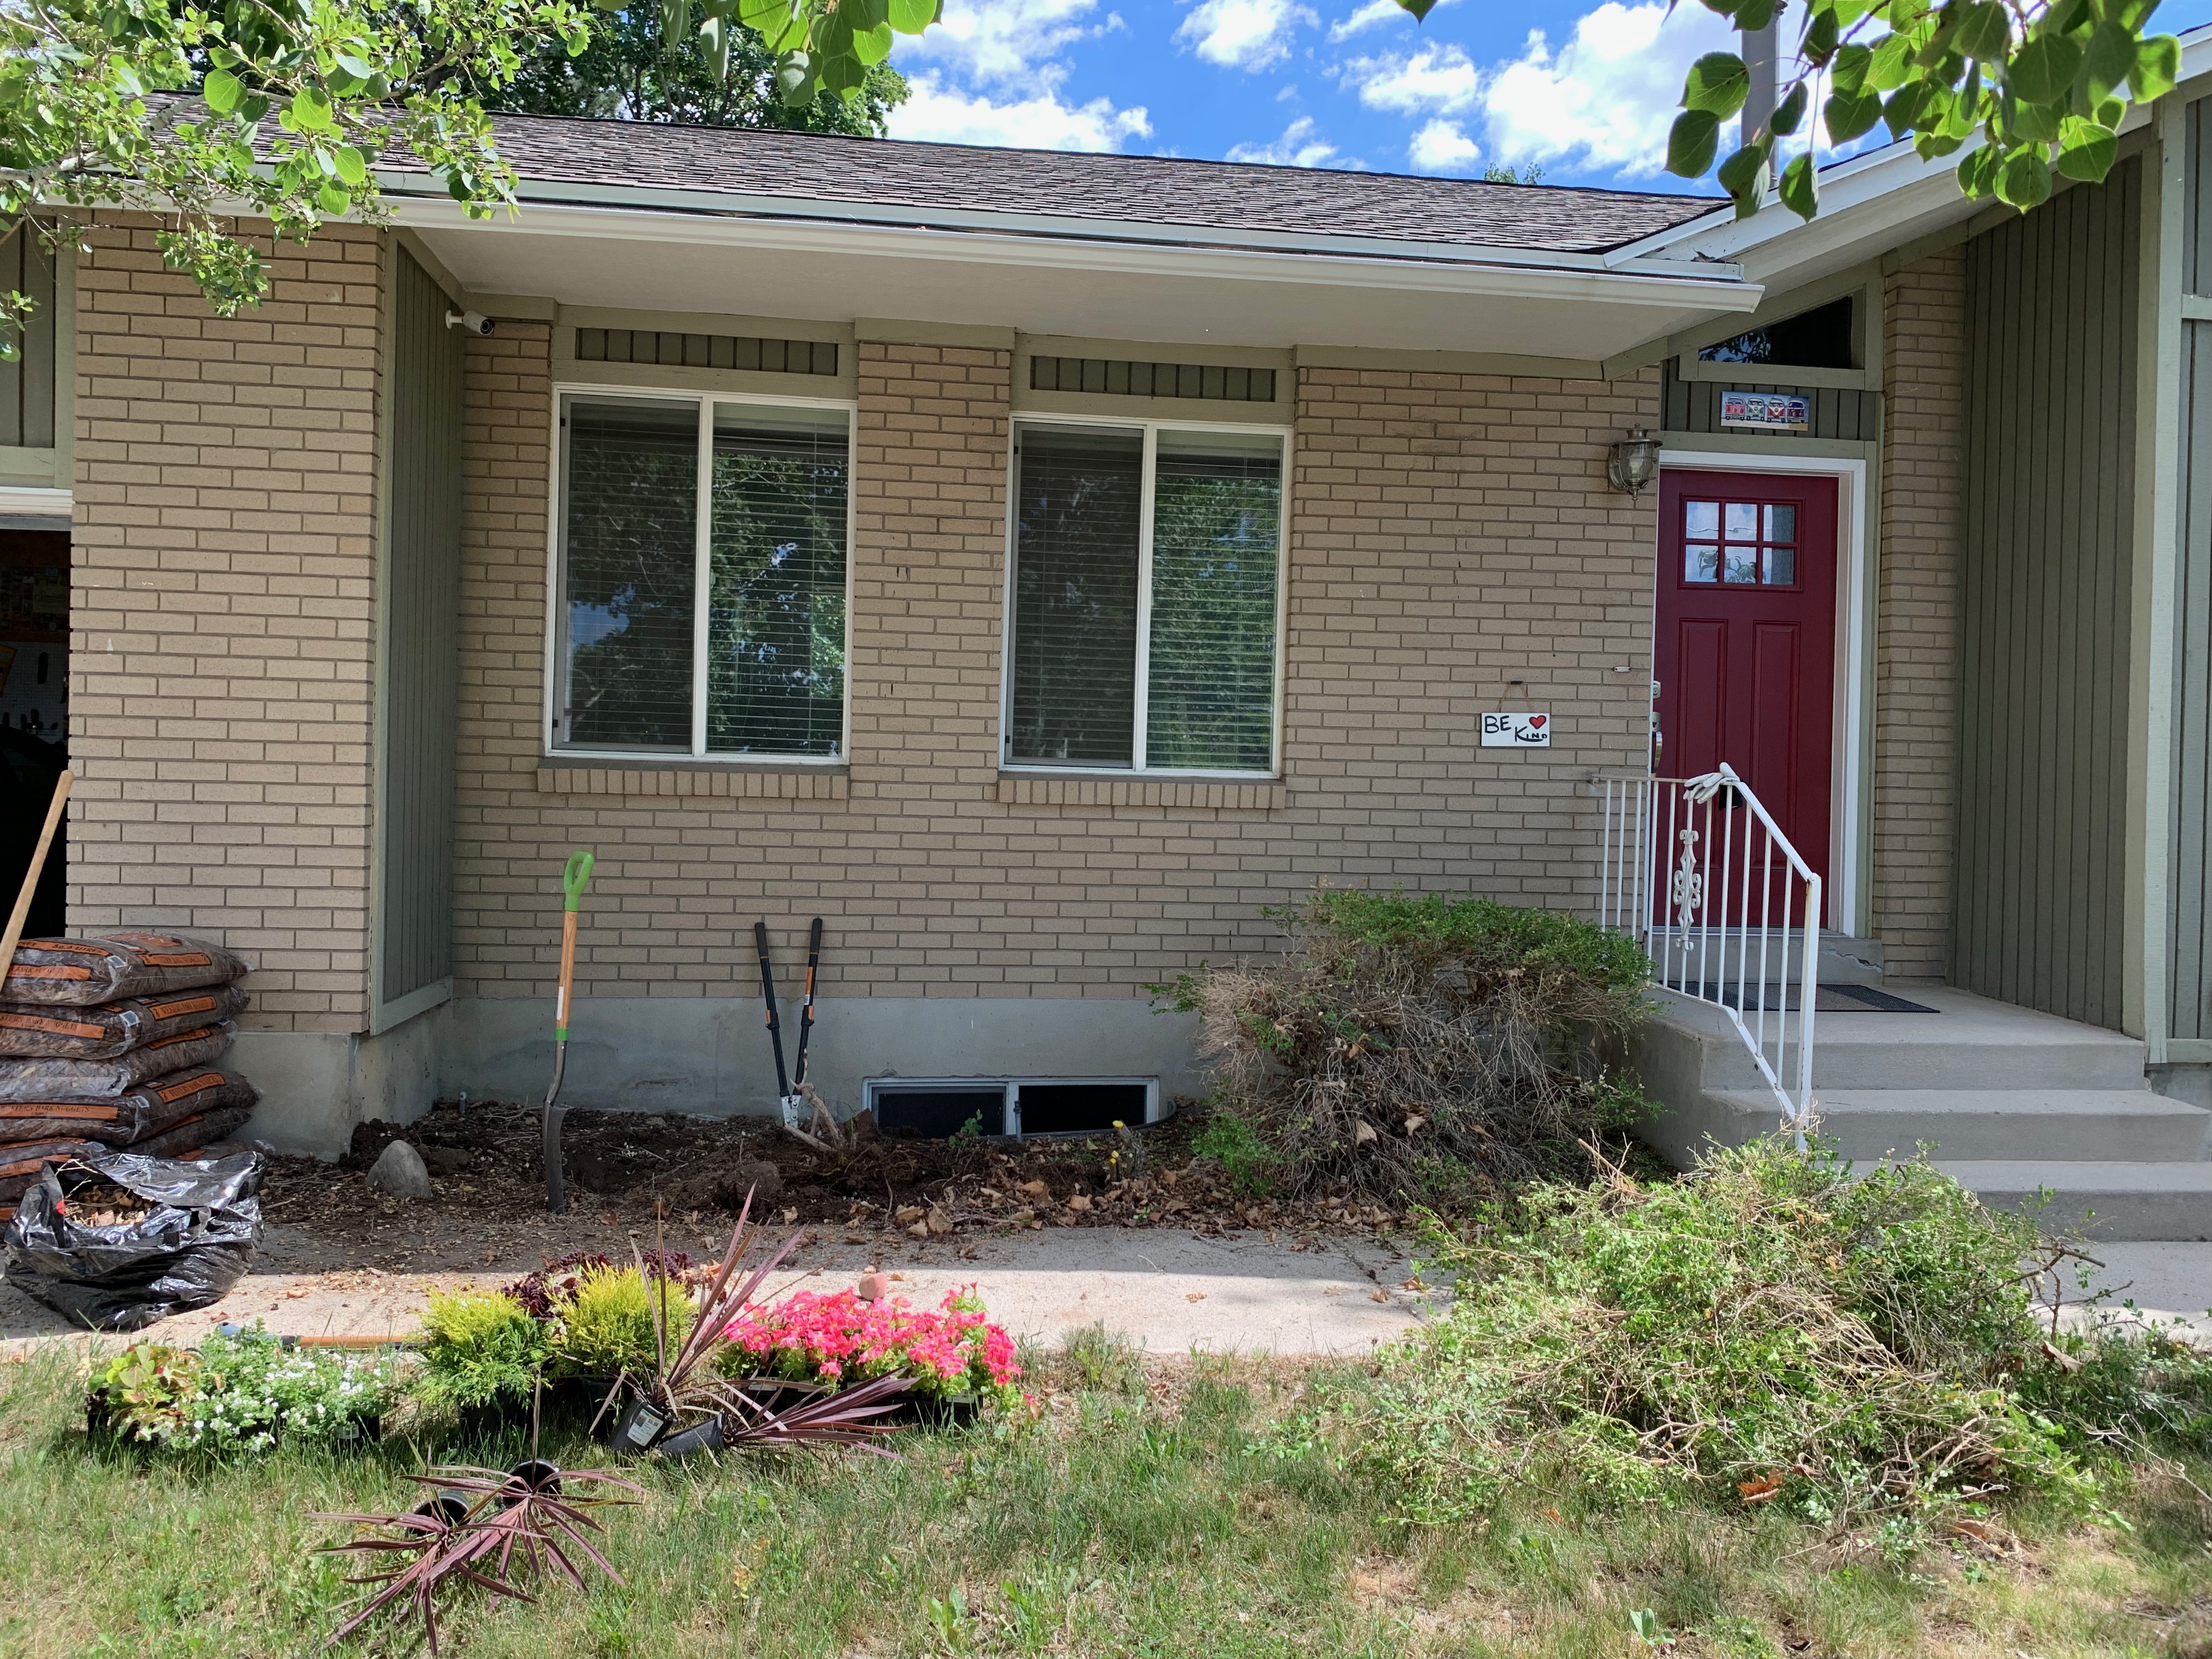
The front bushes had started to die and they always looked terrible in general, so we tackled removing them, which was quite a feat. Then of course making the area pretty after that was the next task. As I am not the one with the green thumb, I passed that task on to another.

Before look at the bushes

Tearing out the bushes.


Clean slate.

New seating area and flowers


Grown in after a few weeks


Thursday, April 1, 2021

Unfinished business

To say the least, I've been distracted and there's definitely been a drought on work and posts. To try to get something significant done on the house, I recently tackled the front entryway which has been the only part of upstairs that's untouched by new trim or paint. So, here's the before and afters.

Closet with old-style trim

New door never trimmed out

Close up. I need to cutback the chair rail.

Front door with new trim.

Semi-fancy custom pieced together trim.

All painted.

Little wider shot of finished product.

Let's see if that sparks some creativity to tackle some more projects. Perhaps?

Indeed.


Thursday, July 2, 2020

HVAC replacement, new roof and gutters

After the water heater, I went spending wild, and have been enjoying putting the responsibility of fixing the house into the pros hands. To continue throwing money at problems, I replaced the furnace, the A/C, the roof, and the gutters. The furnace was long due to be replaced, and when doing so, I had to replace the A/C because the old one used now illegal refrigerant. The new furnace is 96% efficient, and the A/C compressor is huge (and quiet) compared to the previous one. I also went fancy and got an ecobee 4 pro thermostat.
As far as the roof, I opted for a Landmark Pro shingle in Max Def Weathered Wood. I liked the variety in colors and figure it'll match well now, and for any house color in the future. The gutters are just a seamless aluminium with Gutterstuff gutter guards.

New Ruud U96 furnance

Exhaust and now, intake, using existing flue.

Light at the end of the tunnel...

New roof. They even painted the flue and other exhaust pipes.

Friday, February 21, 2020

Water heater update

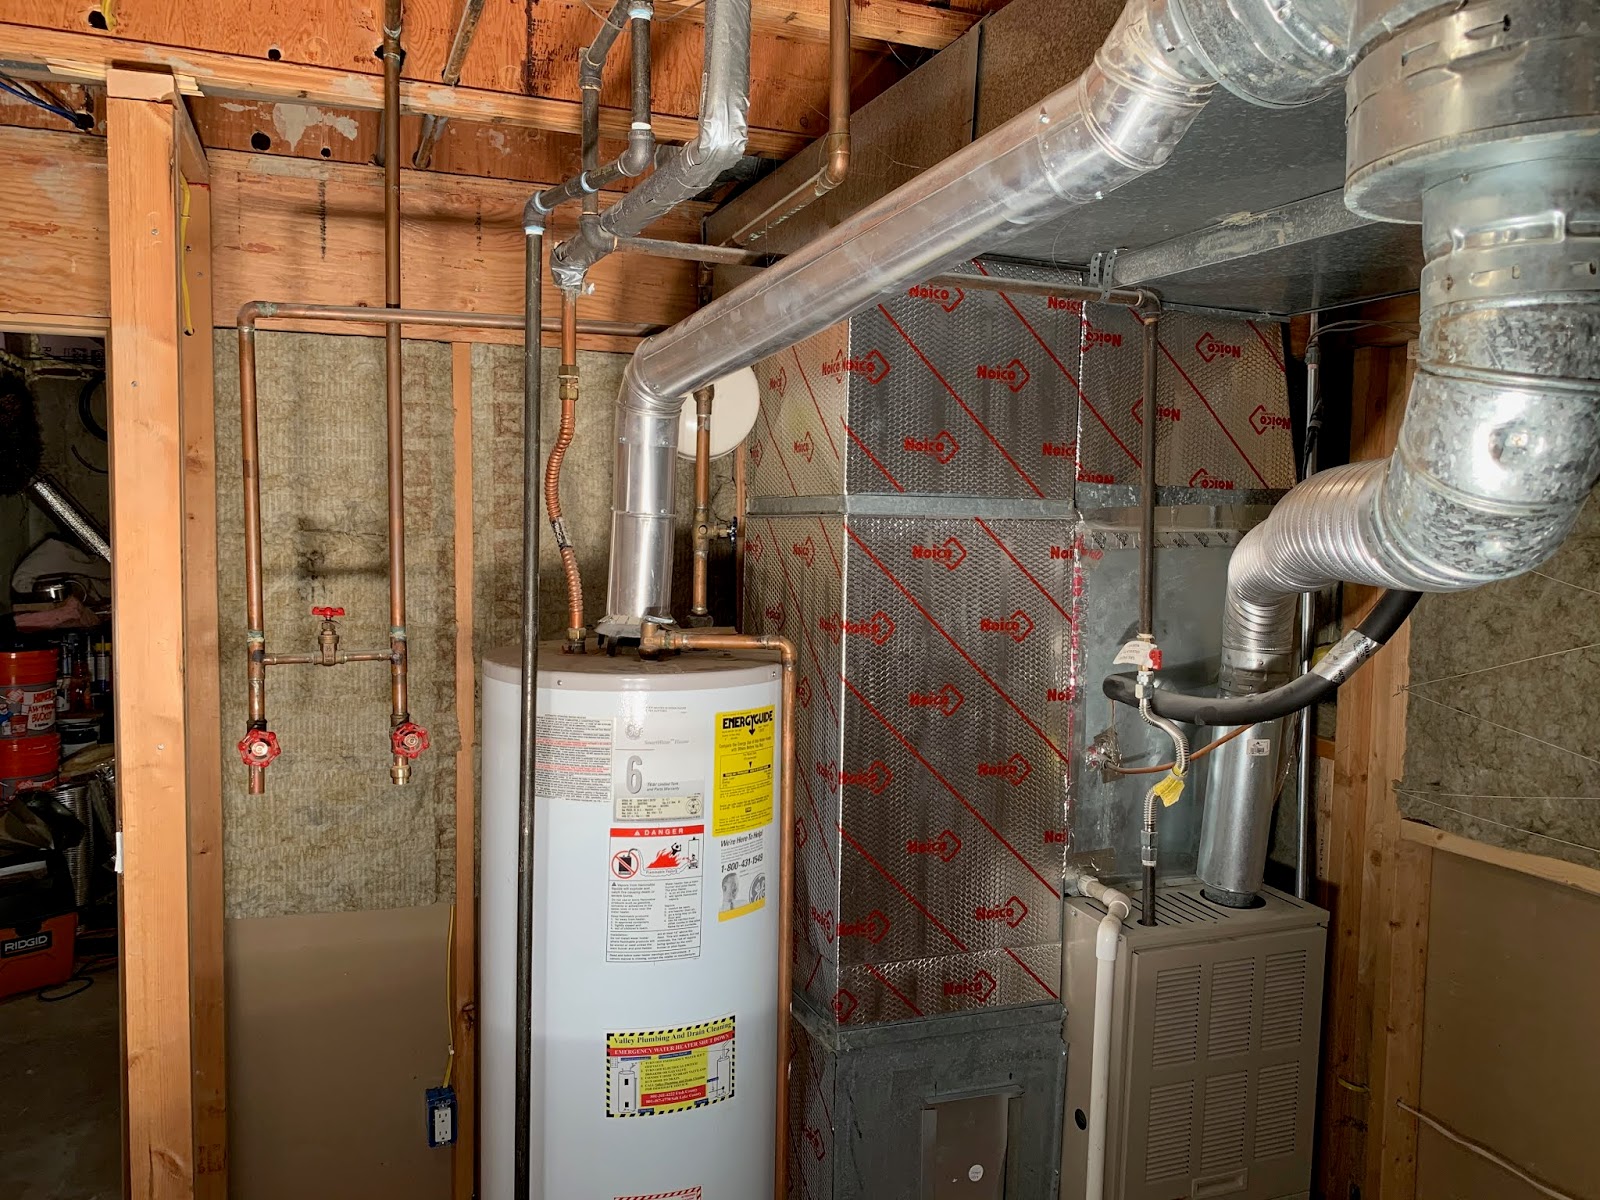
My vintage 1998 water heater finally tanked and started to leak all over the floor. Luckily it was slow and I discovered it pretty quickly. After that, the search for a plumber and researching what was the best replacement began. I was toying with the idea of installing my own tankless water heater but when I had to deal with no hot water at all in the house, the urgency of the fix really sunk in. A pro took all day to install the gear. It probably would have taken me weeks...
So, I got a tankless water heater and a water softener installed. Turns out my plumbing was already set up for a softener, I was just clueless to the fact. As I didn't do anything - here's just the before and after photos of the plumber's work. Wait! I did add an electrical outlet for the heater and softener...


Before. Tank.

After. Rinnai RUR199IN Tankless heater and a softener.


Front of house before.

Added exhaust and intake cover for heater.


Monday, September 23, 2019

Steps for the Deck

Not sure why it took so long for my brain to figure out the maths for the deck steps. I didn't want to have to rip any of the 2x4s down and was trying to keep as close to the 7"x11" rule of rise over run for the steps. I also had to perform some surgery on the pressure treated supports as they were bowed and made it difficult to attach anything to them. In the end I ended up gluing and fastening 2x4 supports to the sides of them (using clamps). They all cracked in half, but they at least turned out straight and with the 2x4s supports are super solid.

Getting an idea for the support structure.

Shows the 2x4 supports and how I screwed the steps into the deck.

Once again, wrapped in cedar to keep it pretty.

The finished steps.

The complete look.

Saturday, September 14, 2019

Deck gets a top

Had a truck toting buddy named Matt help me grab all the wood for the deck. Had to get a bunch that was 10 feet long which was too much for my car. In order to present a nicer finish than the pressure treated structure, I got some oiled cedar planks to wrap the sides of the structure. Definitely makes it look nicer. For the top planks I used redwood. For the extra details, I used 8D nails for spacers between the 2x4 planks, and I kept a 1/4" overhang on the edges of the deck. I also made sure to keep the "bark side" of the wood up, so with aging the wood doesn't start cupping.

I mitered the corners too, for a finished look.
Kind of a before and after look.

Used the level as a guide to keep a clean cut.

Ghetto panel ripping (last one had to be 2 1/4" wide)

Close look at the cuts around the utilities.

Another close up look.

Not exactly huge for $350 worth of deck.

I've still got to make the step down from the sliding door, but just doing the top panels took most of the day. You can see I had to tweak the gutter too, just to get it out of the way. Eventually I'll divert it into a rain barrel.