Wednesday, August 24, 2022

We have lights!

 After much digging, the power has been run to the shed. Single lines (220 power) were run in 1" conduit to the shed for a 40 AMP breaker. A separate grounding rod was pounded into the ground just for the shed, and the sub-panel mounted to the outside with a separate disconnect for the mini-split. Overall, I was really impressed with the work the electrician did.

Good look at the finished trench digging.

Just squeezing by the deck footing.

One more look.

Getting the mini-split mount ready, box installed.

Almost all done.

All done and trench buried over.

Lights!


Monday, August 15, 2022

Time for Power

 Started digging a trench 18" deep for the power conduit to run to the shed. I decided to attempt to do this by hand as I figured it would be really good exercise. Time will tell if this was a horrible idea. It's only 55 feet from the shed to the main breaker panel on the house...

Main power in red marked by bluestakes.

Will be tight digging next to the existing lines.

Start of the tunnel...

Safely dug over top of the the existing power.


Wednesday, August 10, 2022

Shed Insulation

 I'm adding a combo of insulation in the shed. I've got some leftover R-30 fiberglass rolls and then some new R-15 mineral wool for the walls and some of the ceiling. As all the insulation in unfaced and I'd need a vapor barrier over it anyway, I used a 6 mil plastic in place in the ceiling/roof space to hold the insulation up as I went.

Stapling in the plastic around the first rafter space.

A look from the bottom, ready for insulation.

Insulation placed in from above.

Insulation in place.

Another look from above.

Pink stuff all in place.

Adding mineral wool insulation at the side slope.

As I was almost finished with the roof insulation, I took care of the other soffit side to ensure all the venting was complete. The before and after is shown below. I spaced the holes every foot in between the support wood.


Saturday, August 6, 2022

Shed Electrical

 Did a mix of soffit vent work and running electrical for the lights and outlets. I wanted to make sure there were plenty of outlets all around, so I may have gone a bit overkill. I discovered I could fit some 4" lights in the soffits for some outdoor entry lights, so I fit those in instead of an exterior wall sconce. I think that'll work out nicely, and there's no worry of the doors hitting them, unlike sconces next to the doors.

Little 2" soffit vents along with recessed 4" lights.


Saturday, July 30, 2022

She Shed Framing

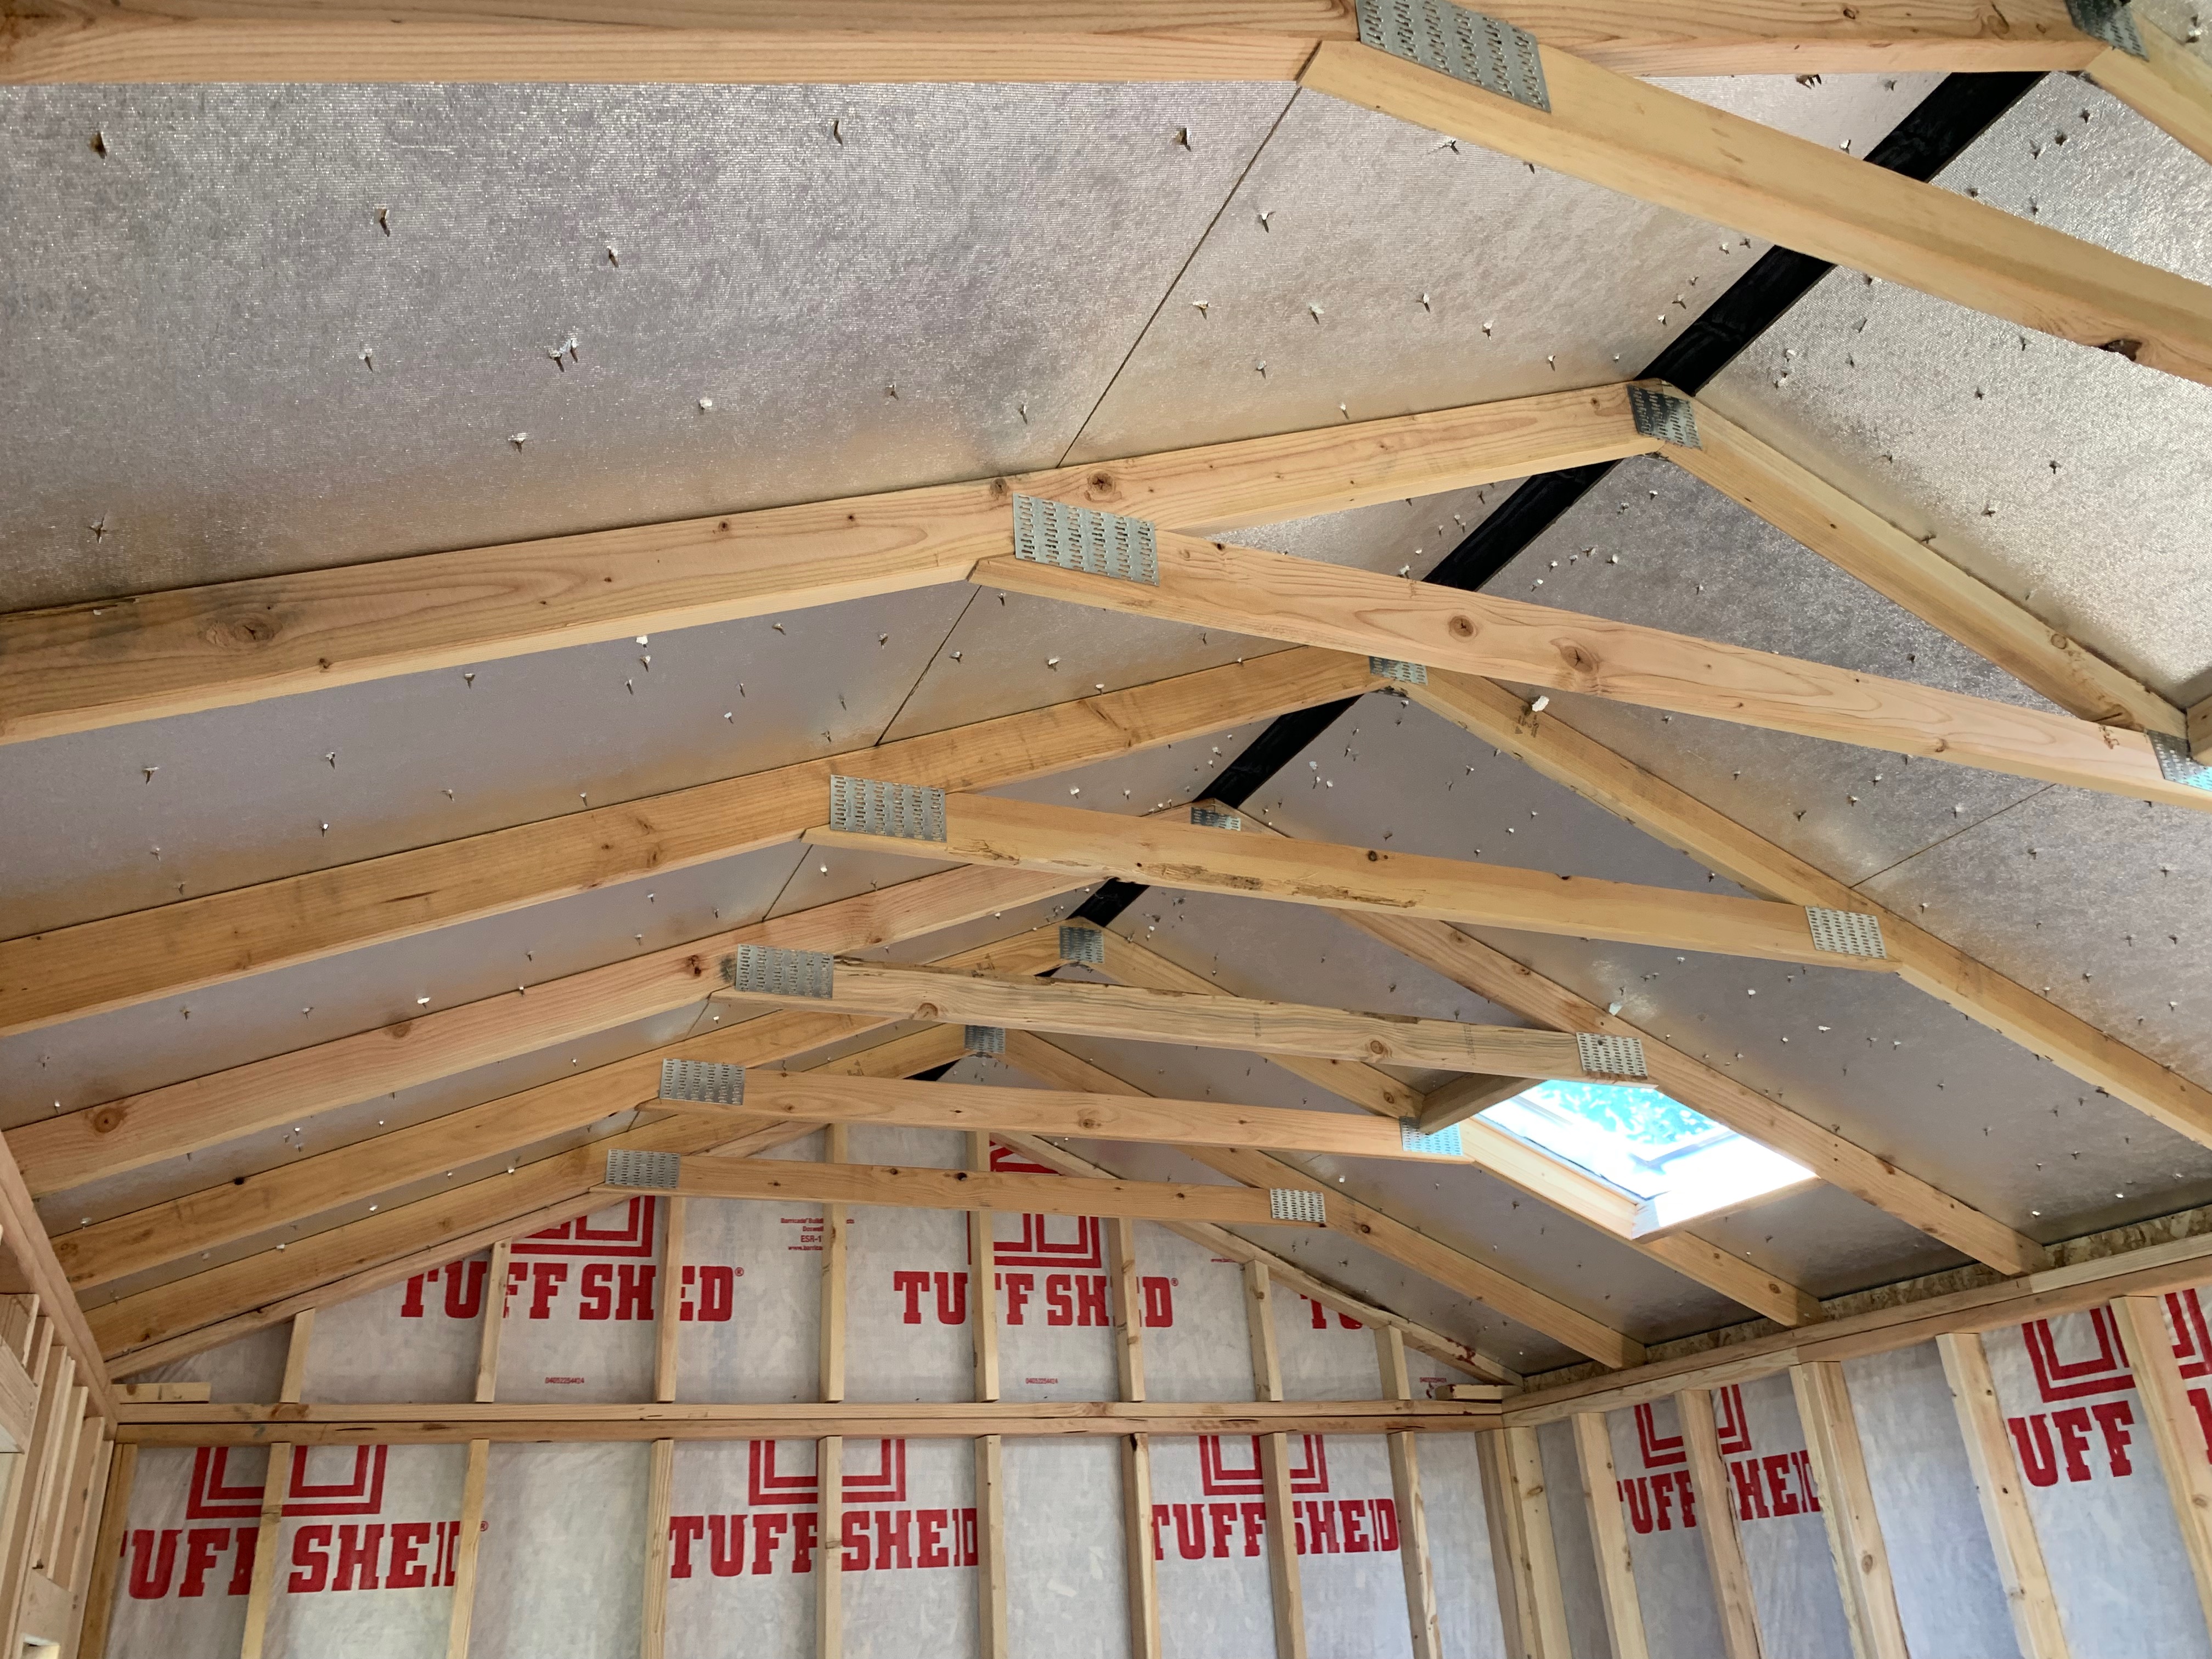
 In order to properly insulate the shed, I needed to add some framing to allow for enough insulation and venting of the roof. As the roof was framed with 2x4s, I ended up adding some 2x2s to bump that out to 2x6s (actually 5" deep), to allow for spacing for the soffit vents and insulation in the roof space.

I also had to add some additional framing to match the arc of the ceiling so that I eventually had something to nail/screw into when it came to adding the finish walls/ceiling to the interior of the shed.

A before shot of the roof 2x4 rafters.

The added 2x2s to give enough depth at the sides.

Skylight needs some framing work...

Added an angled-cut 2x4 to fill in the gap.


There's a side-by-side before and after of the framing needed, otherwise there would be nothing to attach the ceiling panels to on the right side.

Soffit vent panel added, and a view of the holes drilled for ventilation.


Tuesday, July 26, 2022

She Shed Install

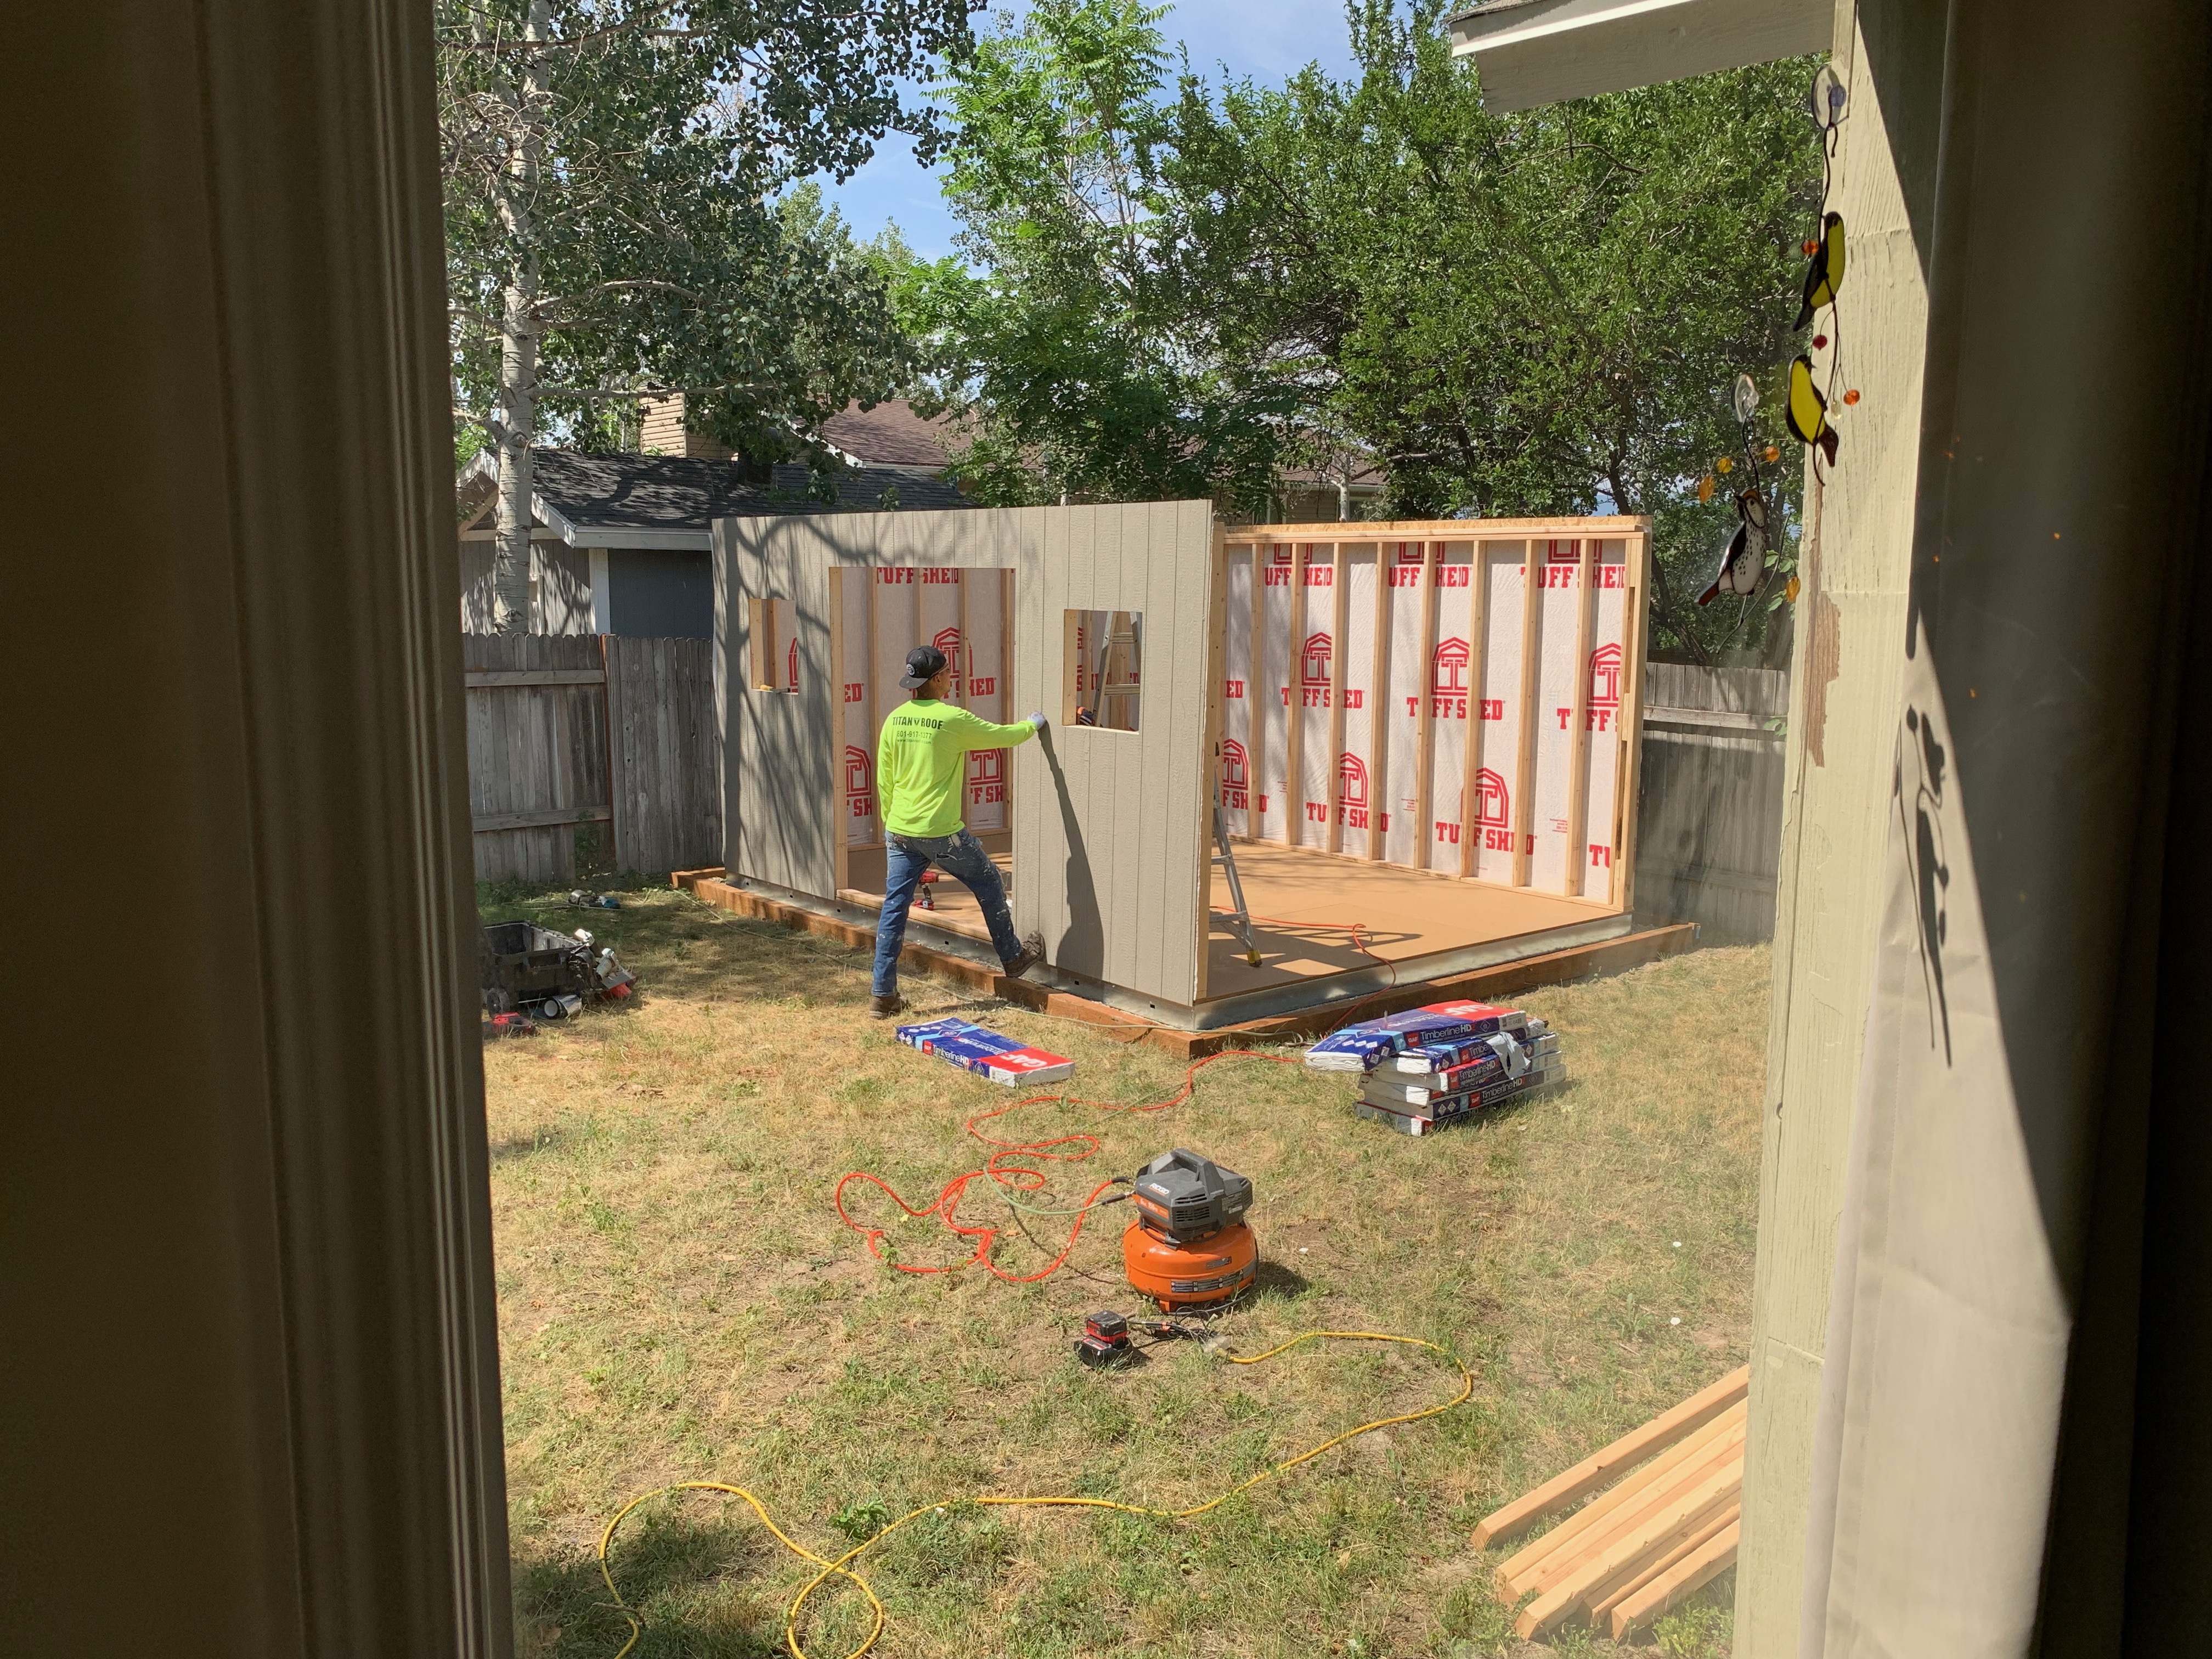
 The two-man crew showed up the other day and installed the shed. Took all day, but apart from the french doors, that are still on order, it's all done and complete.

Arrived all on a trailer.

Moving all the pieces into position.

The walls...

Starting to take shape.


All done.

Includes the house-wrap as I'll be insulating it.

Two skylights at the back.

Reflective roof coating and ridge vent.


Sunday, July 17, 2022

She Shed Foundation

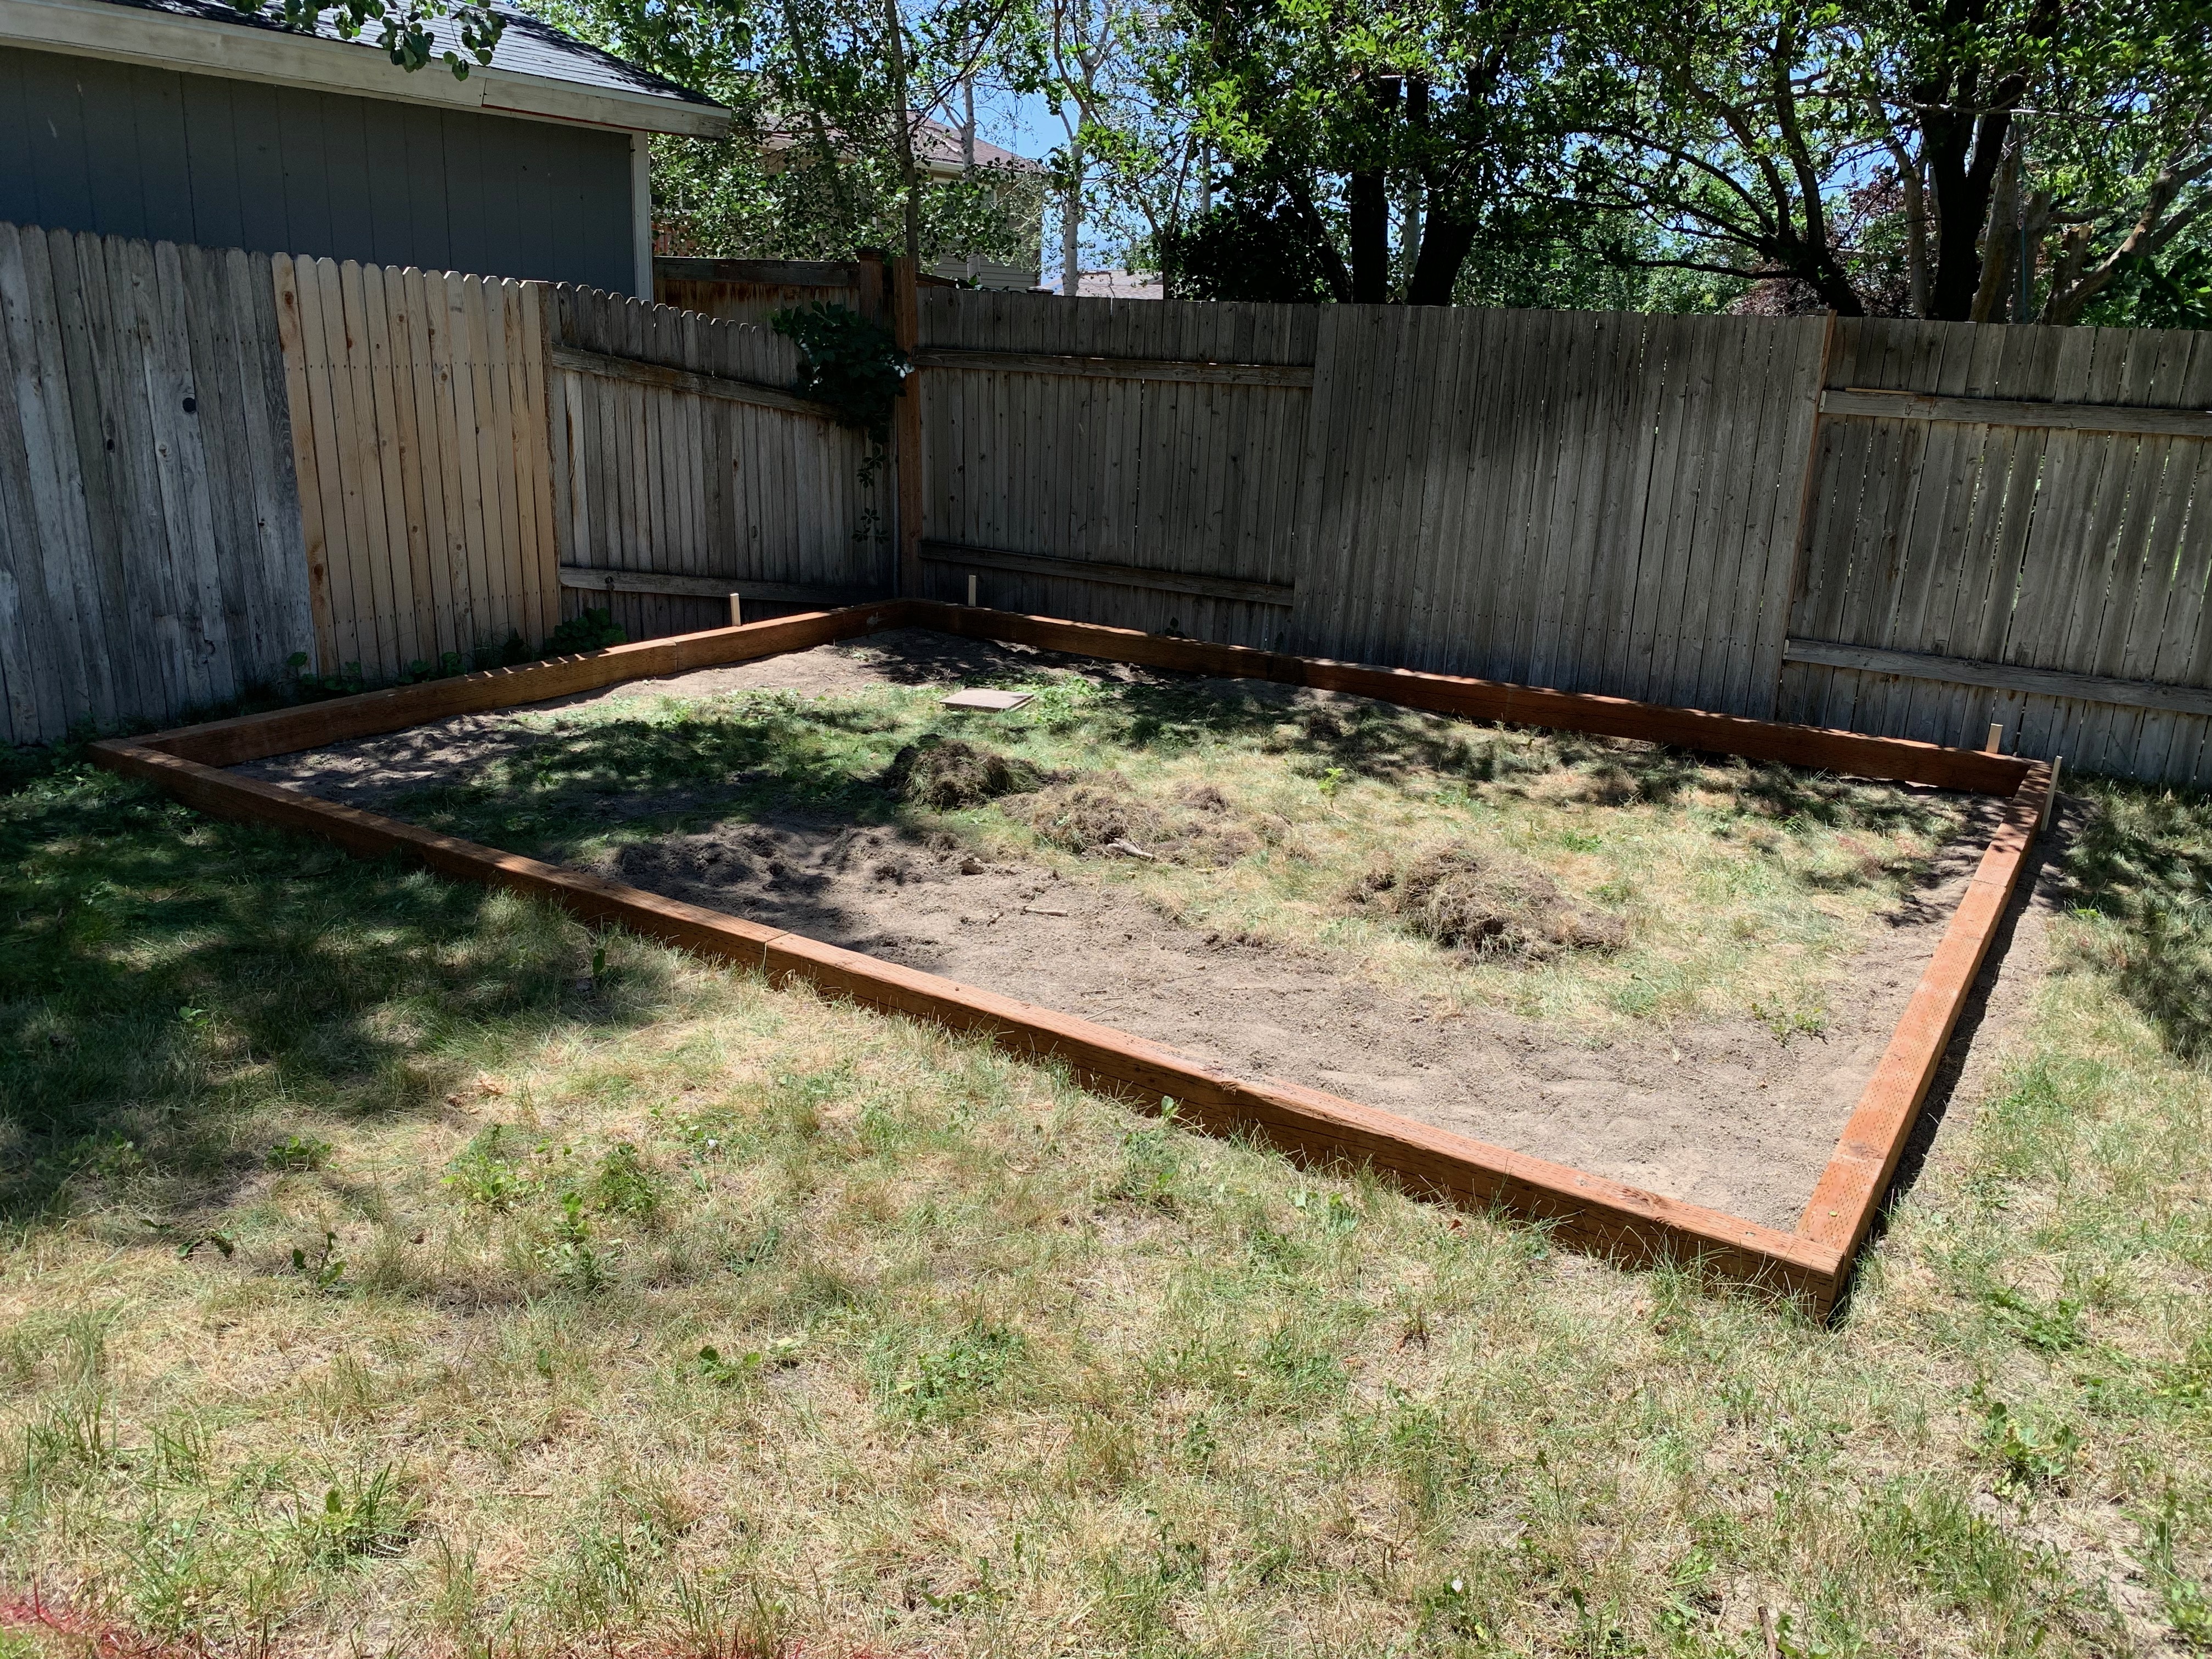
The start of the mighty she-shed. To create an art studio space for the lady friend, we visited the local Tuff-Shed and spec'd out a 12'x16' shed to put in the backyard. First step to prepare for such a structure was to create a solid footing for it to sit on. After researching whether concrete was necessary or a gravel bed would do for such a sized shed, I went with the gravel which certainly saved the pennies compared to concrete.

I opted to use a 4x6 pressure treated frame, screwed together with 3" screws, set it place with 1/2" 4 foot long rebar, and some metal framing brackets for extra stability/strength.

Getting every sorted in place

Made sure to measure from corner to corner for square

Dug out turf to level out the surface.

brackets to keep the pieces together

Little bracket, but better than nothing.

Gravel arrived for wheelbarrowing.

All spread out.

Making sure to keep level.

Rented a plane compactor to pack it down.