Saturday, July 30, 2022

She Shed Framing

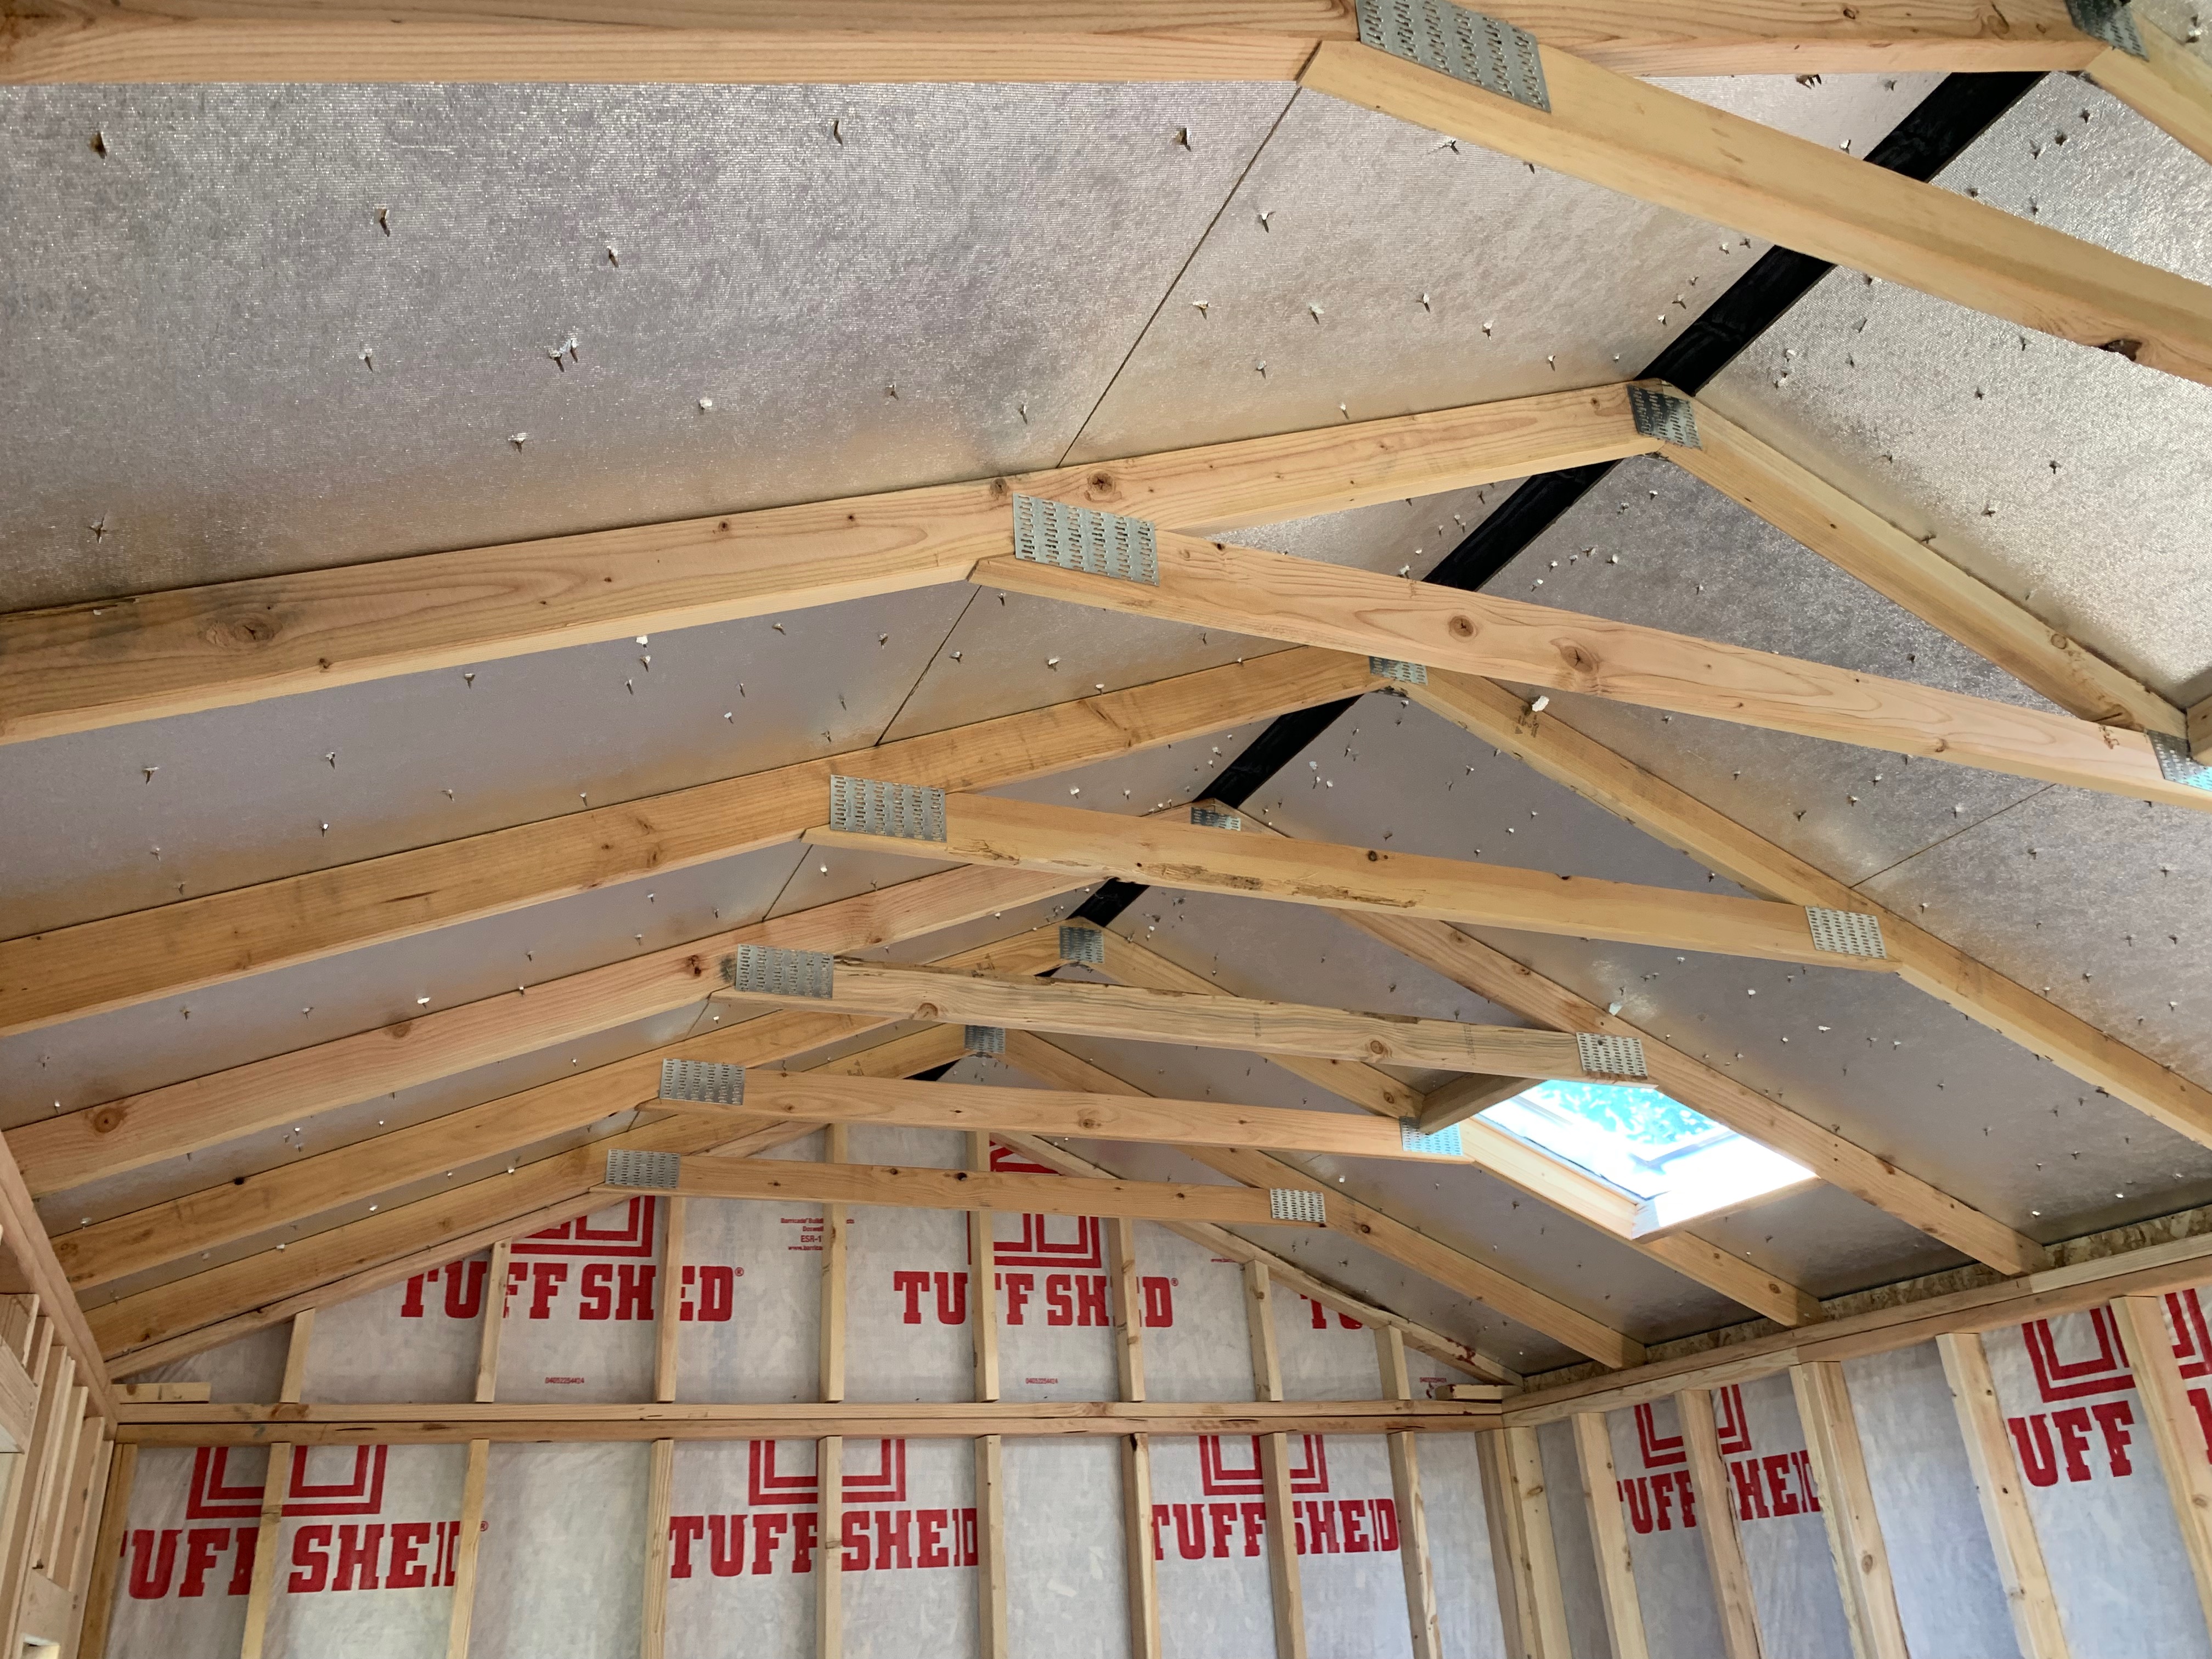
 In order to properly insulate the shed, I needed to add some framing to allow for enough insulation and venting of the roof. As the roof was framed with 2x4s, I ended up adding some 2x2s to bump that out to 2x6s (actually 5" deep), to allow for spacing for the soffit vents and insulation in the roof space.

I also had to add some additional framing to match the arc of the ceiling so that I eventually had something to nail/screw into when it came to adding the finish walls/ceiling to the interior of the shed.

A before shot of the roof 2x4 rafters.

The added 2x2s to give enough depth at the sides.

Skylight needs some framing work...

Added an angled-cut 2x4 to fill in the gap.


There's a side-by-side before and after of the framing needed, otherwise there would be nothing to attach the ceiling panels to on the right side.

Soffit vent panel added, and a view of the holes drilled for ventilation.


Tuesday, July 26, 2022

She Shed Install

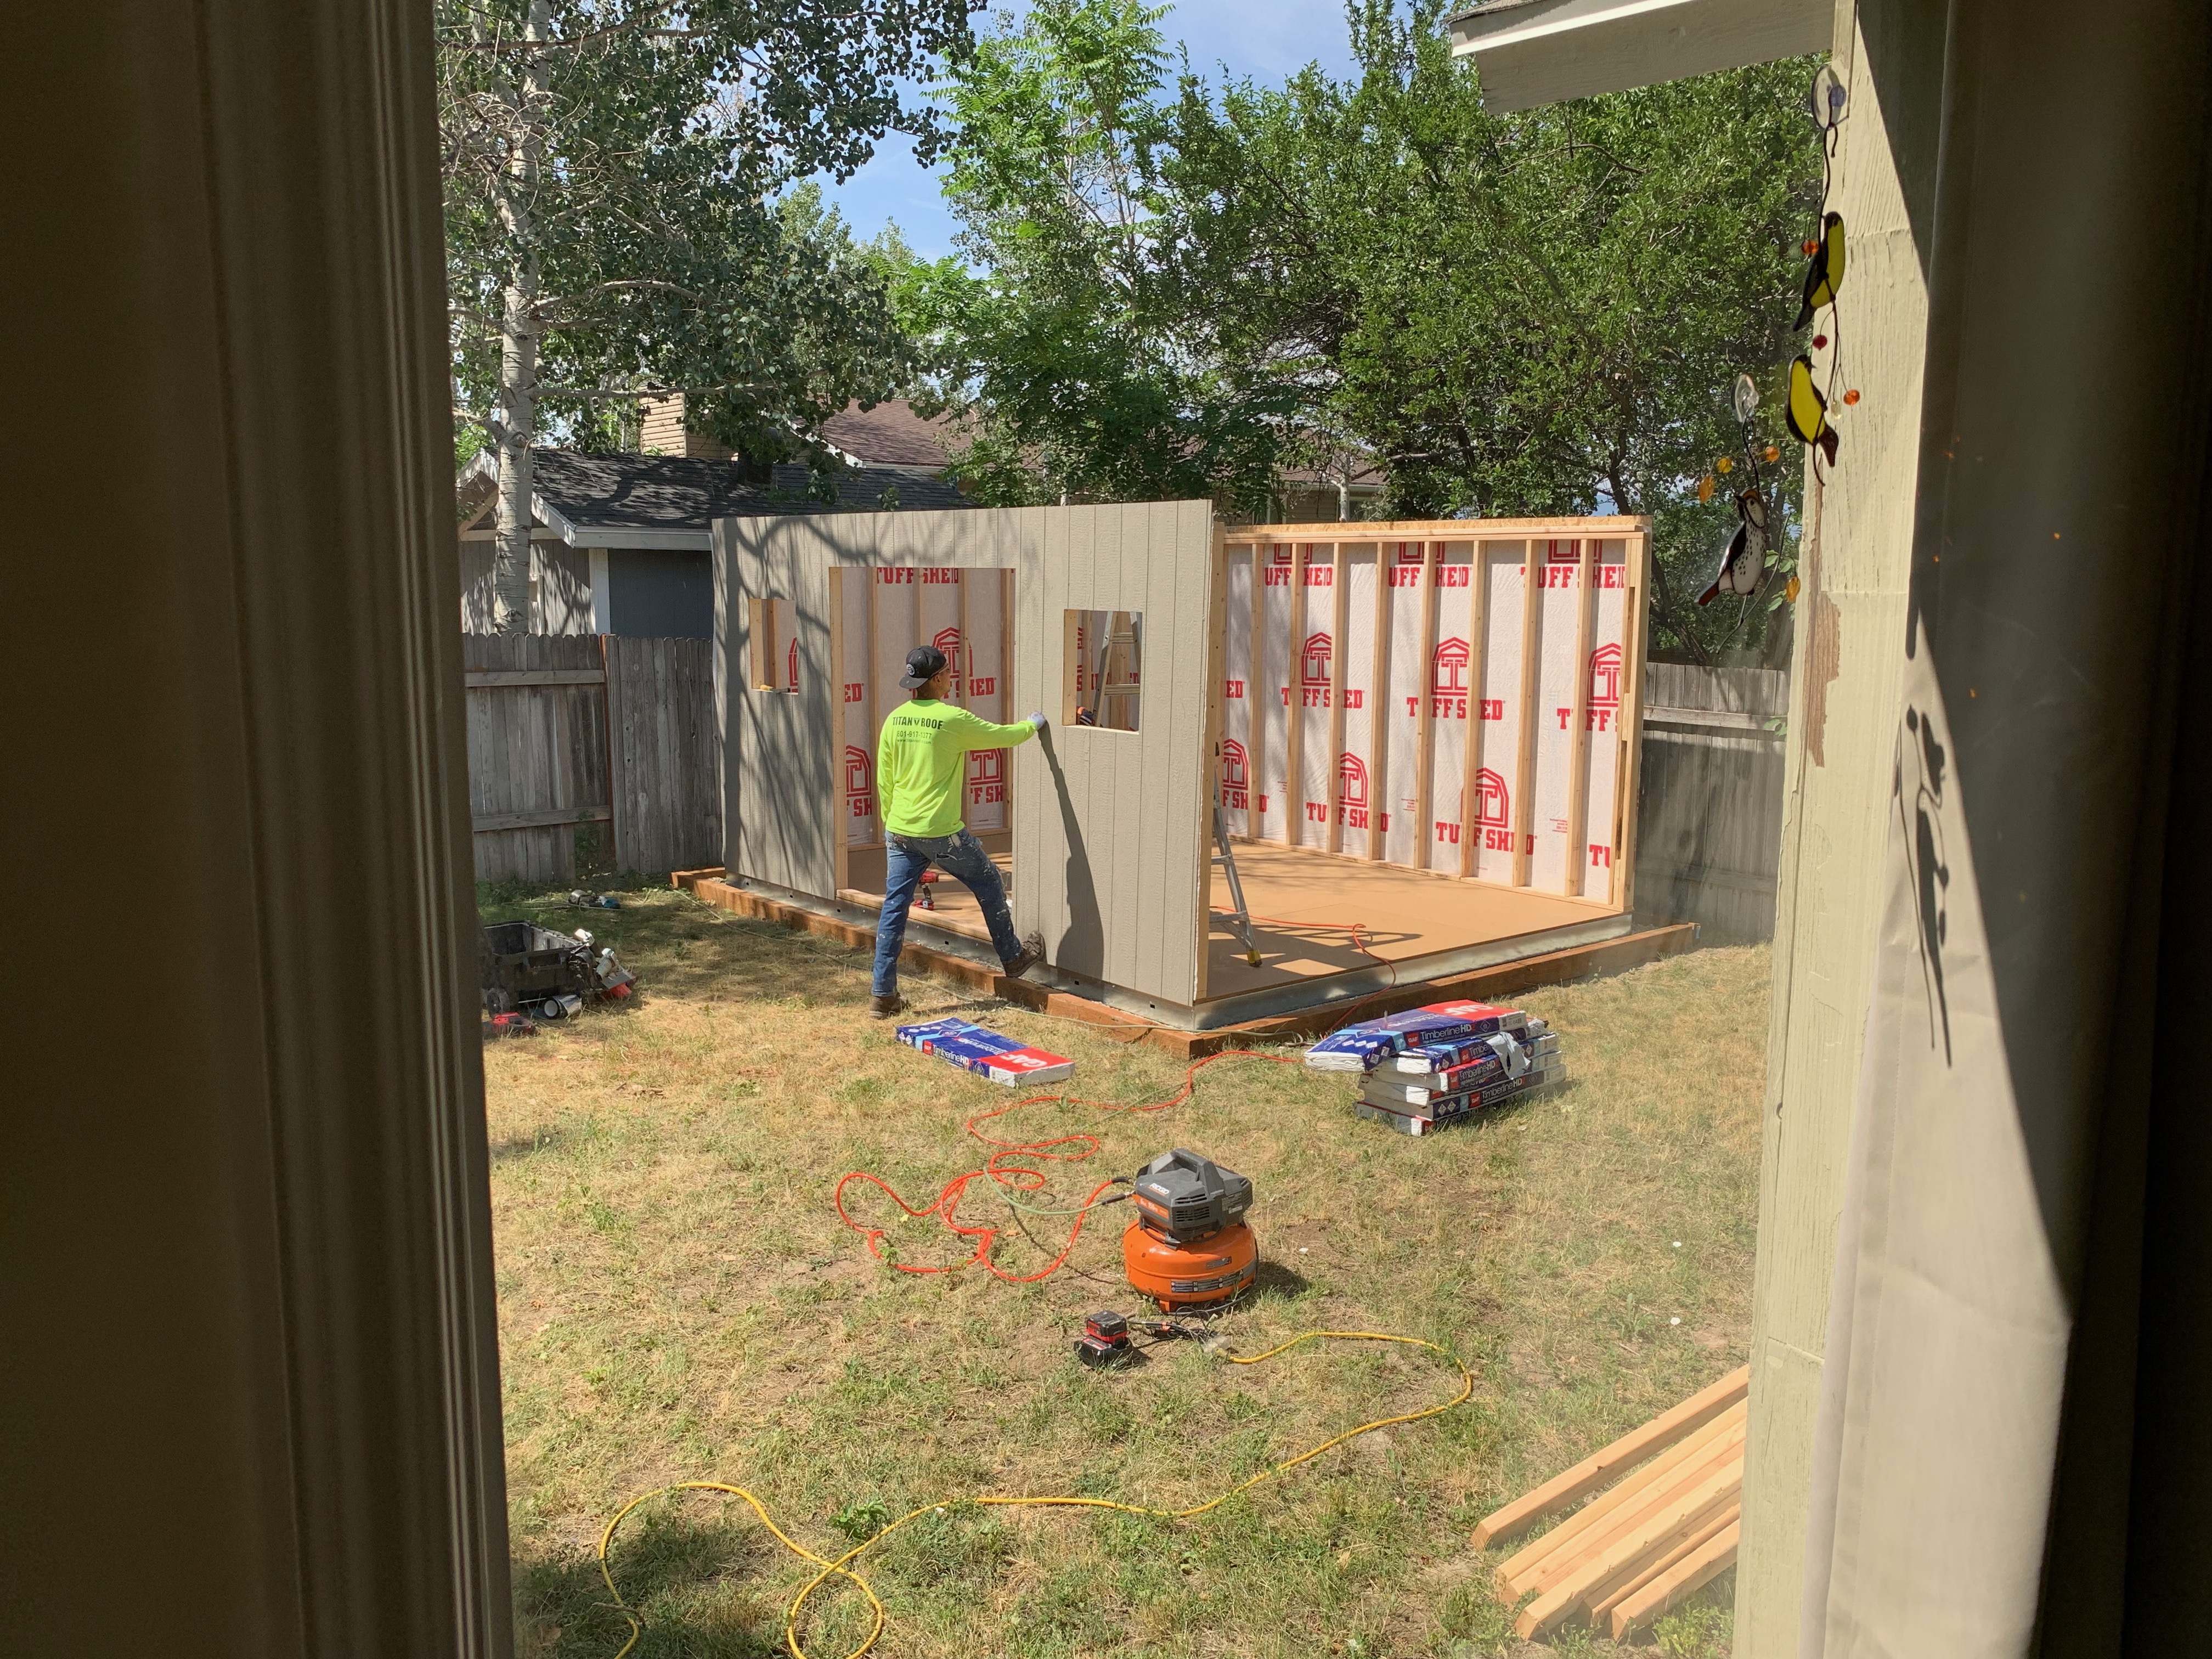
 The two-man crew showed up the other day and installed the shed. Took all day, but apart from the french doors, that are still on order, it's all done and complete.

Arrived all on a trailer.

Moving all the pieces into position.

The walls...

Starting to take shape.


All done.

Includes the house-wrap as I'll be insulating it.

Two skylights at the back.

Reflective roof coating and ridge vent.


Sunday, July 17, 2022

She Shed Foundation

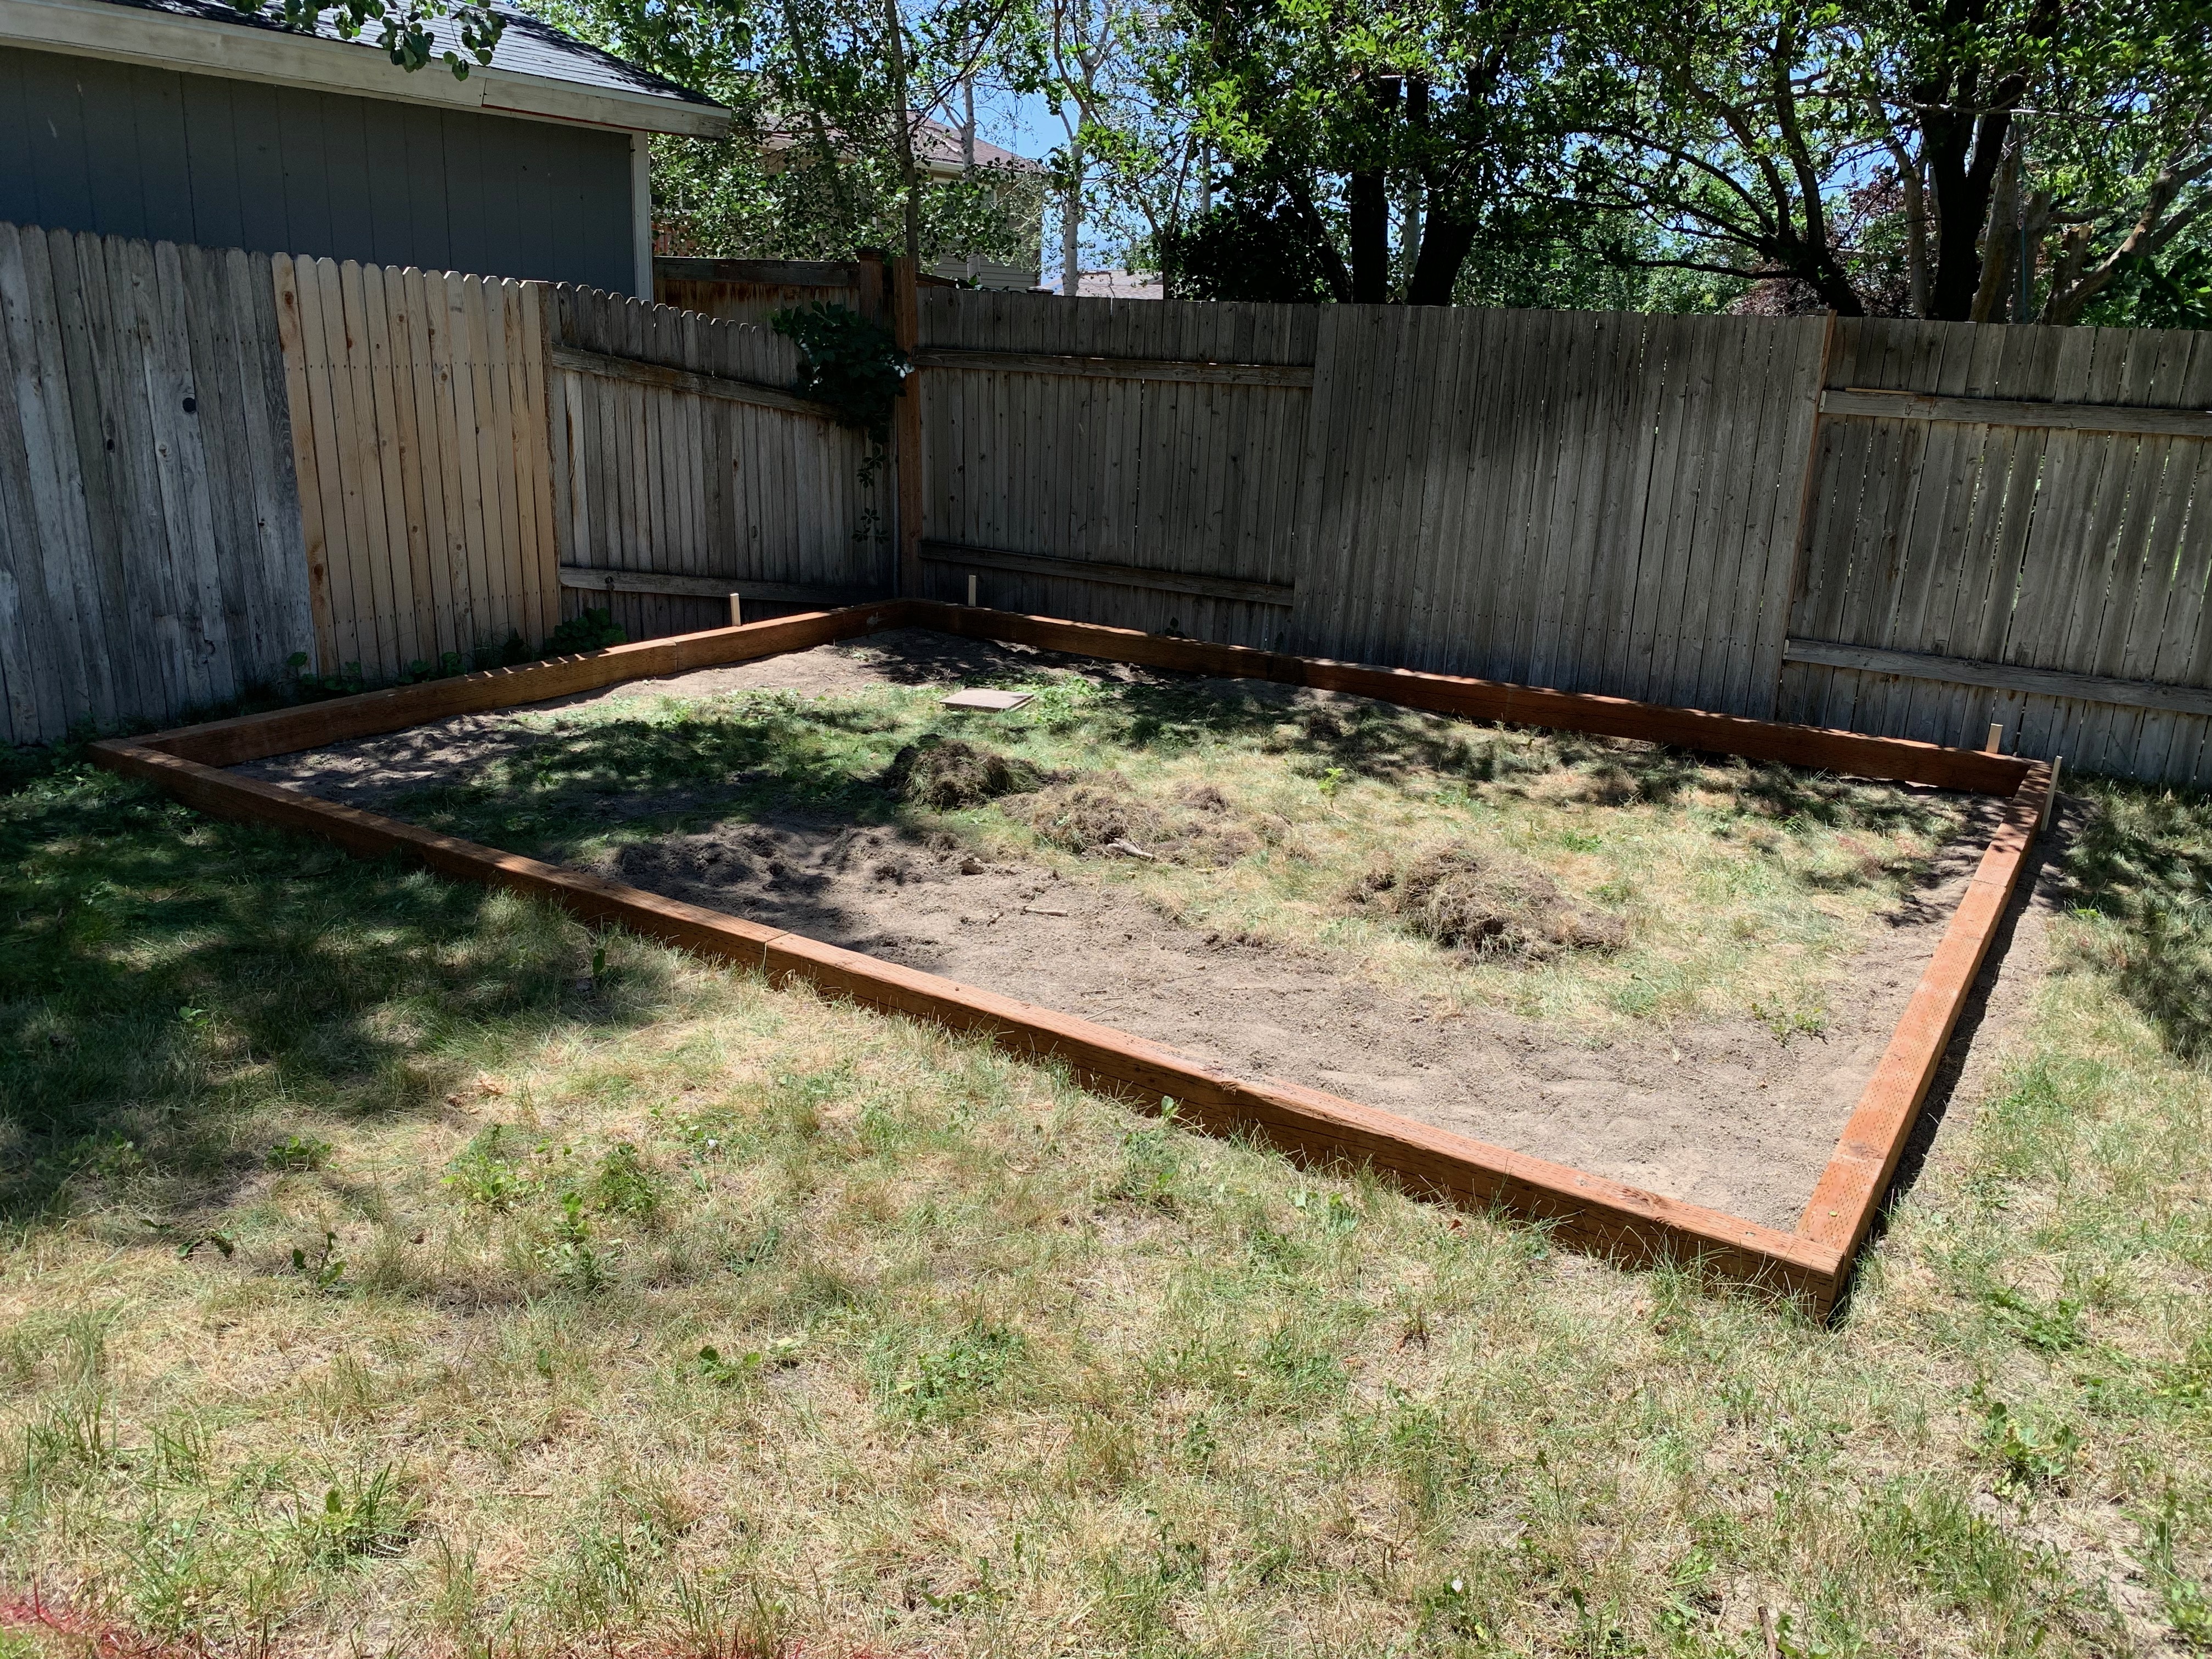
The start of the mighty she-shed. To create an art studio space for the lady friend, we visited the local Tuff-Shed and spec'd out a 12'x16' shed to put in the backyard. First step to prepare for such a structure was to create a solid footing for it to sit on. After researching whether concrete was necessary or a gravel bed would do for such a sized shed, I went with the gravel which certainly saved the pennies compared to concrete.

I opted to use a 4x6 pressure treated frame, screwed together with 3" screws, set it place with 1/2" 4 foot long rebar, and some metal framing brackets for extra stability/strength.

Getting every sorted in place

Made sure to measure from corner to corner for square

Dug out turf to level out the surface.

brackets to keep the pieces together

Little bracket, but better than nothing.

Gravel arrived for wheelbarrowing.

All spread out.

Making sure to keep level.

Rented a plane compactor to pack it down.


Thursday, April 28, 2022

Sprinkler Work

I finally tackled the sprinkler work that needed to get done in the backyard. Several things needed to get fixed. There was a french drain I wanted removed as I was going to replace it with a water barrel, the sprinkler box needed to be moved because it was sitting right where this water barrel was going to go, and the sprinkler manifolds needed to be fixed as they were leaking and the previous owner who "fixed" them, completely removed a zone that was watering the back of the yard. Along the way, I discovered a bad patch that sprung a leak too.

So, first off, the digging and removal of the french drain was done.


Like it never happened...

Then I started to attack the existing manifolds and determined it was best if I just moved it over to the side a few feet. I used two dual manifolds connected together which was handy, but also had to fashion a shut-off valve that would fit in the existing box. Turned out to be a bit tricky but with an extra 4th manifold added and the switch, it just fit into the box.
Existing three part manifold and shut-off valve.

New one all built and ready to install.

In place and lines all reconnected.

Another look at the runs.

Mostly done.

A look inside the box all wired up.


Tuesday, January 18, 2022

Kitchen re-shaping

 Had time to, and had already moved everything out of the pantry to a temp shelf in the dining room, so I decided to demo the pantry. As it was the kitchen and I suspected dust was going to go everywhere, I got some 9x12 sheets of plastic and some duct tape and blocked off the area. It turned out to work better than I expected too. I need to start doing that little bit of tedious prep work on projects, as at least in this case, it saved me time and headache later on.


Soffit hole open to attic...

All removed.

So, I still need to patch up the holes with new drywall, but there was a surprising amount of wood used to frame that pantry. Bonus is that I can reuse that downstairs, especially with lumber prices nowadays. Next on the list will be to remove all the kitchen soffits, which should get really messy. Luckily I stuffed batt insulation above the soffits when I was doing all the work in the attic, otherwise I'd just get loose insulation falling down.

The Big One

 I started to attempt to finish the stairs in the house, up to getting the "retro" wood stair treads in order to do it. As I pulled away the tile from the first riser step, I then clearly saw the levels of chaos underneath my kitchen floor. I always knew it was quite high, as the carpet in the living room had to be shimmed up to reach the height of the tile floor - but I was about to discover a whole bunch of fun news.

Layer of linoleum, then particle board, more linoleum, mortar, then tile.

So I got the bottom layer of linoleum tested for asbestos, and it came back at 5% content. Got a quote to pull it out and the guy mentioned the second layer, with its black backing was probably worse and had the usual 60% asbestos. So - the kitchen journey began with asbestos removal.


Snuck a peak at the original flooring.

Not terrible, considering all that was on top.

Still a bit of adhesive left over on the floor.

Saturday, July 3, 2021

Front Garden Work

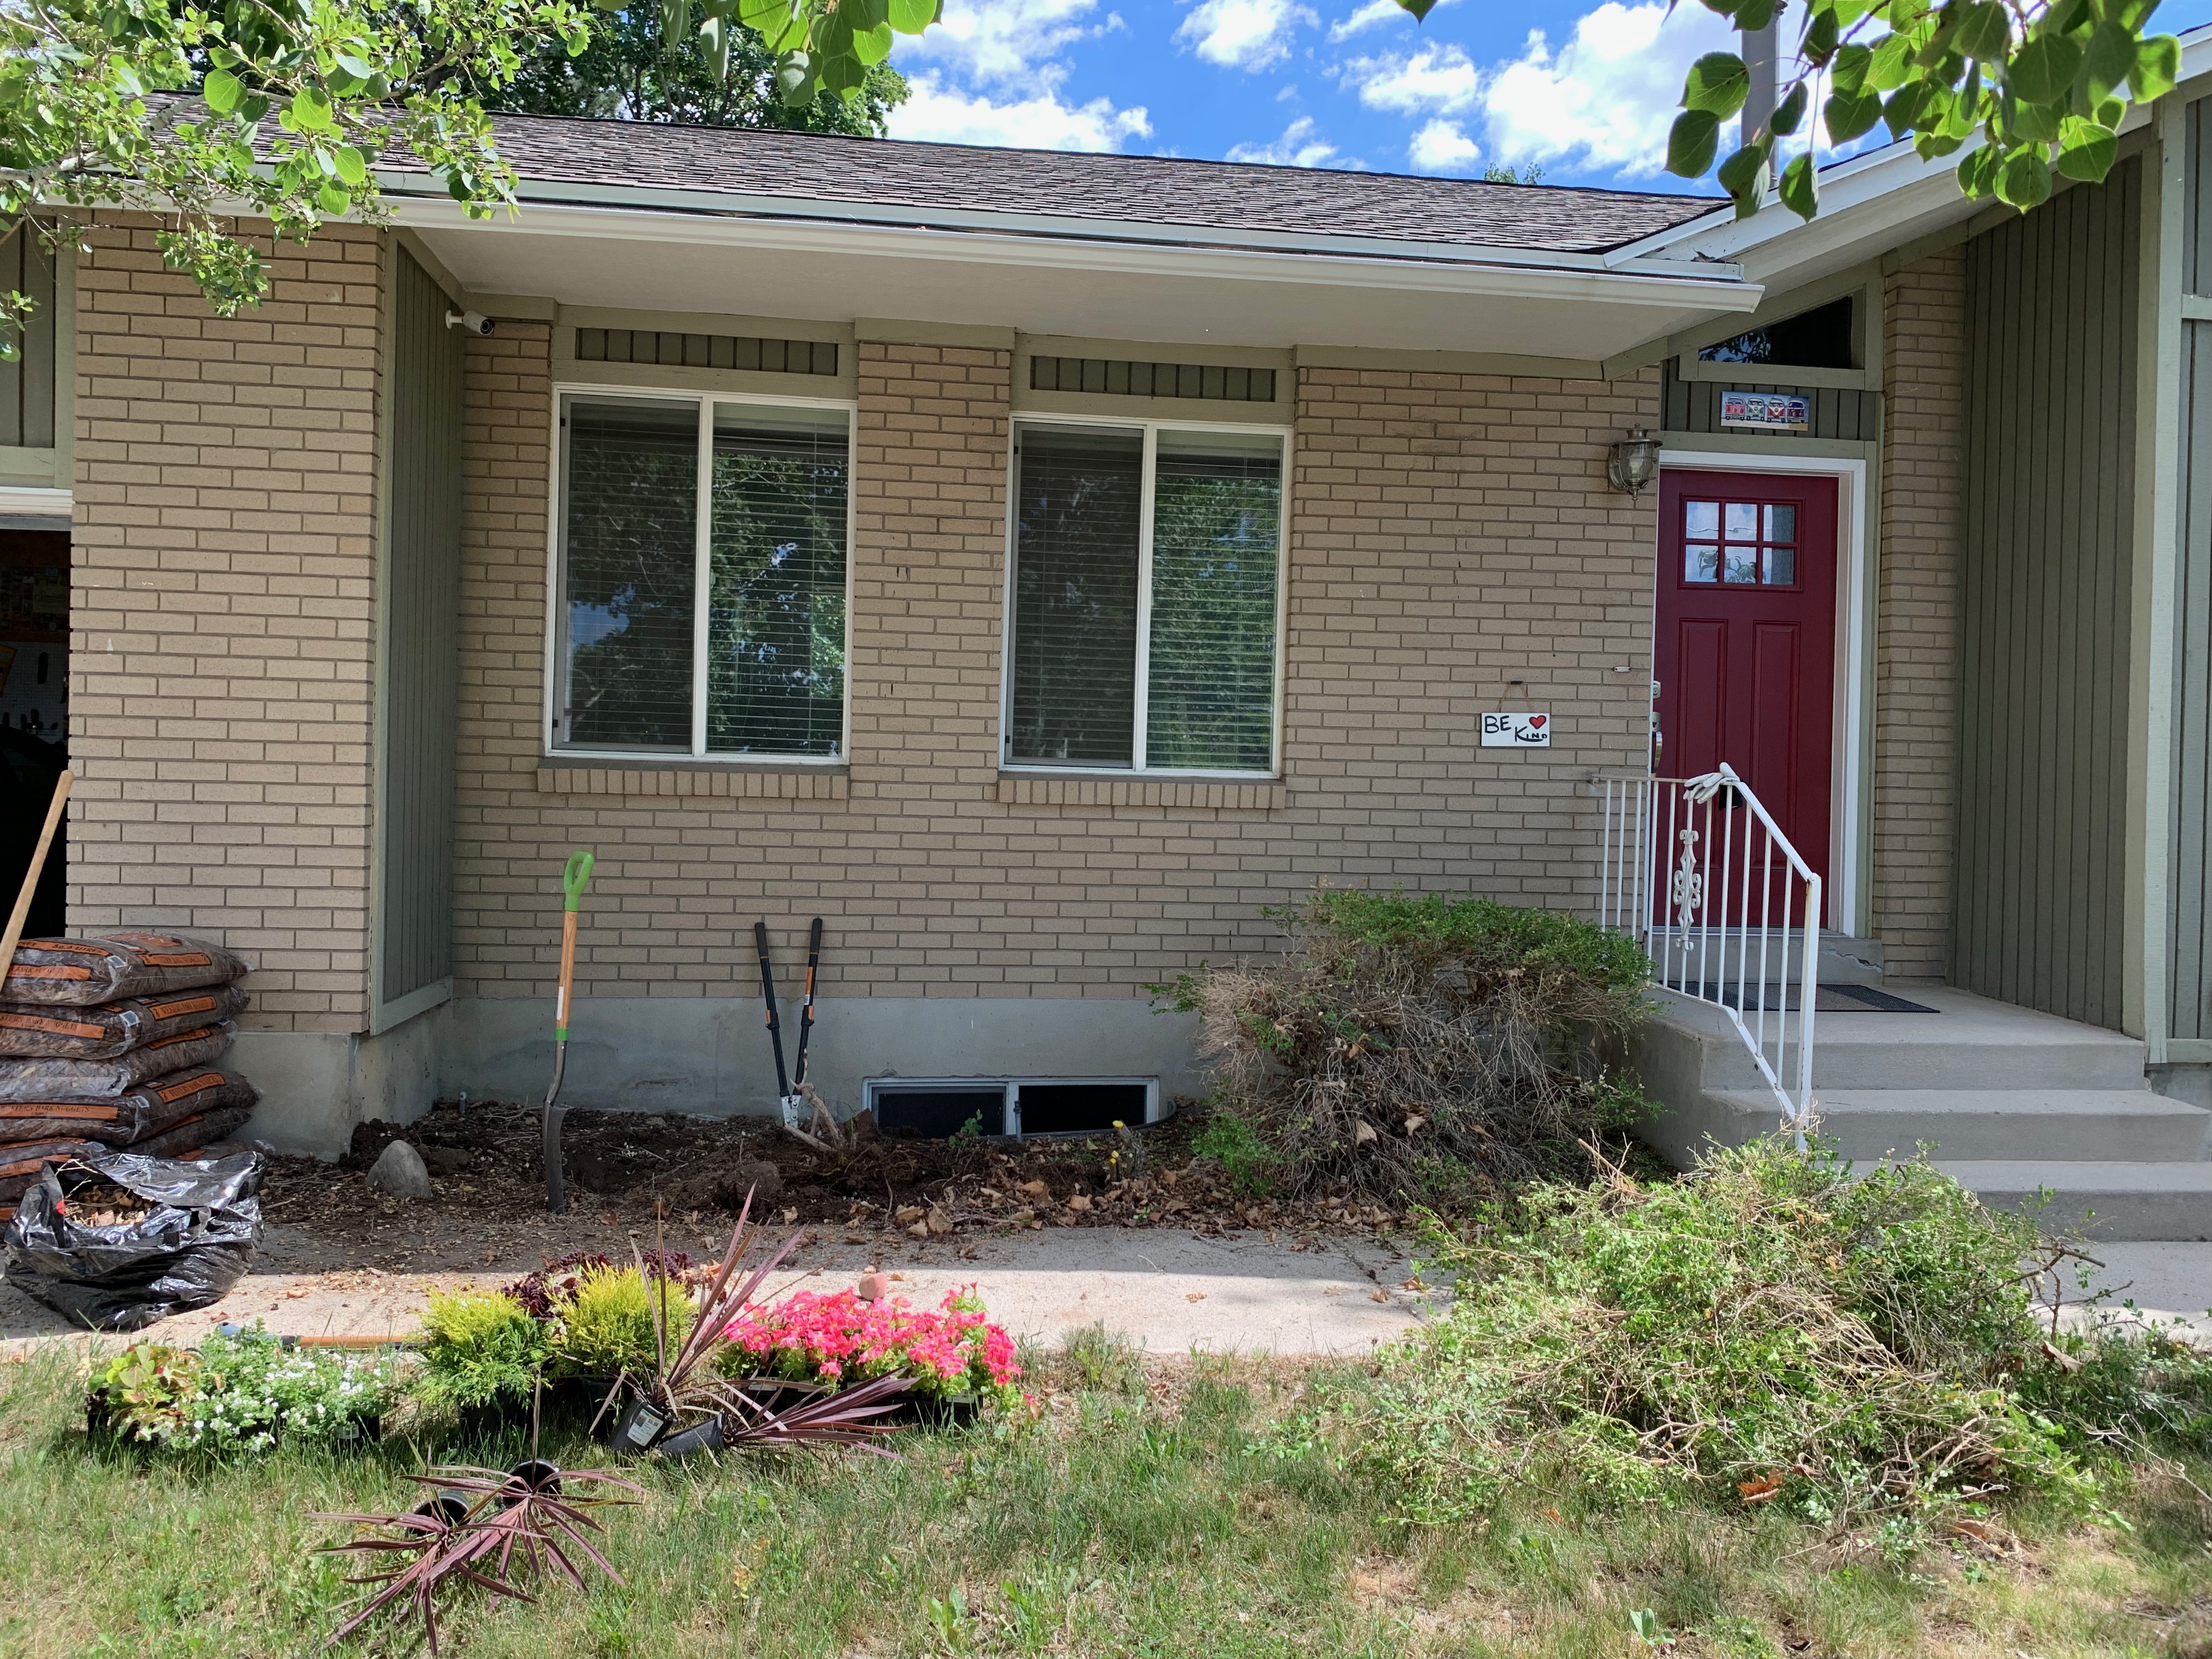
The front bushes had started to die and they always looked terrible in general, so we tackled removing them, which was quite a feat. Then of course making the area pretty after that was the next task. As I am not the one with the green thumb, I passed that task on to another.

Before look at the bushes

Tearing out the bushes.


Clean slate.

New seating area and flowers


Grown in after a few weeks